Introduction
When it comes to vehicle maintenance, few jobs are more critical than keeping your brakes in top shape. After all, they’re the difference between a safe stop and a dangerous situation. For many drivers, brake repairs might seem intimidating, but with the right tools, they’re surprisingly manageable. One tool that can make a huge difference is the brake caliper tool. Whether you’re a seasoned DIYer or tackling your first brake job, having this tool in your kit can help you work faster, safer, and more effectively.
Why Brake Calipers Matter in Vehicle Safety
Your brake calipers play a key role in stopping power. They house the pistons that press brake pads against the rotor, slowing your vehicle down. Over time, calipers can develop issues like sticking pistons, uneven pad wear, or even complete seizure. If you’ve noticed squealing brakes, pulling to one side, or uneven braking, your calipers may need attention. Addressing these problems early doesn’t just extend the life of your brakes—it keeps your vehicle safe on the road.
What Is a Brake Caliper Tool?
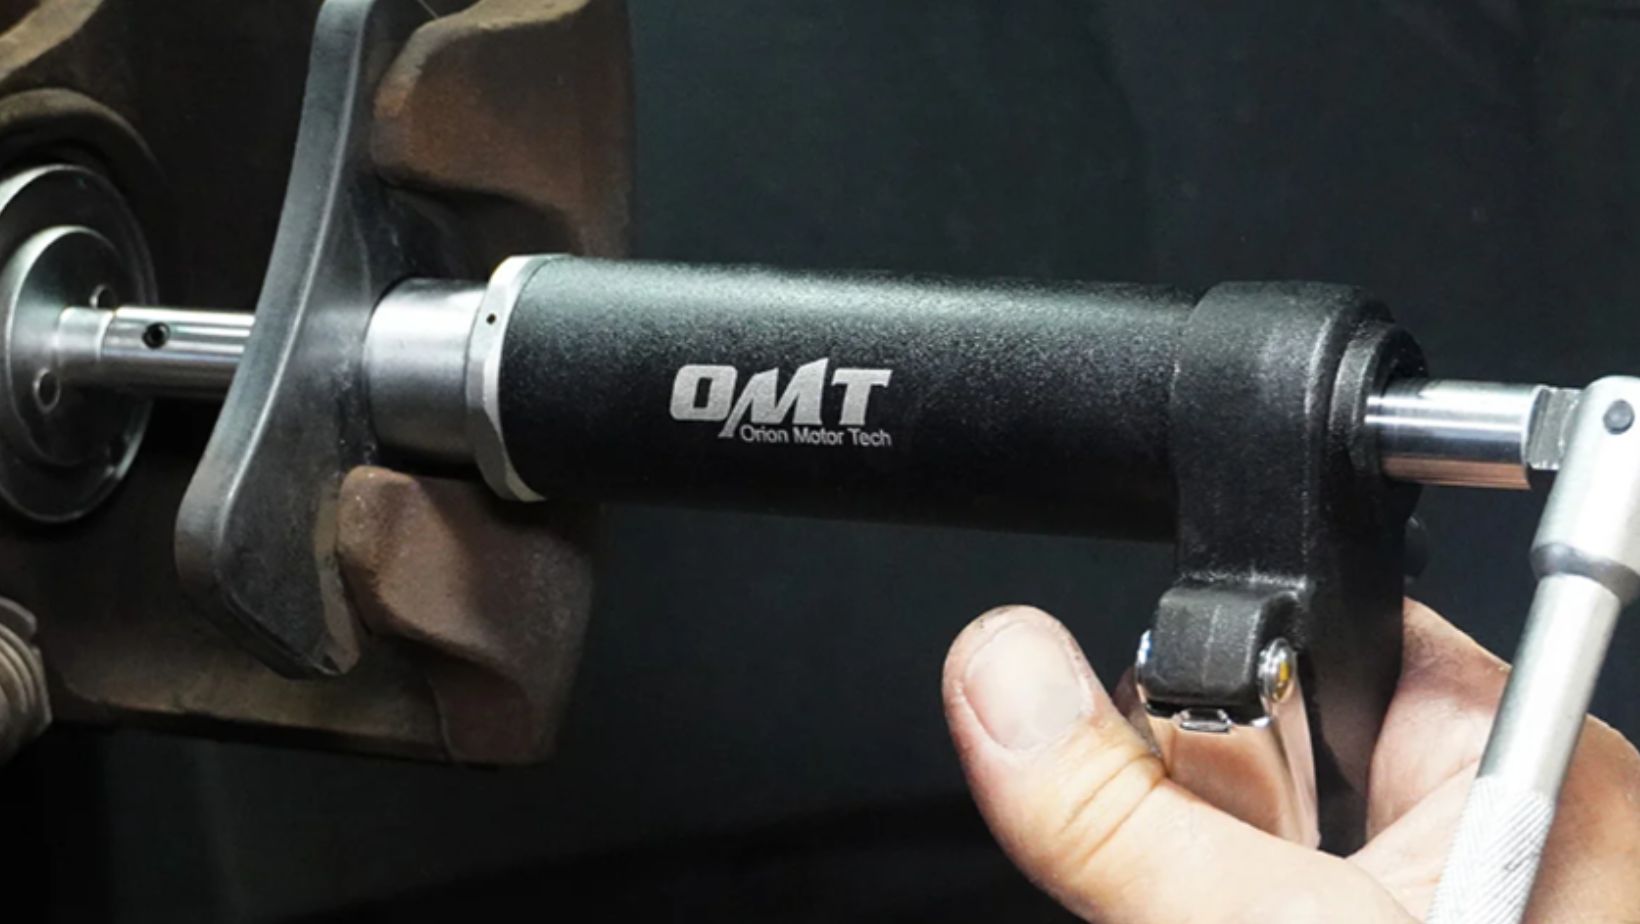
A brake caliper tool is designed to help retract the caliper pistons so you can easily replace brake pads. While some people try to improvise with pliers or C-clamps, a proper caliper tool does the job more smoothly and without risk of damage.
There are a few types to know about:
- Piston compressors: Push pistons back into the caliper.
- Wind-back tools: Designed for calipers with pistons that need to be rotated back.
- Universal kits: Work across multiple caliper designs, making them versatile for DIYers.
The right tool takes the guesswork out of brake repairs and makes the job feel less like a struggle.
Benefits of Using the Right Caliper Tool
Why invest in one? Because the payoff is immediate:
- Saves time and energy: A few turns of the tool beats wrestling with makeshift solutions.
- Protects components: Avoids damaging pistons, seals, or pads.
- Ensures a proper fit: Retracted pistons mean new pads slide in effortlessly.
- Delivers peace of mind: You know your repair is done correctly and safely.
For anyone serious about DIY maintenance, a caliper tool quickly earns its place in the toolbox.
Step-by-Step Guide: Using a Caliper Tool for Brake Repairs
If you’re ready to give it a try, here’s a simplified breakdown:
- Safety first – Park on level ground, wear gloves and eye protection, and gather your tools.
- Lift the car – Use a jack and secure with jack stands. Remove the wheel to expose the caliper.
- Access the caliper – Unbolt it carefully and set it aside without straining the brake line.
- Use the caliper tool – Fit the tool against the piston and turn to retract it fully. For wind-back pistons, rotate as you compress.
- Install new pads – With the piston retracted, new pads should slip into place with ease.
- Reassemble – Secure the caliper, reinstall the wheel, and lower the vehicle.
- Test the brakes – Pump the brake pedal to restore pressure before driving.
Tips for First-Time DIY Brake Repairs
- Check your vehicle manual for specific instructions—some calipers are unique.
- Replace pads in pairs to keep braking balanced across the axle.
- Bleed the brakes if you’ve opened the hydraulic system.
- Know your limits—if the repair feels overwhelming, it’s always smart to get professional help.
Must-Have Tools to Pair with a Caliper Tool
To make the job easier, pair your caliper tool with a few essentials:
- Jack and jack stands
- Lug wrench
- Torque wrench
- Brake cleaner and high-temperature grease

Having the right gear on hand makes the process smoother and prevents common mistakes.
Conclusion
Brake repairs don’t have to be complicated or intimidating. With a caliper tool in your kit, you can take control of one of the most important maintenance tasks your vehicle needs. It saves time, prevents costly mistakes, and ensures your brakes are ready when you need them most. If you’re serious about DIY auto care, adding a caliper tool to your toolbox is a smart move—it’s the key to mastering brake repairs with confidence.


