Firstly, the severity of the burn plays a significant role. Minor burns that only affect the surface layer of the fabric can be repaired relatively quickly. However, deeper burns that have penetrated multiple layers may require more time and effort to fix.
Secondly, the type of material used for your car seat also influences the repair time. Leather seats often demand specialized techniques and products, which can prolong the process compared to fabric seats.
Repair Cigarette Burn In Car Seat
When it comes to repairing a cigarette burn in a car seat, the first step is to accurately identify the damage. This will help determine the appropriate repair techniques and products needed for a successful restoration. Let’s explore the key aspects of identifying a cigarette burn in a car seat.
Causes of Cigarette Burns in Car Seats
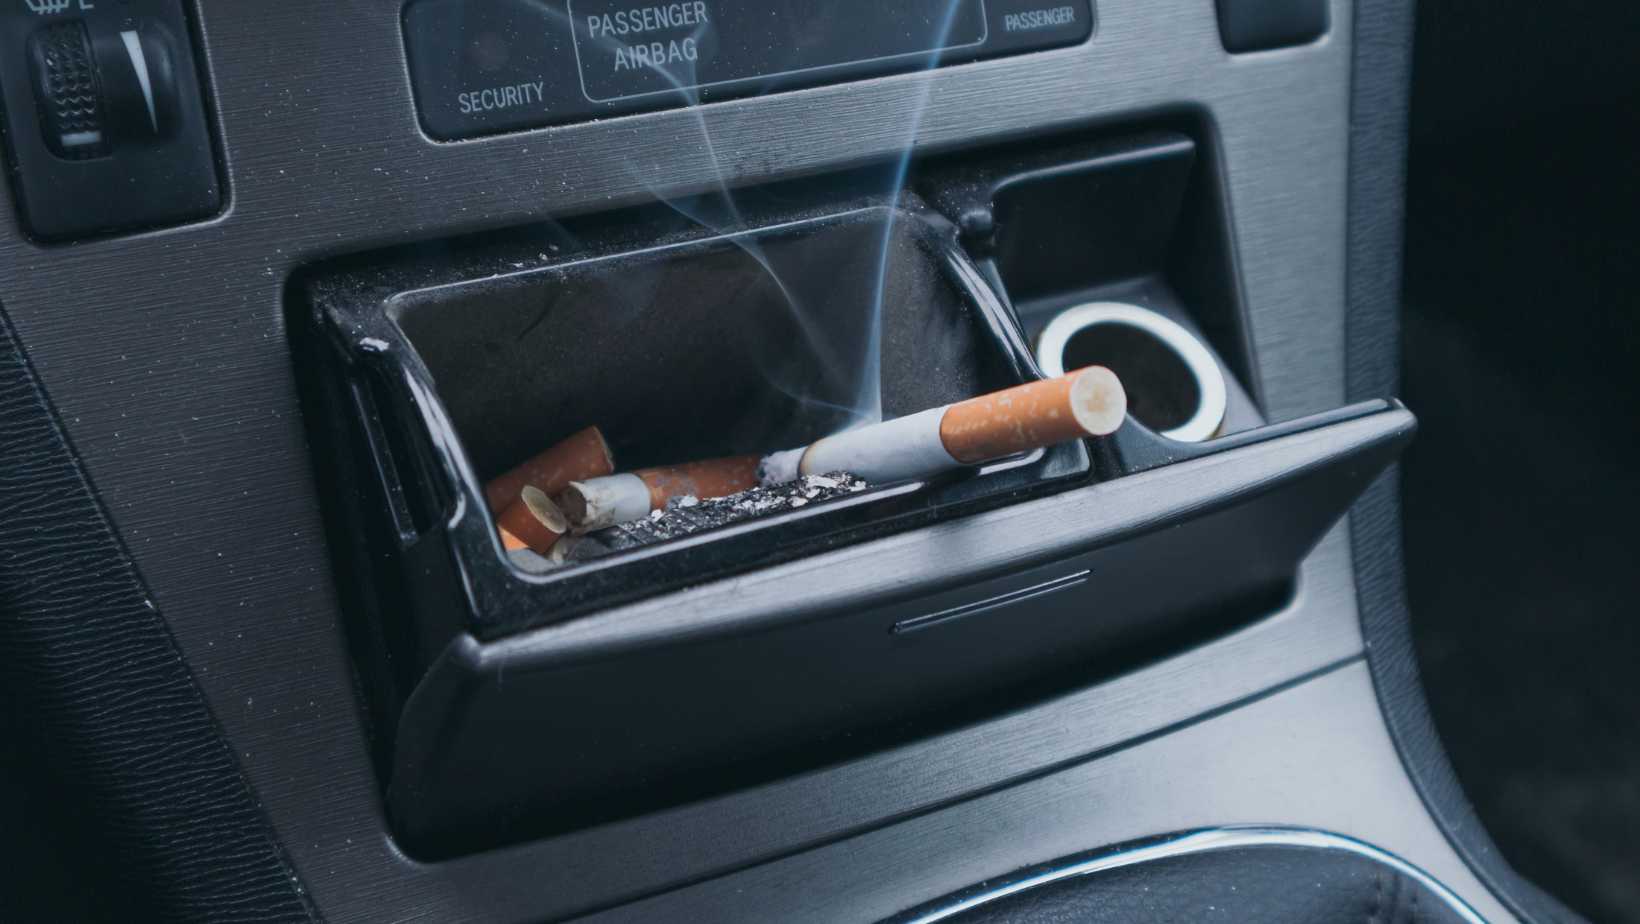
Cigarette burns on car seats can occur due to various reasons, including:
- Accidental contact with lit cigarettes or other burning objects.
- Carelessness while smoking inside the vehicle.
- Improper disposal of cigarette butts that may ignite upholstery materials.
Assessing the Severity of the Burn
Before proceeding with any repairs, it’s essential to assess the severity of the cigarette burn. The following factors should be considered:
- Size: Measure and examine how large or small the burn is.
- Depth: Determine if it only affects surface fibers or has penetrated deeper layers.
- Surrounding Damage: Check for any additional scorch marks or discoloration around the burn area.
Assessing these factors will give you an idea of whether you can address it yourself using DIY methods or if professional assistance might be necessary for more extensive damage.
Effective Techniques to Repair a Cigarette Burn
Repairing a cigarette burn in a car seat requires careful attention and skillful execution. Here are some effective techniques that can help restore your car seat’s appearance:
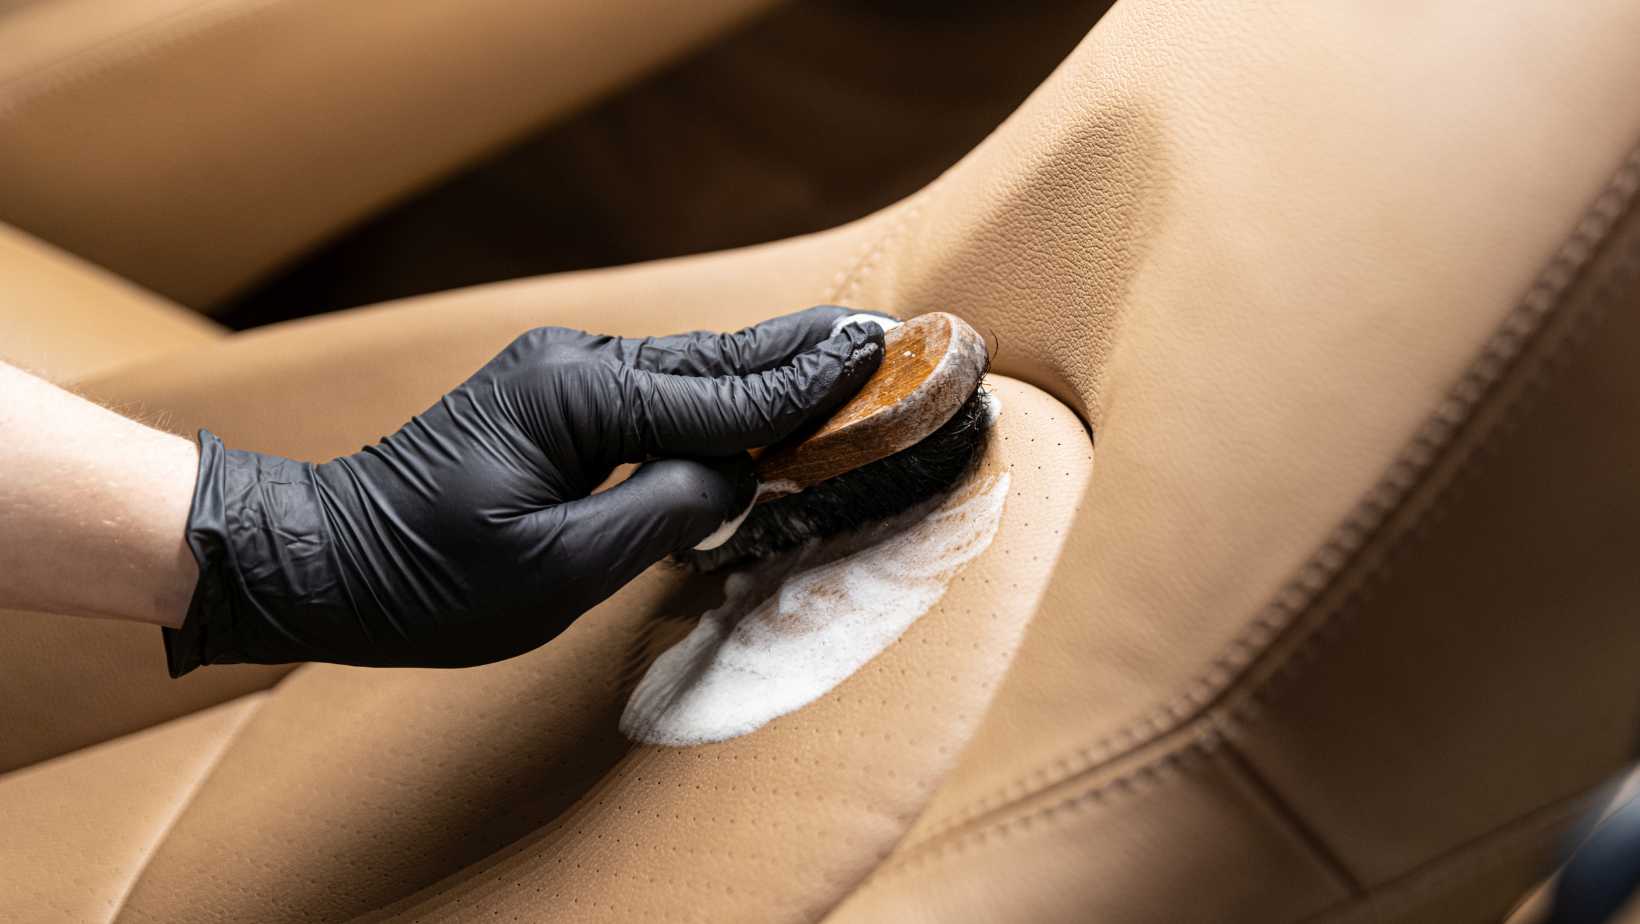
- Cleaning and Preparation: Begin by thoroughly cleaning and vacuuming your car seat to remove any debris or loose fibers around the damaged area.
- Patch Repair: For smaller burns, consider using fabric adhesive or specialized patch kits designed for car seat repairs. These patches can effectively cover the burn and blend in with the surrounding upholstery.
- Heat Transfer: In cases where the burn has affected deeper layers, you may need to use a heat transfer tool to bond new fibers or fabric onto the damaged area. This technique requires precision and should be done cautiously.
Remember, the success of repairing a cigarette burn in a car seat depends on factors such as the severity of the damage, your skill level, and access to appropriate tools and materials.
Preparing The Car Seat For Repair
When it comes to repairing a cigarette burn in your car seat, proper preparation is key. Before diving into the repair process, it’s important to take some necessary steps to ensure a successful outcome. In this section, I’ll guide you through the essential preparations that will help you get your car seat looking as good as new.
- Clean the Area: Start by thoroughly cleaning the area around the cigarette burn. Use a mild detergent or upholstery cleaner and a soft cloth to remove any dirt, debris, or stains. This will create a clean surface for the repair and prevent any unwanted particles from interfering with the adhesive.
- Evaluate the Damage: Take a closer look at the size and depth of the cigarette burn. Assessing its severity will give you an idea of what repair method to use and how long it might take. Smaller burns can often be easily repaired using DIY solutions, while larger or more extensive damage might require professional assistance.
- Gather Necessary Materials: Depending on your chosen repair method, gather all the materials required for fixing your car seat’s cigarette burn. This may include items like fabric glue, patch kits, heat transfer tools, or specialized adhesives designed specifically for upholstery repairs.
- Follow Instructions Carefully: Whether you’re using a DIY repair kit or seeking professional help, always follow instructions carefully to achieve optimal results. Each repair method may have specific steps and drying times that need to be followed closely for effective restoration.
Remember that every repair process may vary depending on factors such as the type of fabric used in your car seat’s upholstery and the extent of damage caused by the cigarette burn. It’s always good practice to consult with a professional if you’re unsure about the best course of action or if you prefer to have an expert handle the repair for you.

