How to Repair Hail Damage on Car Roof
Dealing with hail damage on your car roof can be a frustrating experience. Whether it’s a few dents or extensive damage, finding a solution to restore your vehicle’s appearance is essential. In this article, I’ll guide you through the steps to repair hail damage on your car roof and get it looking as good as new.
First and foremost, assess the extent of the damage. Take a close look at the affected area and determine if it’s something you can tackle yourself or if professional help is needed. Keep in mind that severe hail damage may require specialized tools and expertise.
If the dents are minor and shallow, you may attempt some DIY repairs. One method is using hot water or a hairdryer to heat up the dented area, followed by applying pressure from behind with your hand or a plunger. This technique helps to push out the dent gradually. However, exercise caution not to apply too much force as it could cause further damage.
Preparing the Car for Repair
Inspecting the Car for Hail Damage
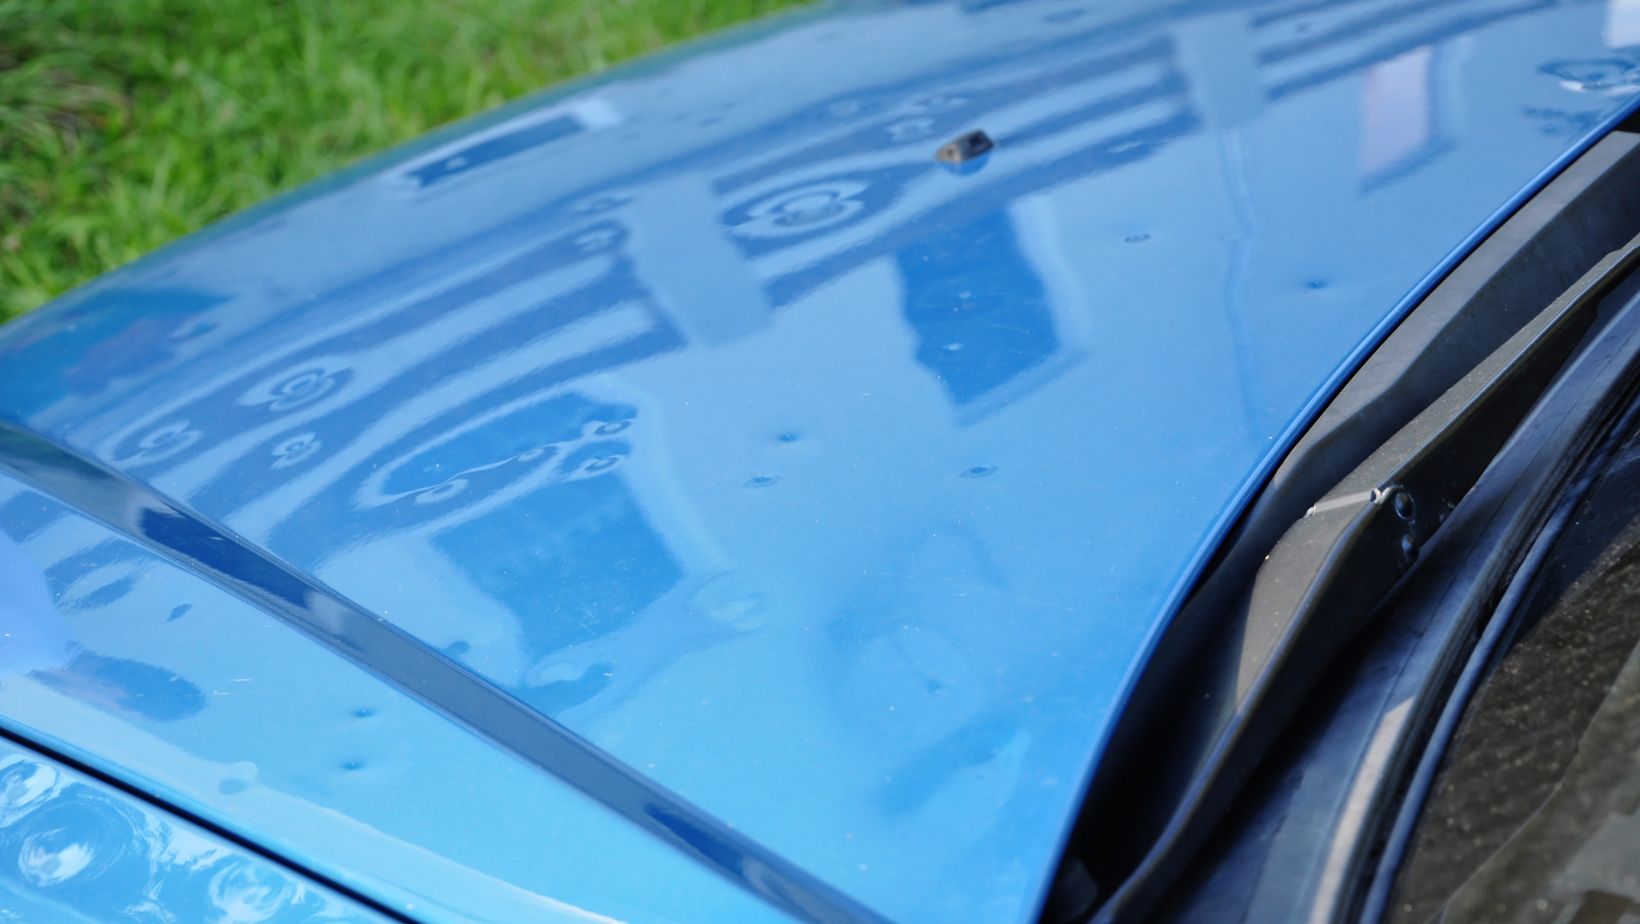
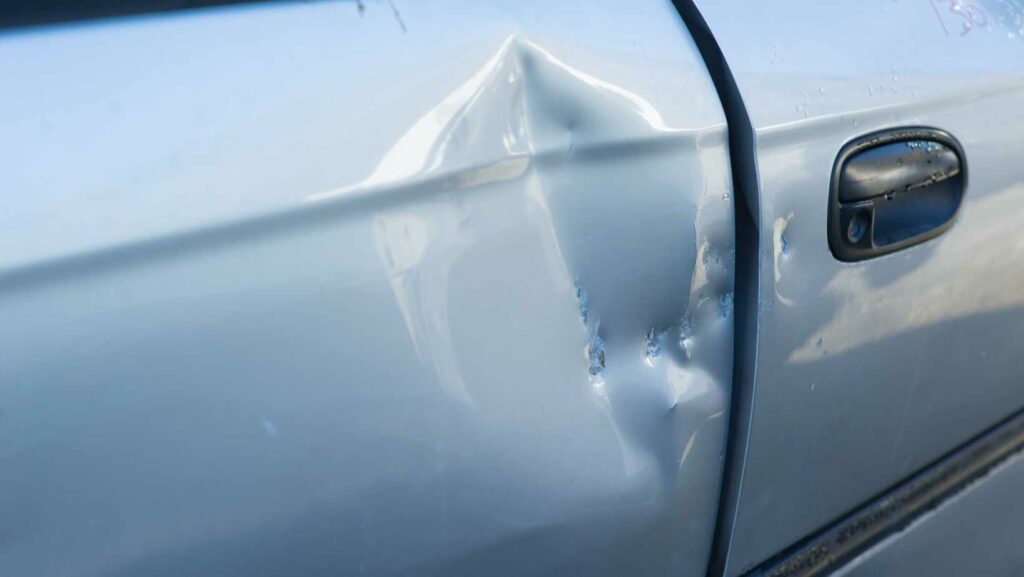
Before diving into the repair process, it’s crucial to thoroughly inspect your car for hail damage. Take your time and carefully examine every part of the vehicle, paying particular attention to the roof. Look out for dents, cracks, chipped paint, or any other visible signs of damage caused by hailstones.
To ensure you don’t miss anything, it can be helpful to follow these steps:
- Examine the roof: Start by closely inspecting the roof of your car. Check for any dimples or depressions caused by hail impacts. Run your fingers over these areas gently to feel for irregularities in the surface.
- Check other surfaces: Move on to examining other parts of your vehicle such as the hood, trunk, doors, and windows. Hailstones can leave behind significant damage on these areas too.
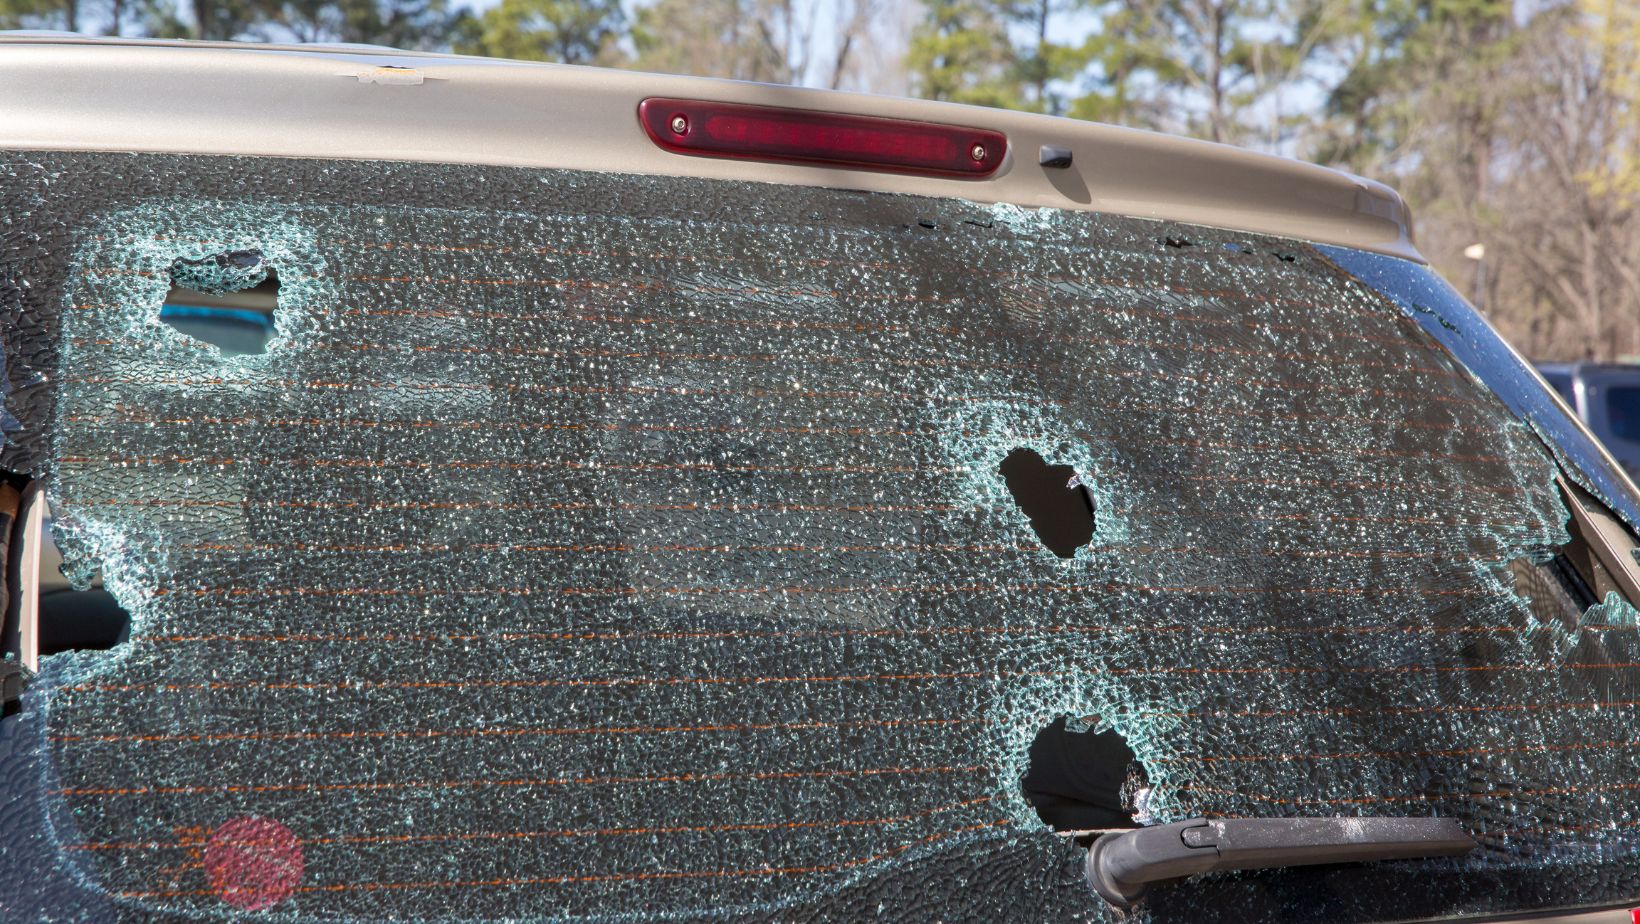
- Look for cracked glass: Inspect all windows and windshield thoroughly for cracks or chips that may have resulted from hail impact.
- Document the damage: As you go along with your inspection, take pictures or make notes of each instance of hail damage you find. This documentation will come in handy when dealing with insurance claims or seeking professional repairs.
Assessing the Extent of Roof Damage
Once you’ve completed a comprehensive inspection and noted down all instances of hail damage on your car’s roof, it’s time to assess the extent of this damage. Understanding how severe it is will help determine whether it’s a DIY fix or if professional intervention is necessary.
Consider these factors while evaluating the scale of roof damage:
- Size and depth of dents: Measure and analyze each dent on your car’s roof using a ruler or gauge tool designed specifically for this purpose. Deep and large dents might require specialized techniques employed by professionals.
- Paint condition: Inspect the condition of the paint around the dents. If it’s cracked or chipped, a touch-up may be necessary after repairing the hail damage.
- Structural integrity: Assess whether any structural damage has occurred that affects the safety and stability of your car’s roof. If you suspect significant structural issues, consult an expert immediately.
By thoroughly assessing the extent of damage, you’ll have a clearer understanding of what repair techniques are suitable for your situation.
Preparing the Work Area
Before commencing repairs on your car’s roof, it’s important to properly prepare your work area to ensure efficiency and safety. Here are some steps to take before getting started:
- Clean the surrounding area: Begin by cleaning the immediate vicinity around your vehicle. Remove any debris or objects that could interfere with your repair process.
- Park in a well-lit space: It’s crucial to have ample lighting while working on car repairs. Park your vehicle in a well-lit area or consider using additional portable lights if needed.
- Gather necessary tools: Collect all the tools and materials required for repairing hail damage, such as dent removal kits, heat guns, suction cups, and body filler.
- Protect other surfaces: Cover any adjacent areas susceptible to accidental damages during repair work with protective sheets or masking tape.
By adequately preparing your work area beforehand, you’ll create an environment conducive to successful repairs and minimize potential complications.

