Car Audio Amplifier Repair
If you’re experiencing issues with your car audio amplifier, you may be wondering if it’s possible to repair it. Well, the good news is that in many cases, repairing a car audio amplifier is indeed possible. As an expert in car audio systems, I’ve encountered various amplifier problems and successfully repaired them. In this article, I’ll guide you through the common issues that can arise with car audio amplifiers and provide some tips on how to troubleshoot and fix them.
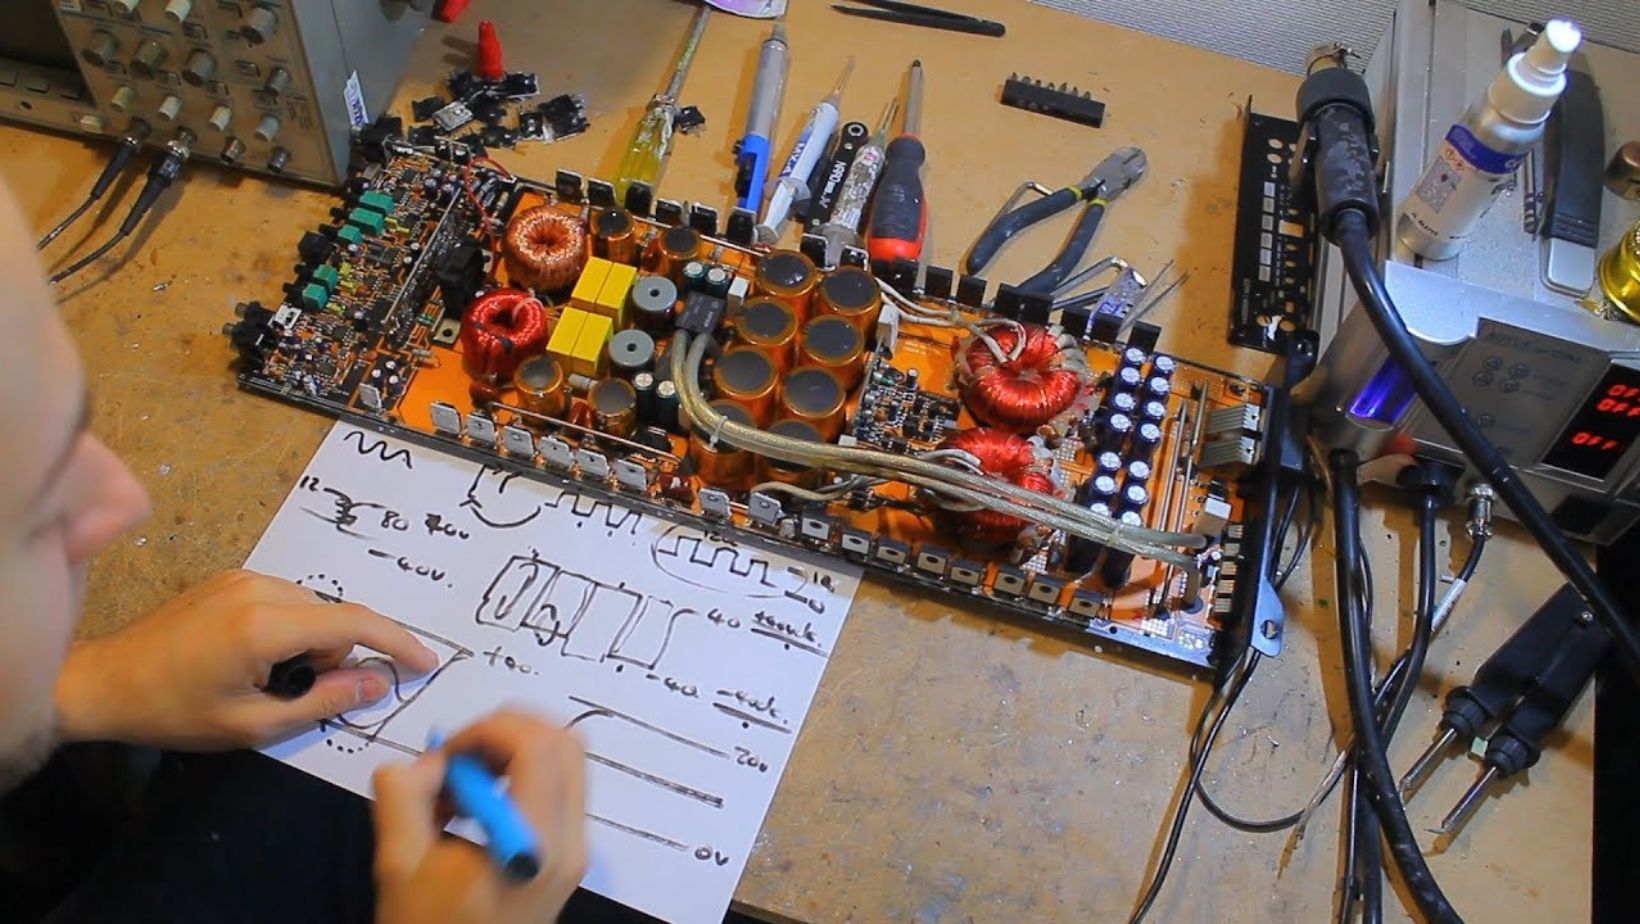
One of the most common problems with car audio amplifiers is a lack of sound or distorted sound output. This could be due to blown fuses, faulty wiring connections, or even damaged components within the amplifier itself. By identifying the root cause of the problem and taking necessary steps to fix it, you can potentially save yourself from having to replace the entire unit.
Another issue that often arises is overheating of the amplifier. This can happen when there isn’t sufficient ventilation around the amplifier or when it’s being pushed beyond its limits for extended periods. Overheating not only affects the sound quality but also poses a risk of damage to other components in your car’s audio system. Therefore, understanding how to properly cool down an overheated amplifier is crucial in ensuring its longevity.
Identifying the Problem: Troubleshooting Techniques
Troubleshooting Signal Loss
When it comes to car audio amplifier repair, one of the most common issues you may encounter is signal loss. This can manifest in various ways, such as distorted sound, weak bass, or complete audio silence. To troubleshoot this problem, here are a few techniques you can try:
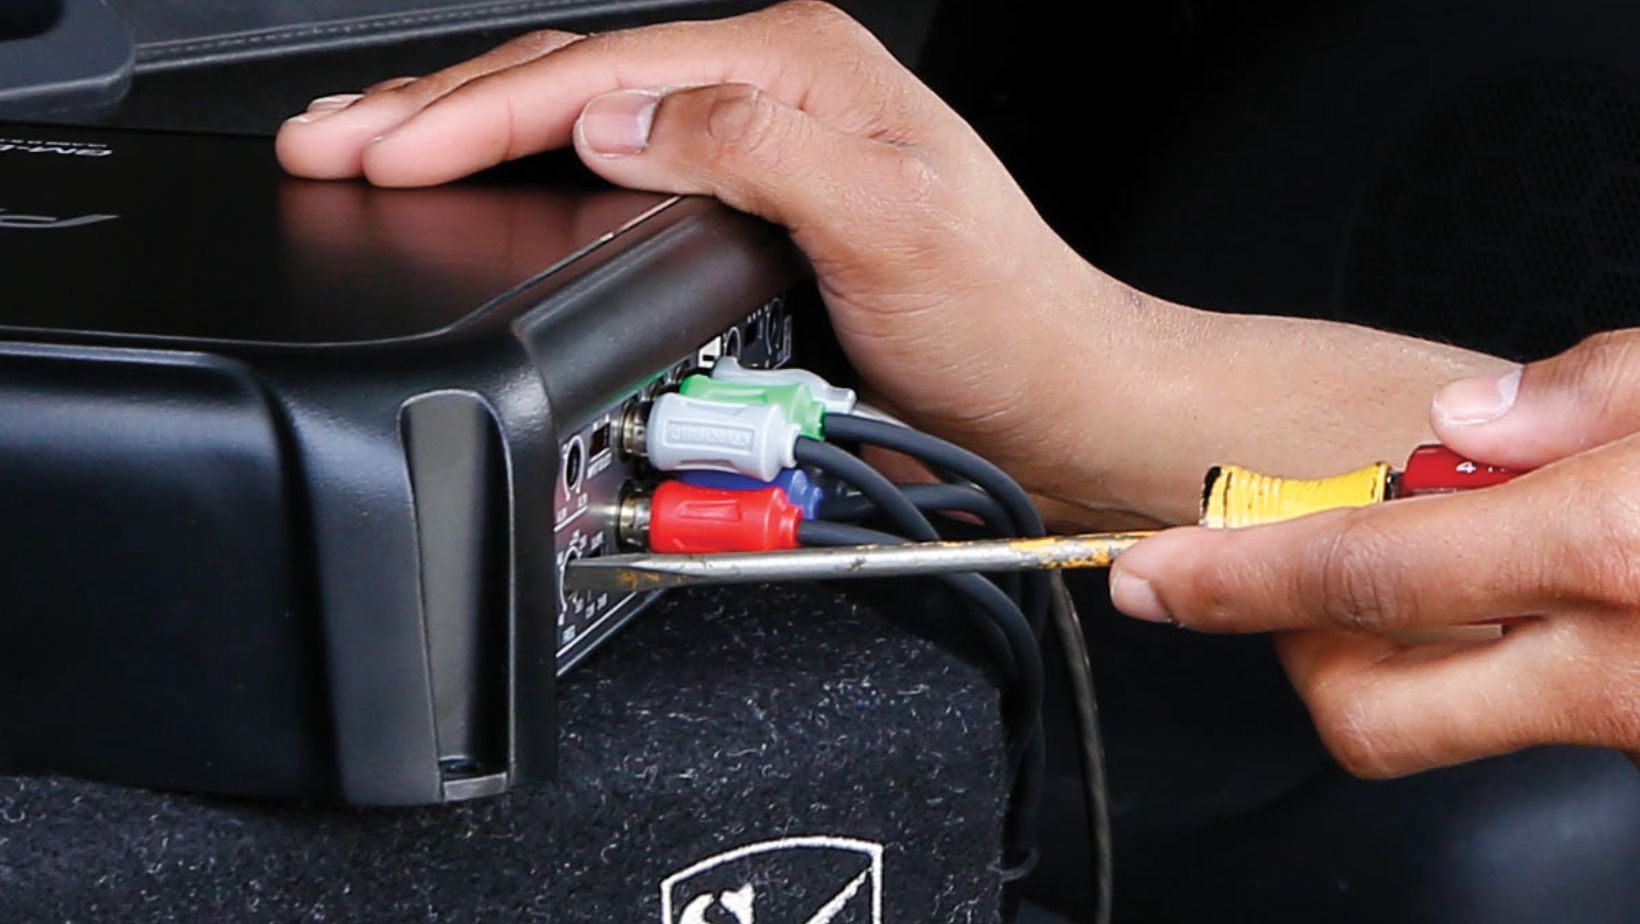
- Check the RCA Cables: Start by inspecting the RCA cables that connect your head unit to the amplifier. Ensure they are securely plugged in and not damaged or frayed. Sometimes, loose connections or faulty cables can result in poor signal transfer.
- Test Different Inputs: If you suspect an issue with the head unit’s output, try connecting another audio source (like a smartphone or MP3 player) directly to the amplifier. If the sound improves, it indicates a problem with your head unit rather than the amplifier.
- Examine Speaker Wires: Faulty speaker wires can also cause signal loss. Check for any loose connections or damaged wires leading from the amplifier to each individual speaker. Replacing worn-out wires or re-terminating them properly can often resolve this issue.
Identifying Grounding Issues
Another common problem that affects car audio amplifiers is grounding issues. Inadequate grounding can lead to unwanted noise interference and even damage to your equipment. To diagnose and address grounding problems, consider these troubleshooting steps:
- Inspect Ground Connections: Begin by examining all ground connections associated with your amplifier setup – both at the amp itself and where it connects to the vehicle’s chassis. Ensure that all ground points are clean, secure, and free from corrosion.
- Separate Power and Audio Wiring: Keep power and audio wiring separate throughout your installation process as much as possible—crossed paths between these two types of wiring can introduce unwanted noise into your system due to electromagnetic interference (EMI).
- Add Additional Grounds: If you’re still experiencing grounding issues, consider adding additional ground connections. This can involve using a dedicated ground wire to establish a direct path between the amplifier and the vehicle’s chassis, bypassing potential grounding problems.
Diagnosing Wiring Faults
Wiring faults can cause a range of issues in your car audio system, from intermittent sound to complete failure. Here are some techniques to help diagnose and resolve wiring faults:
- Visually Inspect Wiring: Start by visually inspecting all wiring connections for any signs of damage or loose connections.
- Perform Continuity Tests: Use a multimeter to test for continuity along each wire in your setup.
- Check Fuse Connections: Ensure that all fuse connections associated with your amplifier and head unit are secure and not blown.
Remember, these troubleshooting techniques provide a starting point for identifying common problems with car audio amplifiers. However, if you’re unsure about any steps or encounter more complex issues, it’s always best to consult with a professional car audio technician for further assistance.

