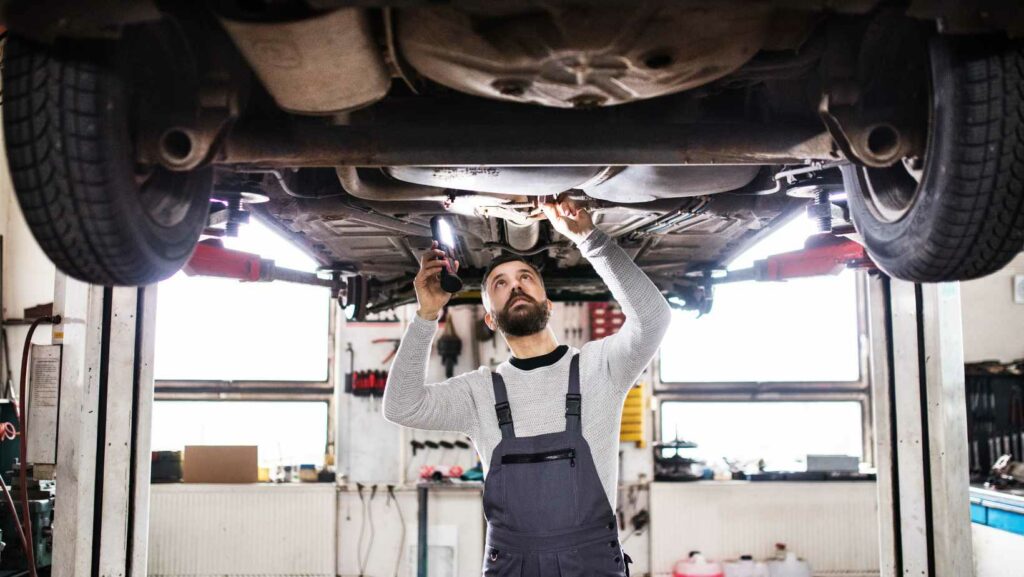
Are you in need of a reliable solution for your car’s fiberglass repair? Look no further! I specialize in providing expert advice and guidance on all aspects of car fiberglass repair. Whether it’s a minor scratch or a major damage, I’ve got you covered.
Car fiberglass repair is an essential skill to have, especially if you want to maintain the appearance and value of your vehicle. Fiberglass is commonly used in car bodies due to its lightweight and durable nature. However, accidents happen, and damages can occur. That’s where my expertise comes in.
I’ll guide you through the process of repairing your car’s fiberglass with ease. From assessing the extent of the damage to selecting the appropriate tools and materials, I’ll provide step-by-step instructions that anyone can follow. With my tips and tricks, you’ll be able to restore your car’s exterior back to its original condition without breaking the bank.
Common Causes of Fiberglass Damage
Improper handling during installation
One of the common causes of car fiberglass damage is improper handling during installation. When the fiberglass panels are not handled with care and precision during the installation process, they can easily get damaged. This could include mishandling while transporting or improperly securing the panels in place. Even a minor error in handling can lead to cracks, dents, or other forms of damage to the fiberglass surface.
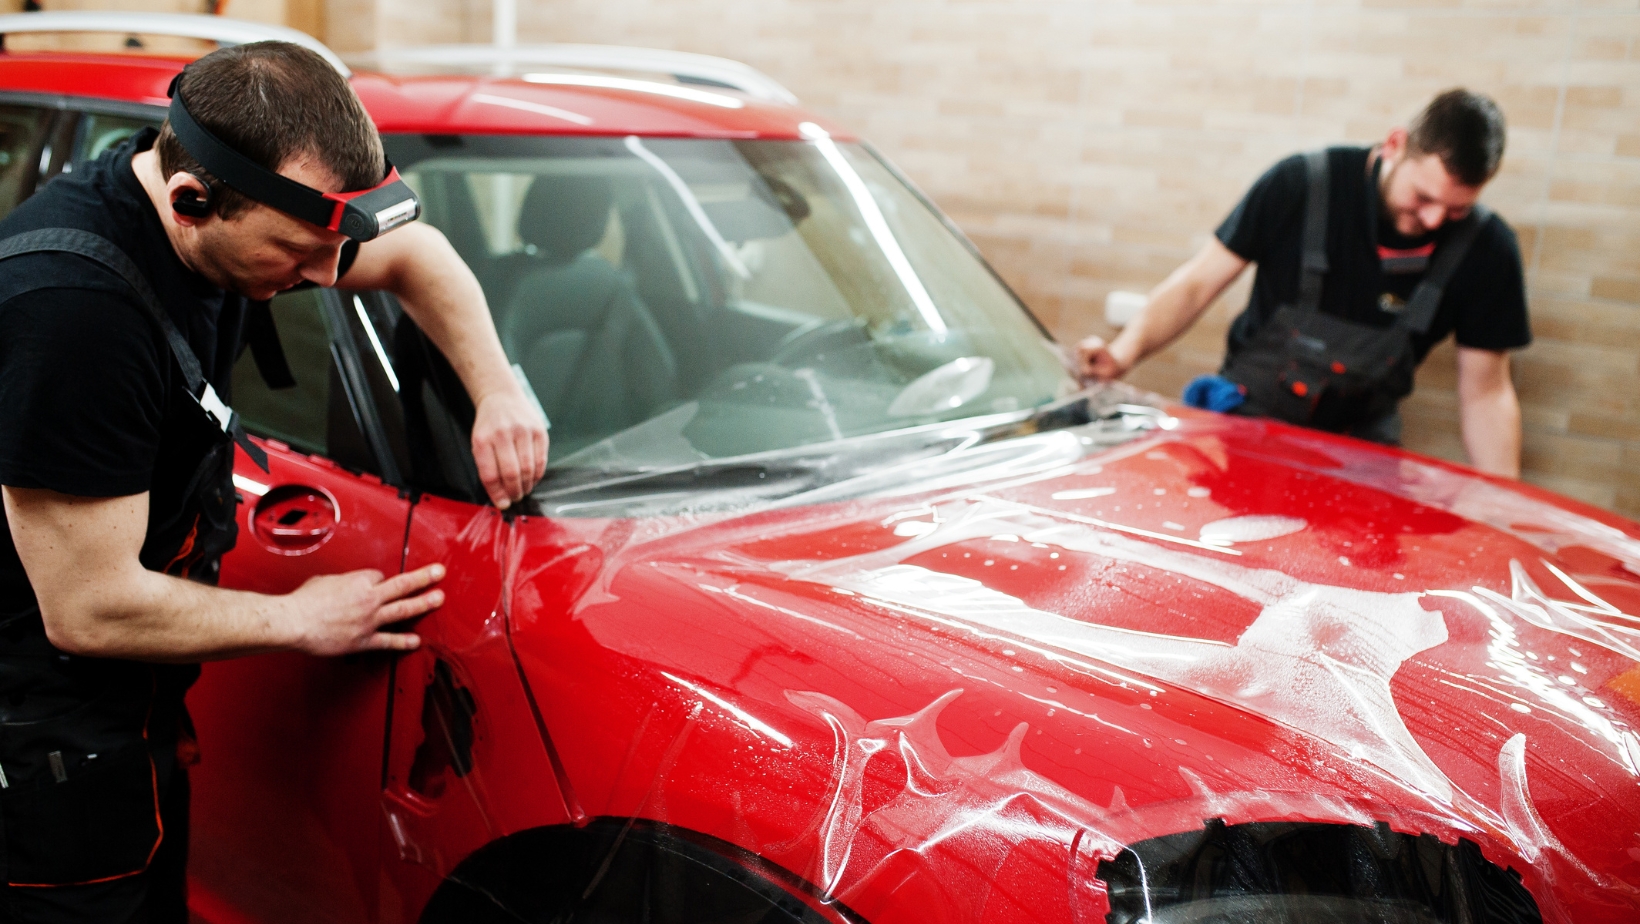
Accidental impacts and collisions
Accidental impacts and collisions are another frequent cause of fiberglass damage in cars. Whether it’s a fender bender or a more serious collision, any forceful impact on the vehicle can result in cracks or fractures in the fiberglass body parts. These impacts can occur from various sources such as other vehicles, objects on the road, or even accidental bumps into stationary structures.
Exposure to harsh weather conditions
Exposure to harsh weather conditions is yet another factor that can contribute to fiberglass damage over time. Continuous exposure to extreme heat, cold temperatures, rain, snow, and UV rays can gradually deteriorate the protective coating on the fiberglass surface. As a result, it becomes more vulnerable to cracking, fading, peeling, and overall degradation.
When combined with external factors like road debris and chemicals (such as salt used for de-icing), these weather conditions can accelerate the wear and tear on car fiberglass components.
It’s worth noting that while these three factors are common causes of car fiberglass damage individually, they often intertwine with each other. For instance, accidents caused by improper handling during installation may also involve an impact leading to further damage. Additionally, prolonged exposure to harsh weather conditions might weaken already damaged areas caused by previous accidents.
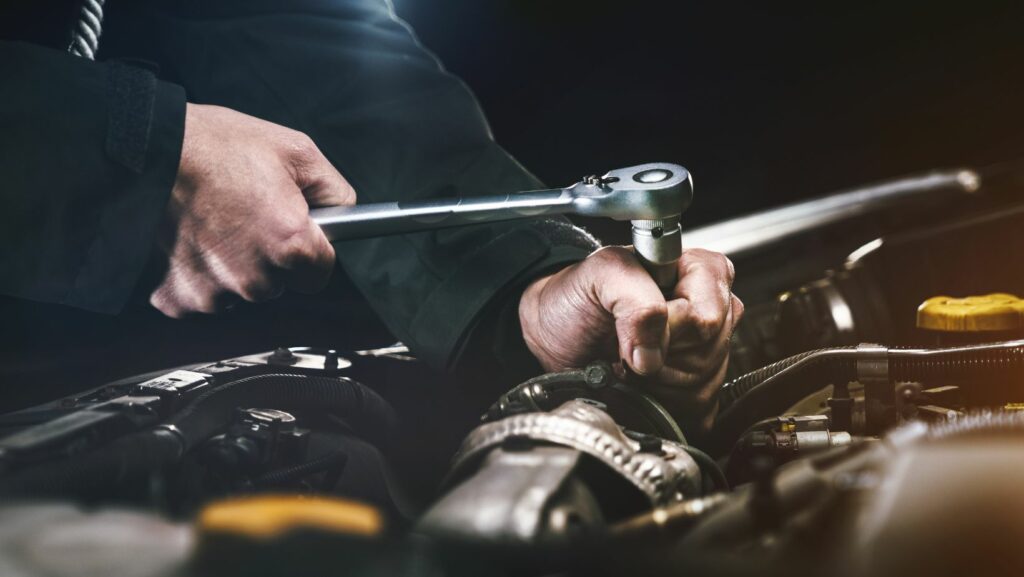
Car Fiberglass Repair
Preparation
Before beginning the car fiberglass repair process, gather the necessary tools and materials:
- Safety goggles and gloves
- Sandpaper (grit ranging from 80 to 220)
- Fiberglass cloth or mat
- Epoxy resin and hardener
- Mixing container and stir stick
- Applicator brush or roller
- Masking tape and plastic sheeting
Step 1: Assess the Damage
Thoroughly inspect the damaged area on your car’s fiberglass surface. Identify any cracks, holes, or other imperfections that require repair.
Step 2: Prepare the Surface
Prepare the damaged area for repair by following these steps:
- Clean the surface using a mild detergent and water.
- Rinse off any residual dirt or grease.
- Use sandpaper to gently roughen up the damaged area.
- Wipe away dust with a clean cloth.
Step 3: Apply Fiberglass Cloth and Resin
Now it’s time to reinforce the damaged area with fiberglass cloth and resin:
- Cut a piece of fiberglass cloth slightly larger than the damaged region.
- Mix epoxy resin and hardener according to manufacturer instructions.
- Lay down plastic sheeting beneath the repair area to catch any excess resin.
- Using an applicator brush or roller, apply a thin layer of mixed resin onto the damaged surface.
- Place the precut fiberglass cloth over it while ensuring full coverage.
- Apply more resin on top of the cloth until it becomes transparent.
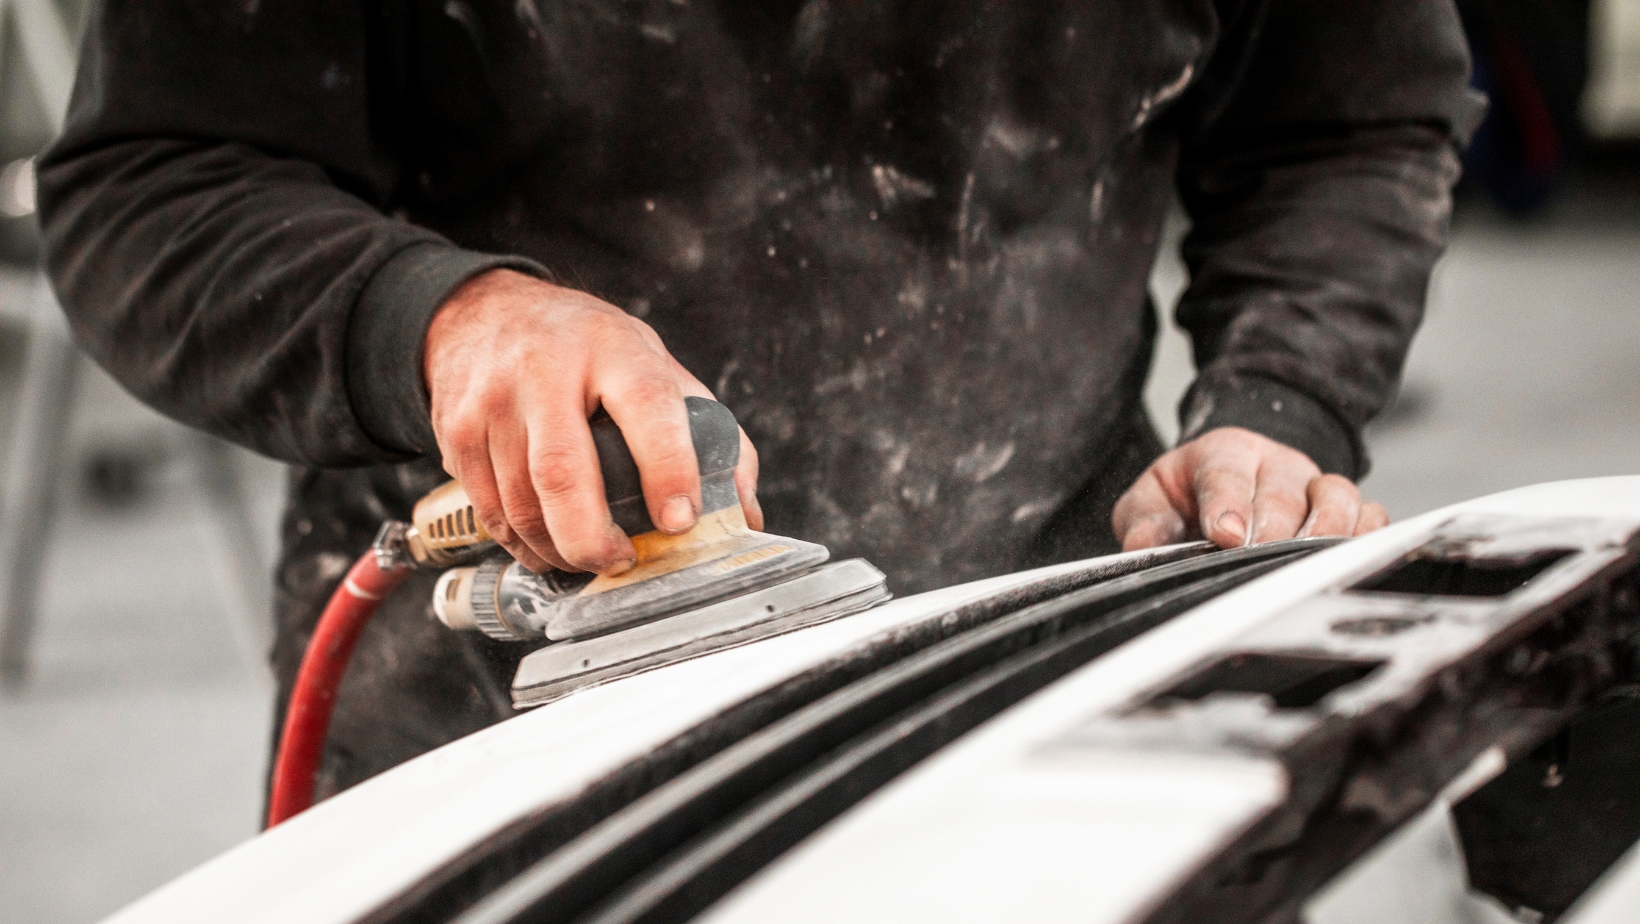
Step 4: Smooth Out Imperfections
After allowing sufficient curing time for the resin (refer to product instructions), proceed with smoothing out imperfections:
- Use sandpaper of increasing grit sizes (starting from coarse) to level out any uneven areas.
- Gradually work your way up to finer grit sandpaper for a smooth finish.
- Avoid applying excessive pressure to prevent damaging the repaired section.
Step 5: Prime and Paint
To finalize the car fiberglass repair, prime and paint the repaired area:
- Clean the surface to remove any dust or debris.
- Apply automotive primer specifically designed for fiberglass surfaces.
- Allow proper drying time as per product instructions.
- Once dry, use suitable automotive paint matching your vehicle’s color to cover the repair area.
- Apply multiple thin coats of paint, allowing each layer to dry before applying the next.
Remember, if you’re uncertain about tackling extensive damage or lack experience in fiberglass repair, it’s always advisable to consult a professional for assistance.