When it comes to car windshield seal repair, it’s important to address any issues promptly to ensure the safety and integrity of your vehicle. Over time, the seals around your car’s windshield can wear down or become damaged, leading to water leaks, wind noise, and potential structural problems. In this article, I’ll discuss the importance of timely repair for car windshield seals and provide some tips on how to identify and fix common seal issues.
One of the key signs that your car’s windshield seal may need repair is water leakage. If you notice water entering your vehicle during rainy weather or after washing it, chances are there is a problem with the seal. Additionally, if you experience increased wind noise while driving at high speeds, it could be an indication that the seal has deteriorated. Ignoring these signs can lead to further damage and more costly repairs down the line.
Car Windshield Seal Repair
Common Causes of Car Windshield Seal Damage
When it comes to car windshield seal damage, there are several common culprits that can wreak havoc on the integrity of your seals. Here are a few factors to consider:
- Age and Wear: Over time, the constant exposure to sunlight, extreme temperatures, and general wear and tear can weaken the rubber seals around your car’s windshield. As the seals age, they become more susceptible to cracks, tears, and deterioration.
- Road Debris: Driving on highways or roads with loose gravel or construction debris can increase the risk of damage to your windshield seals. Flying rocks or other objects may strike the seals and cause them to crack or break.
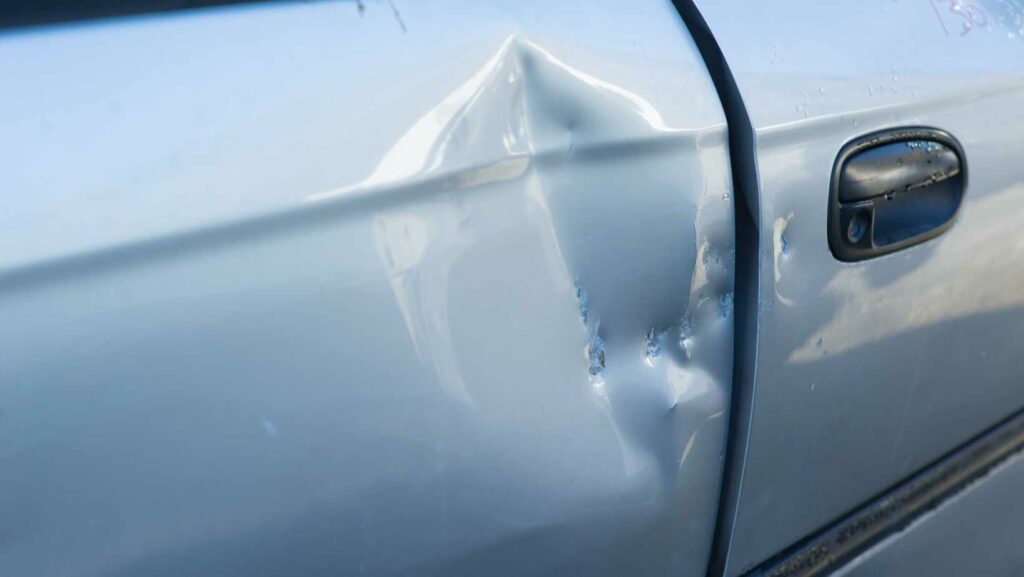
- Accidents and Collisions: A car accident or collision can put immense pressure on the windshield and its surrounding components. The force generated during impact can lead to seal damage or even dislodgment.
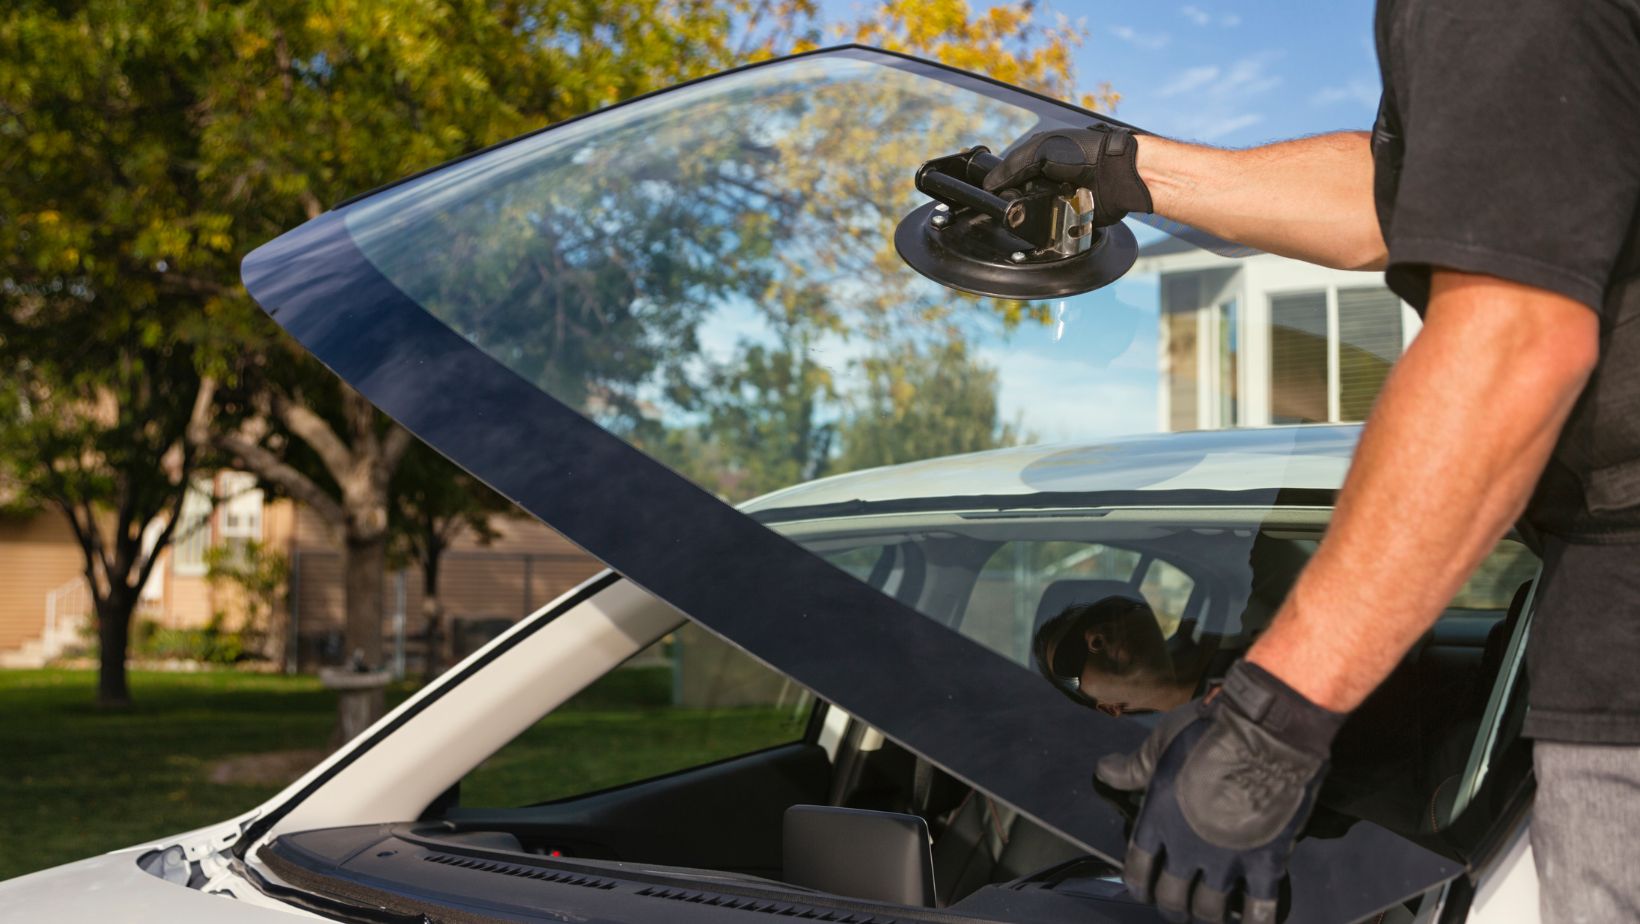
Tools And Materials Needed For Car Windshield Seal Repair
To successfully repair a car windshield seal, you’ll need a few essential tools and materials. Here’s a breakdown of what you’ll need:
- Safety goggles: Protect your eyes from any debris or glass shards that may be present during the repair process.
- Gloves: Wear protective gloves to shield your hands from sharp edges and potential chemical exposure.
- Screwdriver or trim removal tool: Use this tool to carefully remove any exterior trims or moldings around the windshield.
- Razor blade scraper: This will come in handy for removing old adhesive residue from the windshield seal.
- Windshield cleaner solution: Ensure you have a suitable cleaner specifically designed for automotive glass to thoroughly clean the windshield before starting the repair.
- Primer: A primer helps promote adhesion between the new sealant and the windshield, ensuring a strong bond.
- Automotive-grade adhesive/sealant: Choose a high-quality adhesive or sealant specifically designed for automotive applications to ensure long-lasting results.
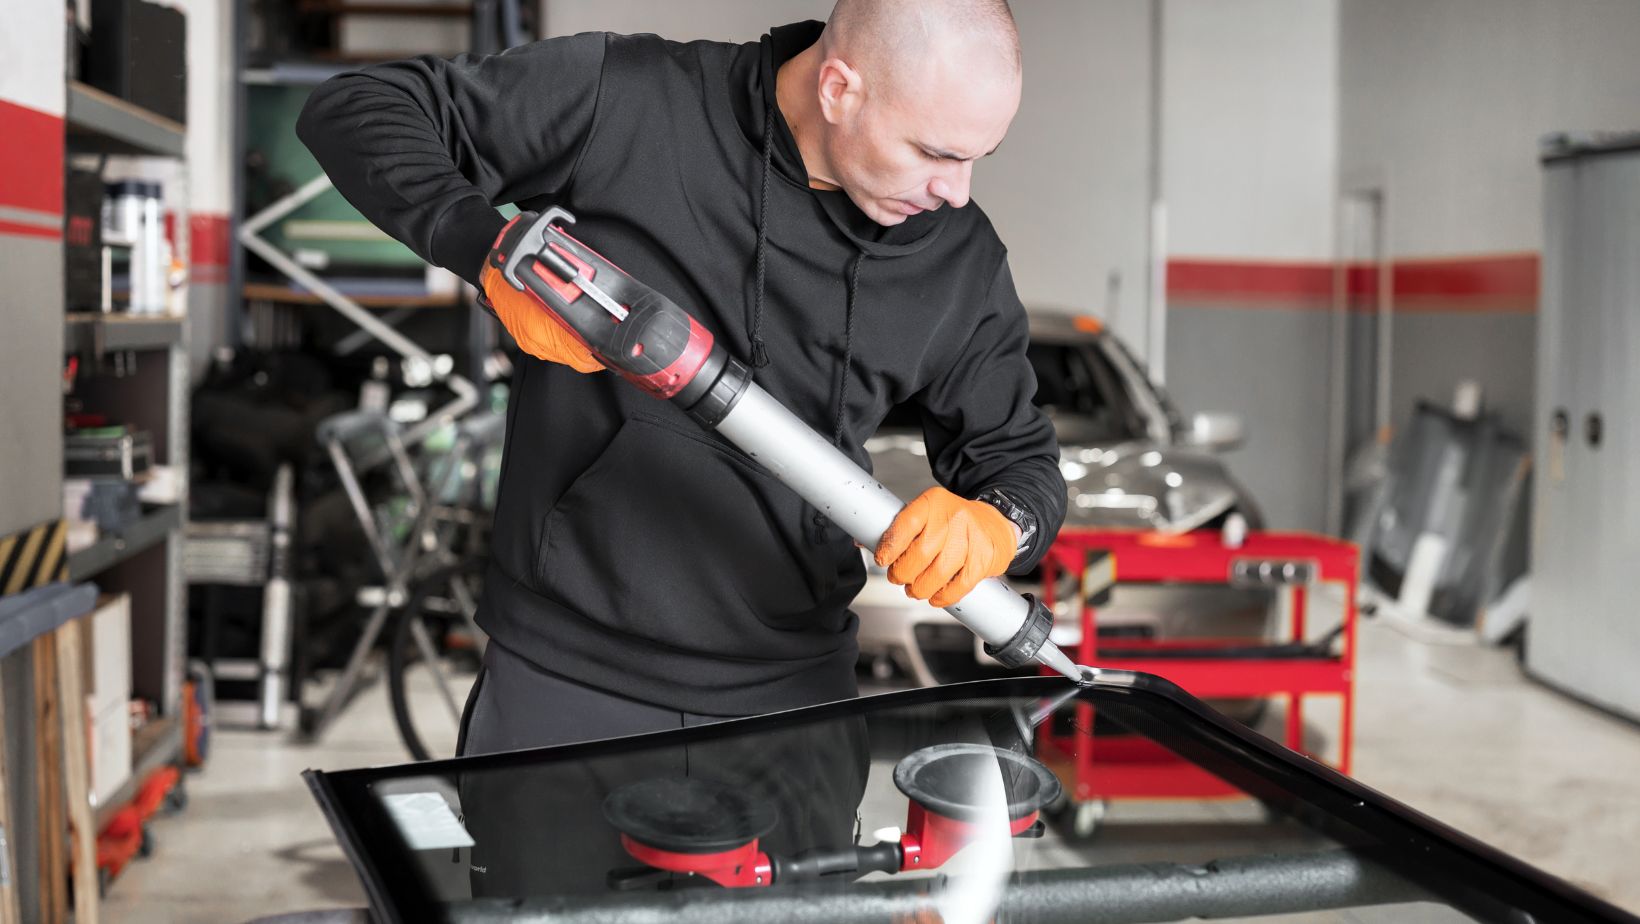
- Sealant gun/caulking gun: You’ll need this tool to apply the adhesive or sealant evenly along the damaged area of the windshield seal.
- Masking tape: Use masking tape to protect surrounding areas of the vehicle from accidental overspray during application.
- Clean cloth/towel: Keep a clean cloth or towel nearby to wipe away excess adhesive, sealant, or cleaning solution as needed.
It’s important to note that these tools and materials may vary depending on your specific car model and repair requirements. Always refer to your vehicle’s manual or consult with an expert if you’re unsure about which tools are appropriate for your car windshield seal repair project.
Now that we’ve covered the necessary tools and materials, let’s move on to understanding how to properly perform a car windshield seal repair in our

