Car Seat Motor Repair
As an expert in car seat motor repair, I have seen firsthand the importance of properly functioning motors in ensuring comfort and safety while driving. Whether it’s a faulty reclining motor or a malfunctioning seat adjustment motor, these issues can greatly impact the overall driving experience. In this article, I will share my expertise and provide valuable insights on how to diagnose and repair common car seat motor problems, helping you save time and money in the process.
When it comes to car seat motor repair, it’s crucial to understand the underlying causes of the problem. From worn-out gears to electrical issues, there are various factors that can contribute to a malfunctioning motor. In this comprehensive guide, I’ll walk you through the most common motor problems and offer step-by-step instructions on how to troubleshoot and fix them. By following my expert advice, you’ll be able to restore your car seat’s motor to its full functionality and enjoy a comfortable and hassle-free ride.
Repairing Car Seat Motors
Replacing Faulty Components
When it comes to repairing car seat motors, one of the most common issues is faulty components. Over time, certain parts of the motor can wear out or break, causing the motor to malfunction. If you suspect that a specific component is causing the problem, it’s important to replace it as soon as possible. Here’s how you can do it:
- Identify the faulty component: Carefully inspect the motor and look for any signs of damage or wear. Common components that may need replacement include gears, brushes, or switches.
- Order the replacement part: Once you’ve identified the faulty component, you’ll need to order a replacement. Make sure to get the correct part for your specific car seat model. You can often find replacement parts online or at a local automotive parts store.
- Disconnect the power: Before you start replacing the component, make sure to disconnect the power source to avoid any potential electrical hazards.
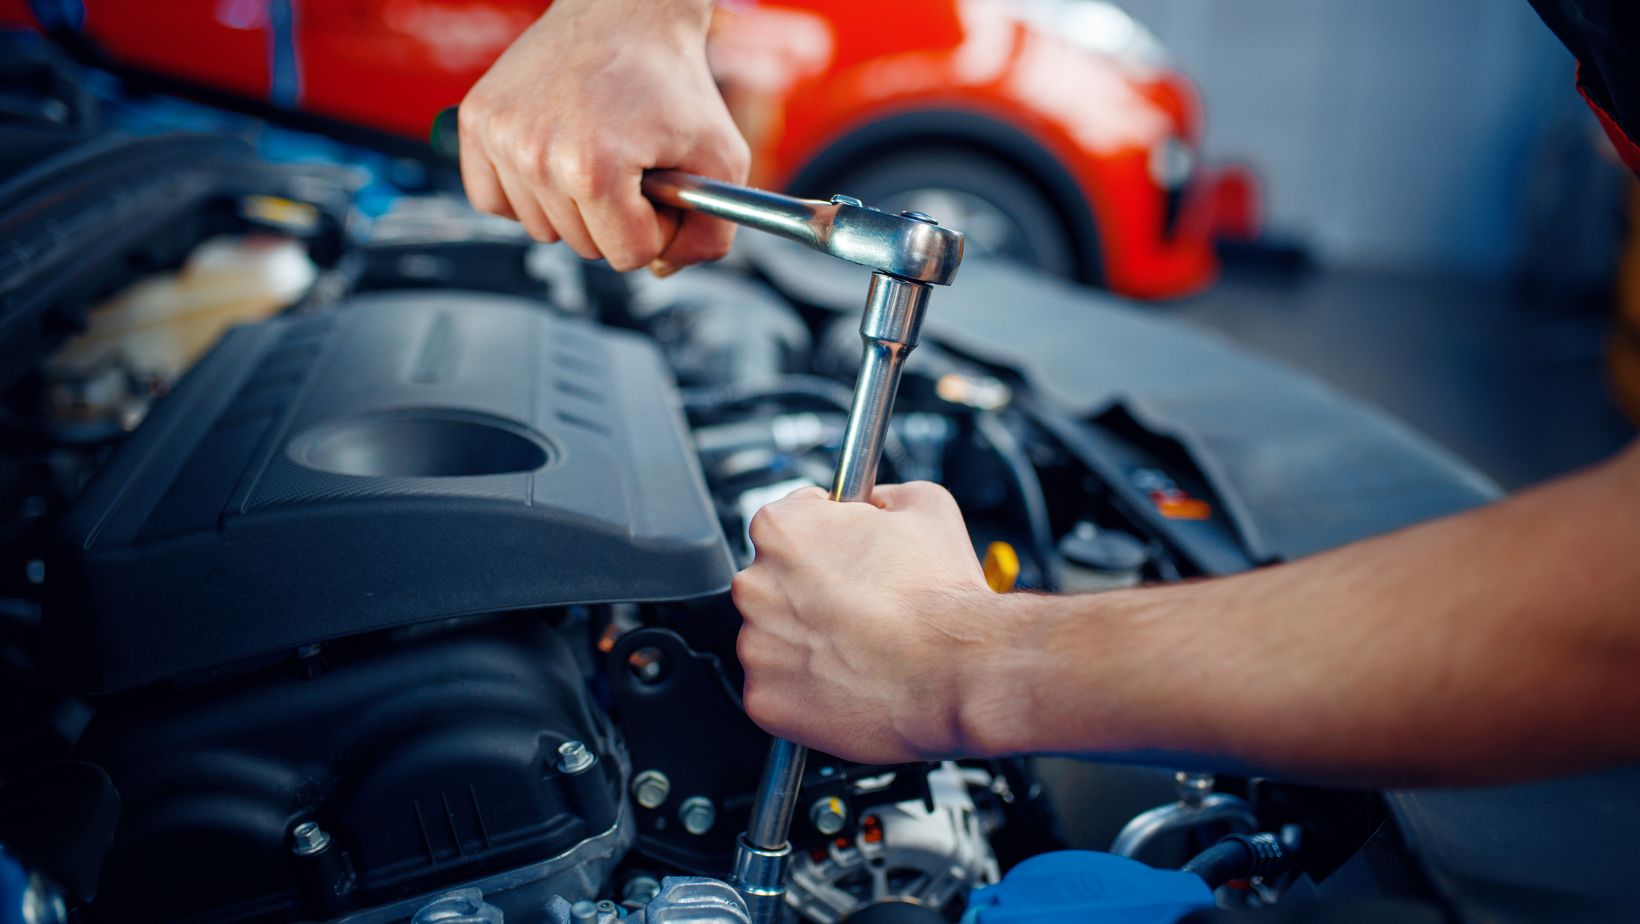
- Remove the old component: Use the appropriate tools to remove the faulty component from the motor. Follow any specific instructions provided by the manufacturer to ensure a safe and successful replacement.
- Install the new component: Carefully install the new component in place of the old one. Make sure it fits securely and is properly aligned. Double-check that all connections are secure before proceeding.

Lubricating the Motor
Another important step in repairing car seat motors is lubrication. Over time, the motor’s moving parts can become dry or clogged with debris, leading to reduced performance or even motor failure. Regular lubrication can help keep the motor running smoothly and prevent future issues. Here’s what you need to do:
- Identify the lubrication points: Check the manufacturer’s manual or documentation to find the specific lubrication points for your car seat motor. These are typically located near moving parts or joints.
- Choose the right lubricant: Select a high-quality lubricant that is recommended for automotive use. Avoid using greases or oils that are not suitable for your car seat motor.
- Apply the lubricant: Apply a small amount of lubricant to each identified lubrication point. Use a precision applicator or a small brush to ensure accurate and controlled application.
- Move the motor: After applying the lubricant, manually move the motor in different directions to distribute the lubricant evenly. This will help to coat all the necessary parts and ensure optimal performance.
- Wipe off excess lubricant: Use a clean cloth to wipe off any excess lubricant. This will prevent buildup and keep the motor clean.
Adjusting the Motor’s Position
Sometimes, a car seat motor may not work properly due to misalignment or improper positioning. This can cause the motor to struggle or fail to function at all. Adjusting the motor’s position can often solve this issue. Here’s how you can do it:
- Locate the motor: Identify the location of the motor in your car seat. It’s usually located underneath the seat or on the side.
- Check for misalignment: Inspect the motor to see if it is misaligned or not in the correct position. Look for any loose or detached screws or brackets.
- Reposition the motor: If the motor is misaligned, carefully reposition it to the correct position. Use the appropriate tools to tighten any loose screws or brackets.
- Test the motor: After adjusting the motor’s position, test it to ensure it’s working properly. If the motor is functioning as it should, you’ve successfully resolved the issue.
By following these steps, you can effectively diagnose and repair common car seat motor problems. Remember, if you’re unsure about any aspect of the repair process, it’s always best to consult a professional.
