
How to Blend Car Paint (Spot Repair)
Wondering how to blend car paint for spot repairs? Look no further! In this article, I’ll share some expert tips and techniques to help you achieve seamless results. Whether you’re dealing with a minor scratch or a small area that needs touch-up, blending the paint properly is essential to restore your car’s appearance.
Firstly, it’s important to choose the right color match for your car’s paint. Most automotive stores offer touch-up paint kits that include the exact shade for different vehicle models. Make sure to thoroughly clean and prep the surface before starting the blending process.
When applying the touch-up paint, use gentle strokes and feathering techniques around the damaged area. This helps in creating a smooth transition between the existing paint and the new layer. Take your time and apply multiple thin coats rather than one thick layer, allowing each coat to dry completely before adding another.
Lastly, don’t forget about clear coat application. Applying a clear coat not only protects the newly applied paint but also adds shine and enhances durability. Follow manufacturer instructions for proper drying times between coats.
Choosing the Right Paint
When it comes to blending car paint for spot repairs, one crucial aspect is selecting the right paint. The perfect match can make all the difference in achieving a seamless finish. So, how do you go about choosing the right paint? Here are some factors to consider:
- Color Matching: Start by identifying the exact color code of your vehicle’s paint. This information can usually be found on a sticker located inside the driver’s side door jamb or in the owner’s manual. Once you have this code, consult with a reputable automotive paint supplier who can help you find a matching color.
- Quality and Compatibility: It’s essential to choose high-quality automotive paints that are specifically formulated for spot repairs. Look for paints that offer excellent adhesion, durability, and resistance against fading and weathering. Additionally, ensure that the chosen paint is compatible with your vehicle’s existing paint system.
- Finish Type: Consider whether your vehicle has a metallic or non-metallic finish as this will affect your choice of paint type. Metallic finishes contain small metal flakes that give off a shimmering effect, while non-metallic finishes have a solid color without any added sparkle.
- Application Method: Determine whether you’ll be using aerosol cans or spray guns for applying the paint. Aerosol cans provide convenience but may not yield professional results like spray guns do. If you’re looking for more precise application and better control over coverage, investing in spray equipment might be worth considering.
- Test Panels: Before committing to painting your entire vehicle, it’s wise to test the selected color on small panels or inconspicuous areas first. This step allows you to assess if there are any discrepancies between the new and existing paint and make adjustments accordingly.
By carefully considering these factors when choosing car paint for spot repairs, you can increase your chances of achieving an excellent blend that seamlessly matches your vehicle’s original color scheme.
Gathering the Necessary Tools and Materials
When it comes to blending car paint for spot repair, having the right tools and materials is crucial. In this section, I’ll walk you through what you’ll need to gather before getting started.
- Sandpaper: Begin by gathering sandpaper in different grits, such as 400, 800, and 1200. This will help you smooth out any imperfections on the painted surface.
- Masking Tape: To protect areas that don’t require painting, grab some high-quality masking tape. It’s essential for creating clean edges and preventing overspray.
- Plastic Sheeting or Drop Cloth: Cover nearby surfaces with plastic sheeting or a drop cloth to shield them from accidental paint splatters.
- Automotive Primer: Before applying new paint, make sure you have automotive primer on hand to create a smooth base for better adhesion.
- Paint Mixing Cups: These cups are specifically designed for mixing automotive paints accurately and in the right proportions.
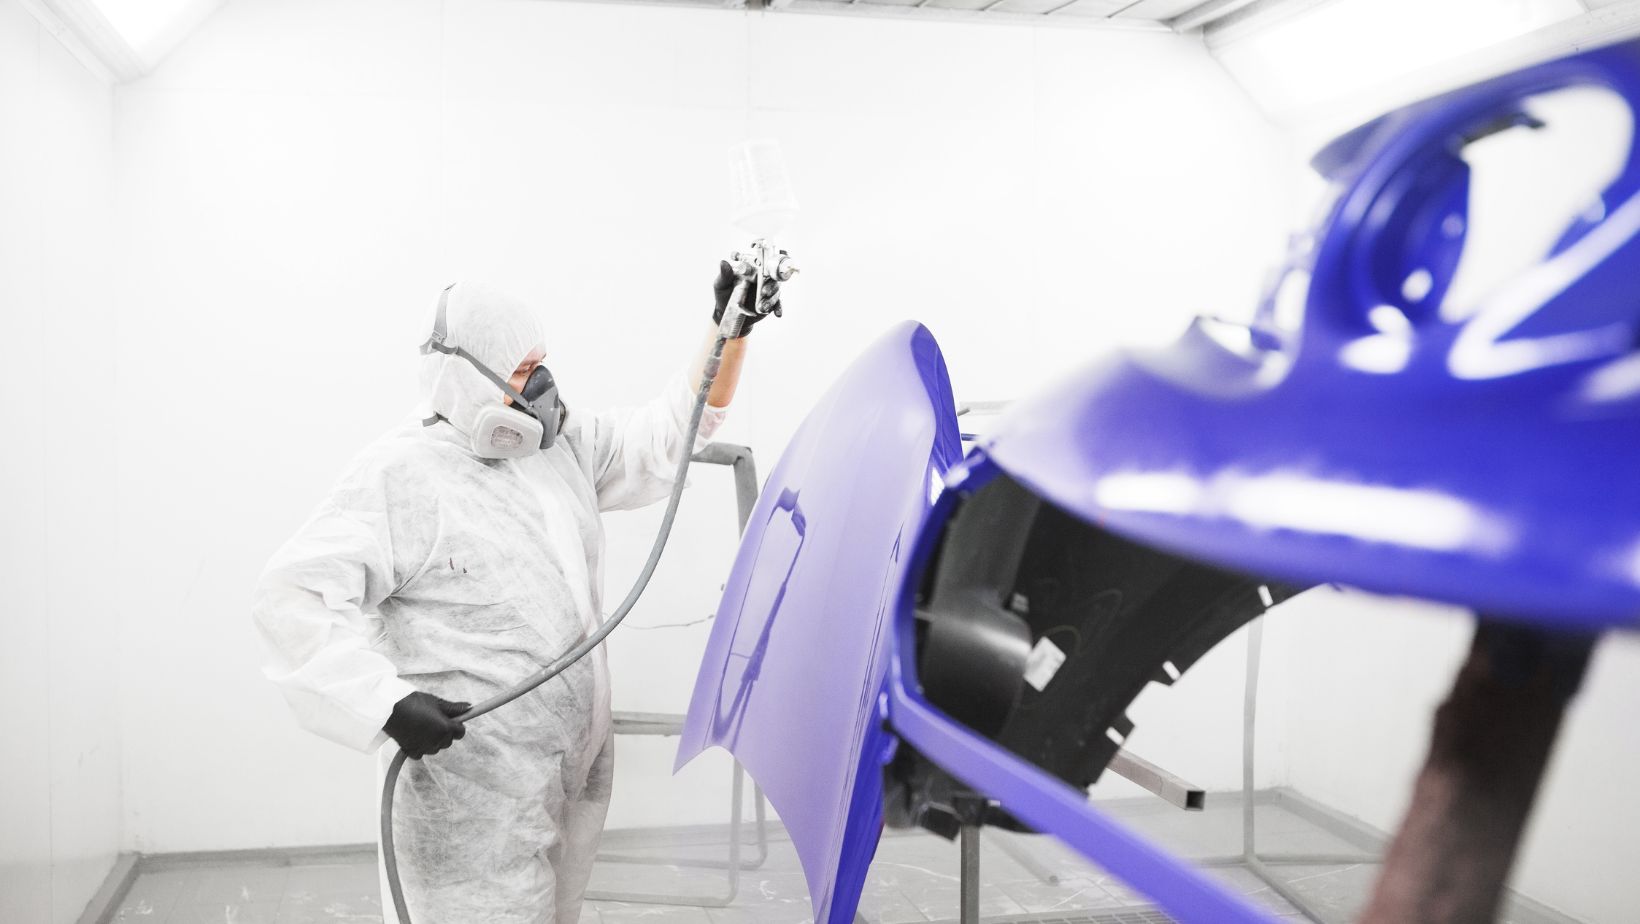
- Spray Gun or Airbrush: Depending on your preference and the size of the repair area, choose either a spray gun or an airbrush for applying the paint evenly.
- Clear Coat: Don’t forget about clear coat! It adds shine and protection to your newly painted surface once it has dried.
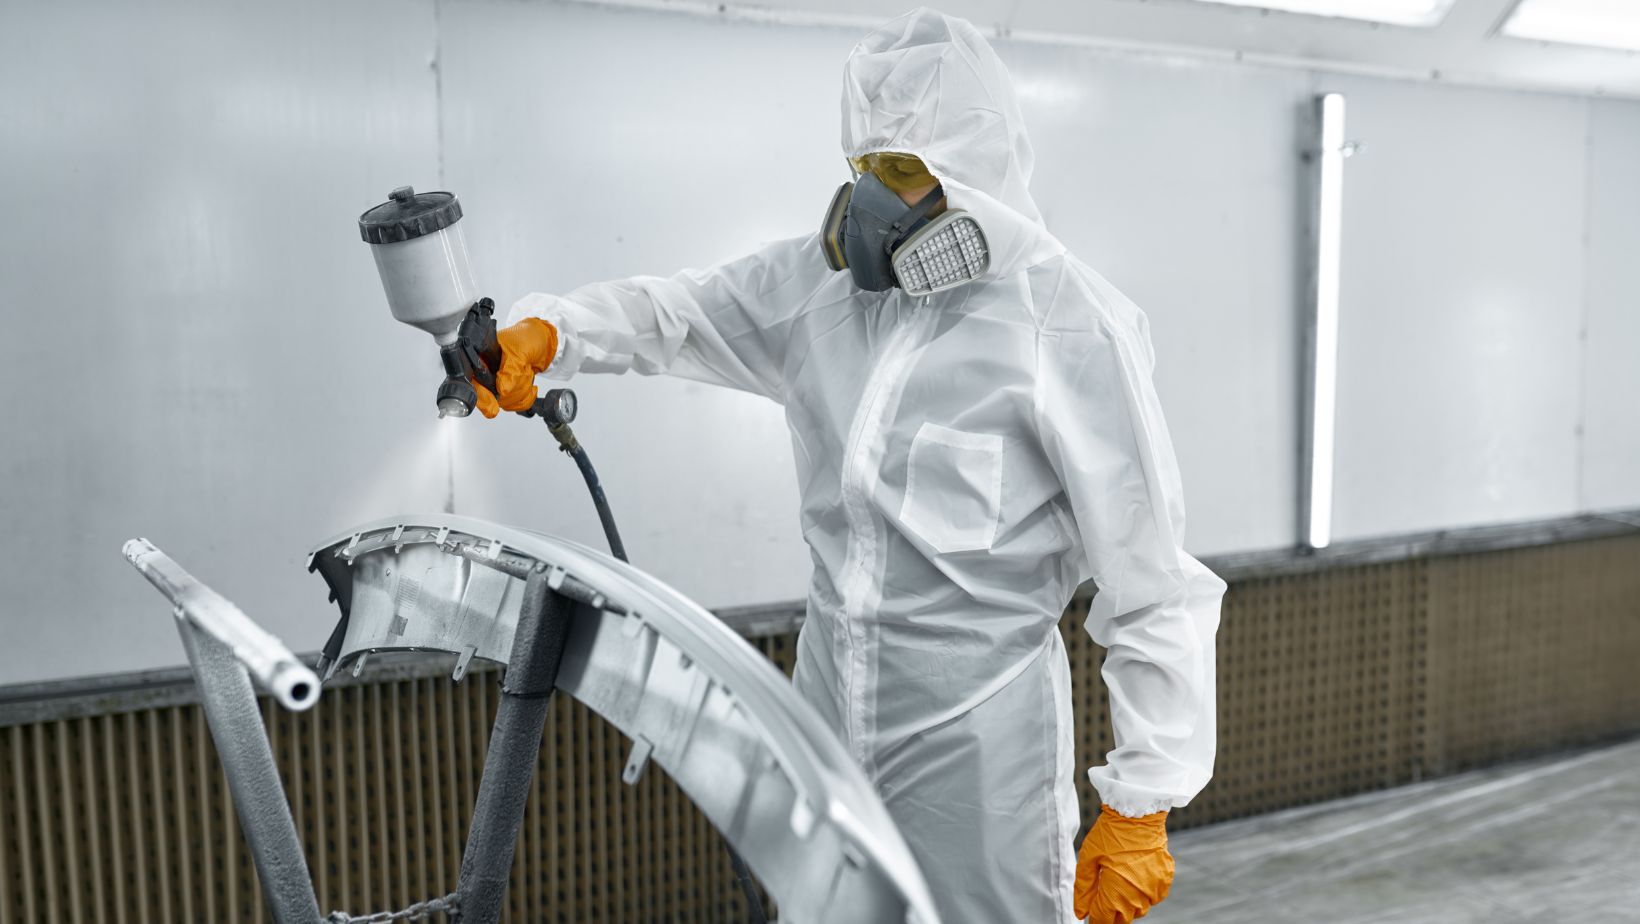
- Safety Equipment: Protect yourself while working with paints by wearing safety goggles, gloves, and a respirator mask to avoid inhaling harmful fumes or particles.
Remember that these are just some of the essential tools and materials needed when blending car paint for spot repairs. Depending on your specific situation, there may be additional items required.


