Repair Car Leather Seats
Whether it’s small scratches, cracks, or fading color, repairing car leather seats can help prolong their lifespan and enhance the overall appearance of your vehicle’s interior. There are several methods you can consider depending on the extent of the damage. For minor issues like surface scratches, using a high-quality leather conditioner or repair kit may be sufficient. These products typically contain special compounds designed to blend with the existing leather and hide imperfections.
In cases where there are larger tears or deep cracks in the leather upholstery, seeking professional assistance might be necessary. Leather repair specialists have the expertise and tools to effectively mend such damages without compromising the integrity of the material. They can match colors precisely and utilize techniques like stitching or patching to seamlessly restore your car’s leather seats.
Assessing The Severity Of The Damage
- Cracks: These are visible lines or splits in the leather surface, often caused by prolonged use or exposure to extreme temperatures.
- Fading: Over time, leather can lose its original color due to sunlight exposure or harsh cleaning agents.
- Scratches: Surface-level scratches can occur from everyday use, while deeper cuts may result from sharp objects coming into contact with your seats.
- Stains: Spills and stains are common culprits that can leave unsightly marks on your leather upholstery.
By carefully examining your seats for these indicators, you’ll have a clearer picture of what needs attention.
Determining The Cause Of The Damage
Understanding what caused the damage is crucial in preventing future issues and addressing any underlying problems. Some factors that contribute to wear and tear on car leather seats include:
- UV Exposure: Prolonged exposure to sunlight can cause fading and deterioration.
- Neglectful Maintenance: Lack of regular cleaning and conditioning can lead to dryness and cracking.
- Abrasive Materials: Certain clothing fabrics or accessories like belts with metal buckles can scratch or scuff leather surfaces.
By pinpointing the cause of the damage, you can take steps to mitigate further deterioration and tailor your repair strategy accordingly.
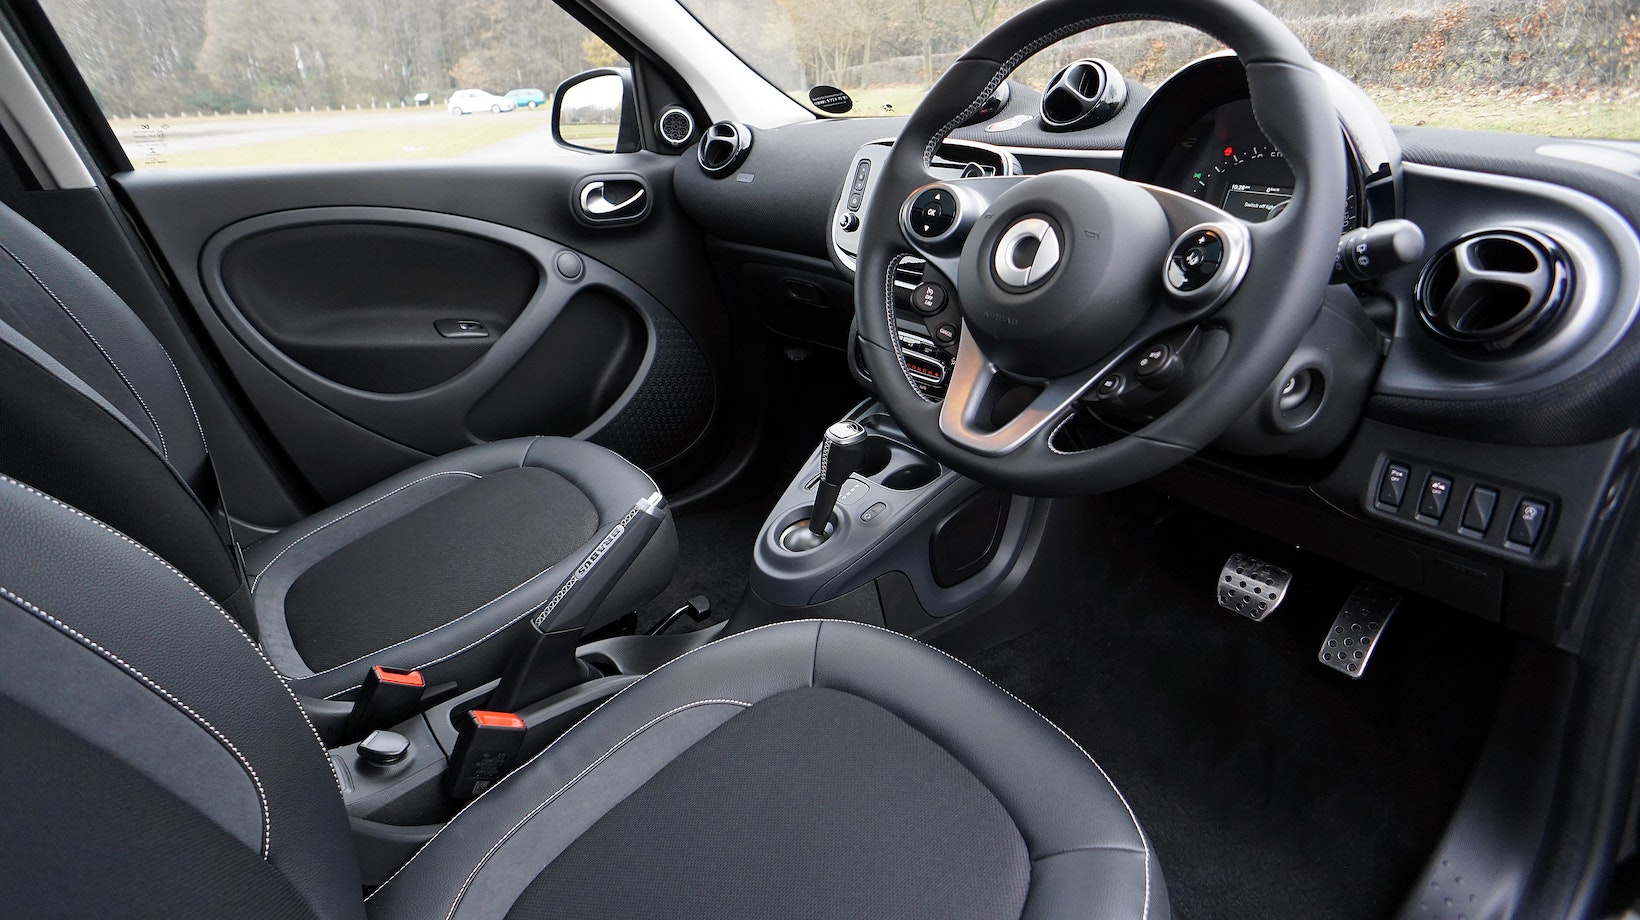
Inspecting For Signs Of Wear And Tear
In addition to specific types of damage, it’s important to inspect your leather seats for general signs of wear and tear. These may include:
- Creases: Over time, leather naturally develops creases with use.
- Loose Stitching: If the stitching is coming undone or loose, it may need repair or reinforcement.
- Worn-out Areas: Look out for areas where the leather has become thin or worn down due to heavy usage.
Buffing And Polishing The Leather
- Clean the Leather: Before starting the buffing and polishing process, it’s crucial to clean the leather thoroughly. Use a mild leather cleaner or a mixture of gentle soap and water to remove any dirt, debris, or stains from the surface. Gently wipe down the seats with a soft cloth or sponge, ensuring that you reach all crevices.
- Choose Suitable Products: Selecting appropriate products for buffing and polishing is vital to achieve optimal results. Look for high-quality leather polish specifically designed for automotive use. Additionally, consider using a foam pad or microfiber cloth for applying the polish evenly.
- Test in an Inconspicuous Area: Before applying any polish on visible areas of your car seats, it’s wise to test it in an inconspicuous spot first. This will help ensure that there are no adverse reactions with your specific type of leather material.
- Apply Polish in Circular Motions: Now that you have cleaned and tested your product, it’s time to start buffing and polishing! Take a small amount of polish on your foam pad or microfiber cloth and apply it onto one section of the seat at a time. Using gentle circular motions, work the polish into the leather surface.
- Gradually Increase Pressure: As you continue buffing, gradually increase pressure while maintaining circular motions. The goal is to allow the polish to penetrate deeper into the leather pores while removing any minor scratches or blemishes along the way.
- Wipe off Excess Polish: Once you’re satisfied with how well you’ve buffed the leather, take a clean, dry cloth and wipe off any excess polish from the surface. Make sure to remove all residues to avoid sticky or greasy patches.
- Repeat if Necessary: Depending on the condition of your car seats, you may need to repeat the buffing and polishing process. This will help achieve a more consistent look across all areas and enhance the overall appearance of your leather seats.
By following these steps, you can successfully buff and polish your car’s leather seats, bringing them back to life and ensuring they look their best. Remember to always prioritize proper cleaning and testing before applying any products to protect your leather from potential damage. Enjoy the renewed elegance of your car’s interior!


