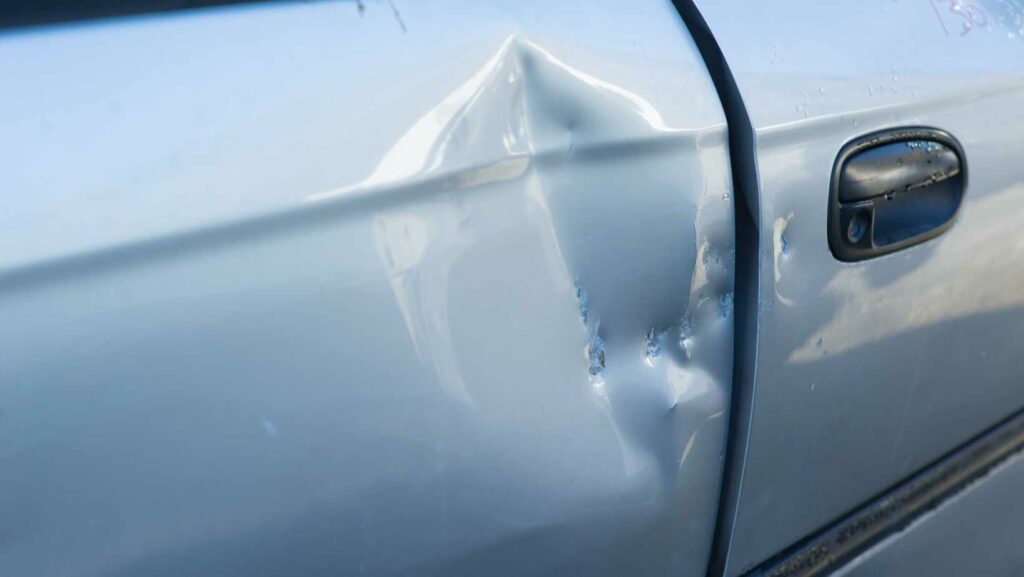
One common issue with fiberglass is cracking or chipping. These can occur on the body panels, bumpers, or even the fenders of your car. Repairing these damages requires specialized techniques and materials to ensure a seamless result.
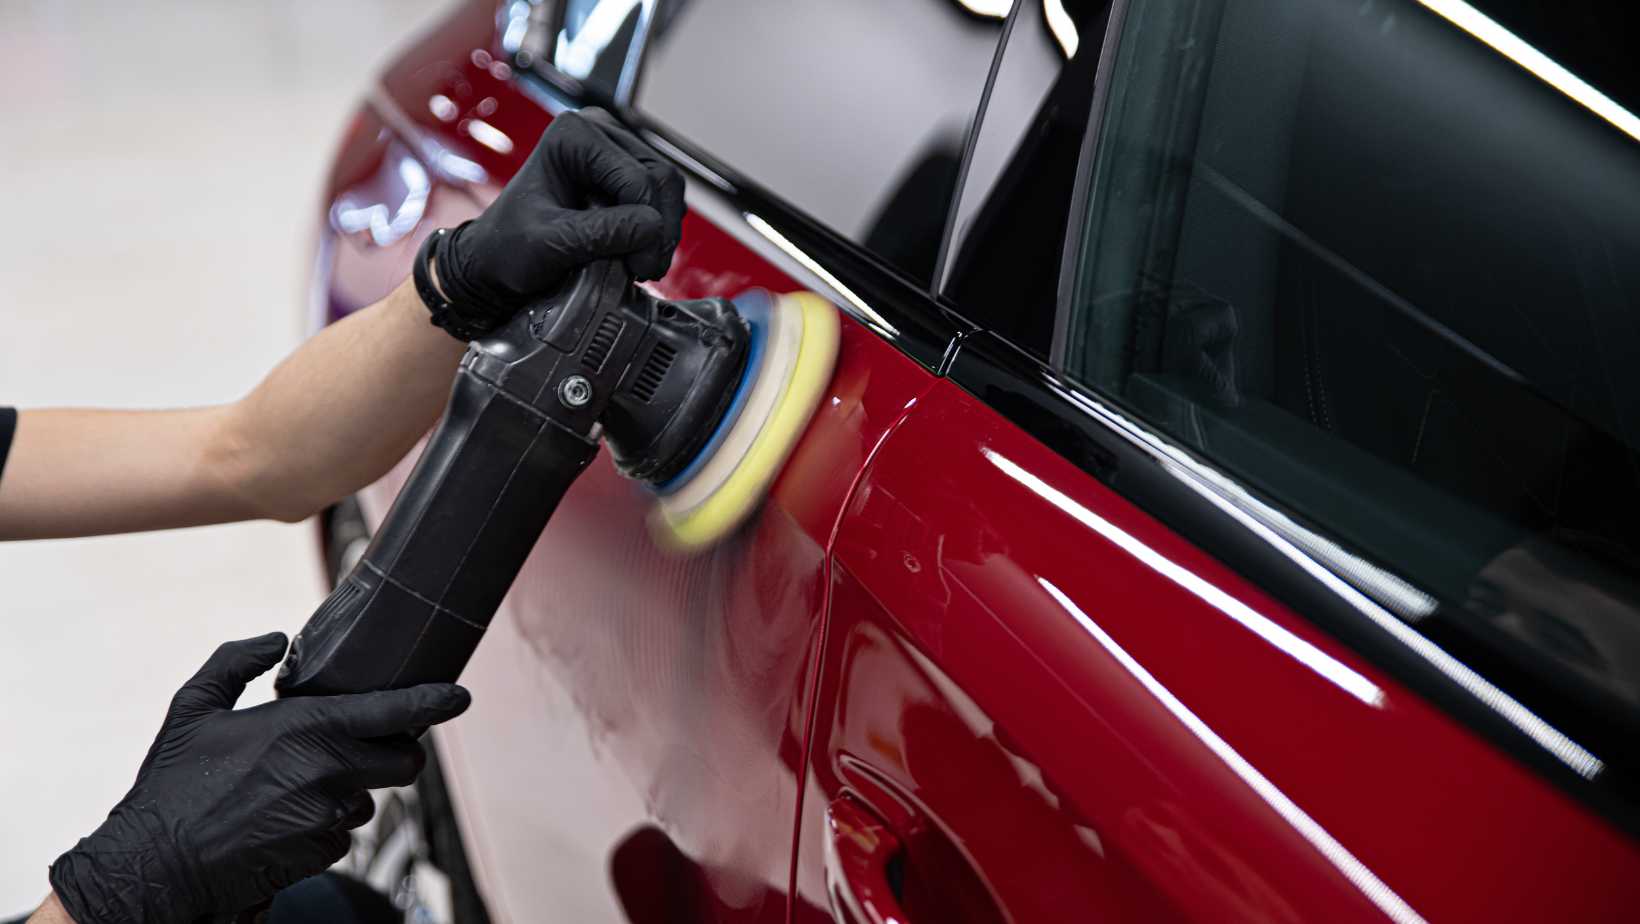
Another challenge when dealing with fiberglass car repair is matching the color and texture of the original surface. This requires skillful blending and painting expertise to achieve a flawless finish that seamlessly integrates with the rest of your vehicle.
Fiberglass Car Repair
Common Fiberglass Car Repair Techniques
When it comes to repairing fiberglass on your car, there are several common techniques that can help restore its original condition. These techniques are designed to address various types of damage, such as cracks, dents, and scratches. Let’s take a closer look at some of the most effective methods used in fiberglass car repair:
- Filling and Sanding: This technique involves applying a specialized filler material to the damaged area and then sanding it down to create a smooth surface. The filler helps to fill in any gaps or holes, while sanding ensures an even finish.
- Layered Patching: For larger areas of damage, layered patching is often used. It involves building up layers of fiberglass cloth or matting along with resin to reinforce the weakened area. Each layer is applied and allowed to cure before adding another one until the desired thickness is achieved.
Signs That Your Car Needs Fiberglass Repair
Identifying when your car needs fiberglass repair is crucial in maintaining its appearance and structural integrity. Here are some common signs that indicate your vehicle may require fiberglass repair:
- Visible Damage: Obvious signs like cracks, chips, or scratches on the car’s body could indicate underlying fiberglass damage that needs attention.
- Structural Weakness: If you notice any flexing or bending in certain areas of your car’s bodywork that feels weaker than usual, it may be an indication of deteriorating fiberglass reinforcement.
Choosing the Right Tools for Fiberglass Car Repair
To ensure a successful fiberglass car repair, it’s essential to have the right tools at your disposal. Here are some key tools that you may need:
- Safety Gear: Before starting any repair work, make sure you have appropriate safety gear such as gloves, goggles, and a dust mask to protect yourself from harmful chemicals and particles.
- Fiberglass Repair Kit: Invest in a quality fiberglass repair kit that includes resin, hardener, fiberglass cloth or matting, mixing containers, and application tools. These kits are readily available and provide all the essentials for small repairs.
Applying The Fiberglass Resin
Now that we have properly prepared the damaged area of the car and applied the fiberglass matting, it’s time to move on to the next step: applying the fiberglass resin. This crucial step is what binds everything together and ensures a strong and durable repair.
Here’s how to apply fiberglass resin effectively:
- Prepare your work area: Before you begin, make sure you have a clean and well-ventilated space to work in. Lay down some plastic or newspaper to protect surrounding surfaces from any spills or drips.
- Mix the resin: Follow the manufacturer’s instructions carefully to mix the fiberglass resin. Typically, this involves combining resin and hardener in specific ratios. Use a clean container and stir thoroughly until they are fully blended.
- Apply a thin coat: Using a disposable brush or roller, apply a thin layer of mixed resin onto the surface of the fiberglass matting, ensuring complete coverage. Work in small sections at a time to prevent premature drying.
- Eliminate air bubbles: To avoid unsightly air bubbles in your repair, use a plastic spreader or roller to gently smooth out any trapped air pockets as you go along.
- Build up additional layers: Once your initial coat has cured slightly (but is still tacky), you can proceed with adding additional layers of resin and matting if necessary. Repeat steps 3 and 4 for each layer, ensuring proper adhesion between them.
Remember, fiberglass repair requires precision and attention to detail. Take your time and follow the manufacturer’s instructions for the best results. If you’re unsure about any step of the process, it’s always a good idea to consult a professional or seek guidance from experienced individuals in the field.
By following these steps, you’ll be well on your way to successfully repairing your car with fiberglass and restoring its appearance and structural integrity.

