Dealing with a cigarette burn on your car seat can be frustrating, but the good news is that it’s possible to repair it yourself. In this article, I’ll guide you through the steps on how to repair a cigarette burn in your car seat effectively.
Firstly, start by cleaning the area around the burn with a mild detergent and water solution. This will ensure that there are no dirt or debris particles left that could interfere with the repair process.
Next, you’ll need to assess the severity of the burn. If it’s a minor surface burn, you can use an upholstery repair kit to fix it. These kits typically come with color-matching compounds and adhesive tools that allow you to fill in and blend the damaged area seamlessly.
How To Repair Cigarette Burn In Car Seat
Signs of a Cigarette Burn
When it comes to repairing a cigarette burn in your car seat, the first step is to accurately identify the damage. There are a few telltale signs that can help you determine if you’re dealing with a cigarette burn:
- Burn Hole: Look for a small, circular hole on the surface of your car seat. Typically, cigarette burns leave behind distinct round marks due to their shape.
- Charred Edges: Examine the surrounding area of the burn for any signs of charred or darkened edges. This is an indication that heat was applied and caused damage to the upholstery.
- Distinct Odor: Another clue to identify a cigarette burn is the lingering smell of smoke in your vehicle’s interior. If you notice an unusual odor near the damaged area, it could be associated with a burnt mark.
By carefully observing these signs, you’ll be able to confirm whether or not you’re dealing with a cigarette burn on your car seat.
Examining The Damage
Once you’ve identified the presence of a cigarette burn, it’s essential to assess its extent and evaluate how deep it has penetrated into your car seat’s fabric or upholstery.
- Surface Damage: Begin by inspecting if the burn has only affected the top layer of fabric without penetrating deeper into the padding or cushioning beneath. In this case, repair options may be simpler and less invasive.
- Depth of Burn: If there are visible layers within your car seat’s upholstery, try to gauge how deeply the burn has progressed. The deeper it goes, the more challenging it might be to repair effectively.
Remember that examining and understanding these aspects will provide crucial information when determining which repair method would work best for addressing your specific situation.
Gathering The Necessary Supplies
In order to repair a cigarette burn in your car seat, you’ll need to gather a few essential supplies. Here are the items you’ll require to successfully complete the repair:
- Leather/vinyl repair kit: Look for a high-quality repair kit specifically designed for repairing burns or tears in leather or vinyl surfaces. These kits typically include various colors of leather/vinyl compound, adhesive, and other necessary tools.
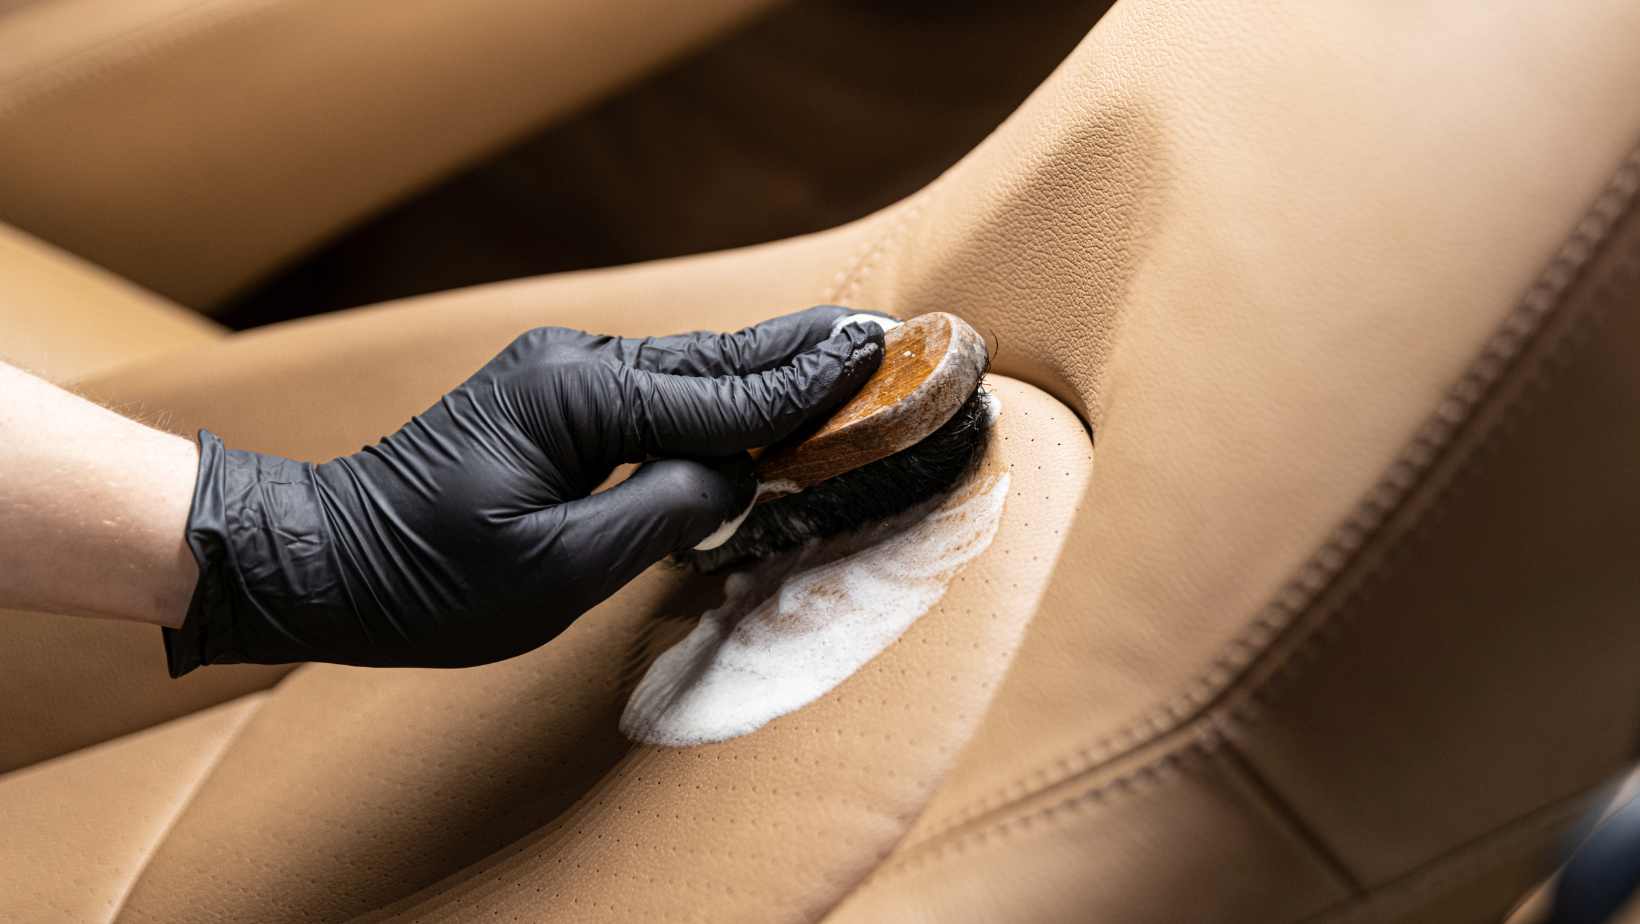
- Cleaning solution: Before attempting any repairs, it’s crucial to thoroughly clean the area around the burn mark. Use a mild detergent mixed with warm water to gently remove dirt and grime from the affected area. Avoid using harsh chemicals that could damage the upholstery.
- Fine sandpaper: To ensure a smooth surface for applying the repair compound, keep some fine-grit sandpaper handy. Lightly sand down any rough edges or uneven surfaces around the burn mark.
- Heat source: A heat source such as a hairdryer or heat gun will be needed to help cure and set the repair compound properly onto the damaged area.
- Applicator tool: Most leather/vinyl repair kits come with an applicator tool like a spatula or palette knife for spreading and smoothing out the compound over the burn mark.
- Protective gloves: It’s always advisable to wear disposable gloves while working with adhesives and chemical compounds to protect your hands from potential skin irritations or allergic reactions.
- Clean cloth/towel: Keep a clean cloth or towel nearby to wipe away excess cleaning solution, as well as any excess repair compound during application.
Remember, each car seat material may have different requirements when it comes to repairing cigarette burns, so refer to your specific repair kit instructions for detailed guidance on how best to use these supplies effectively.

