
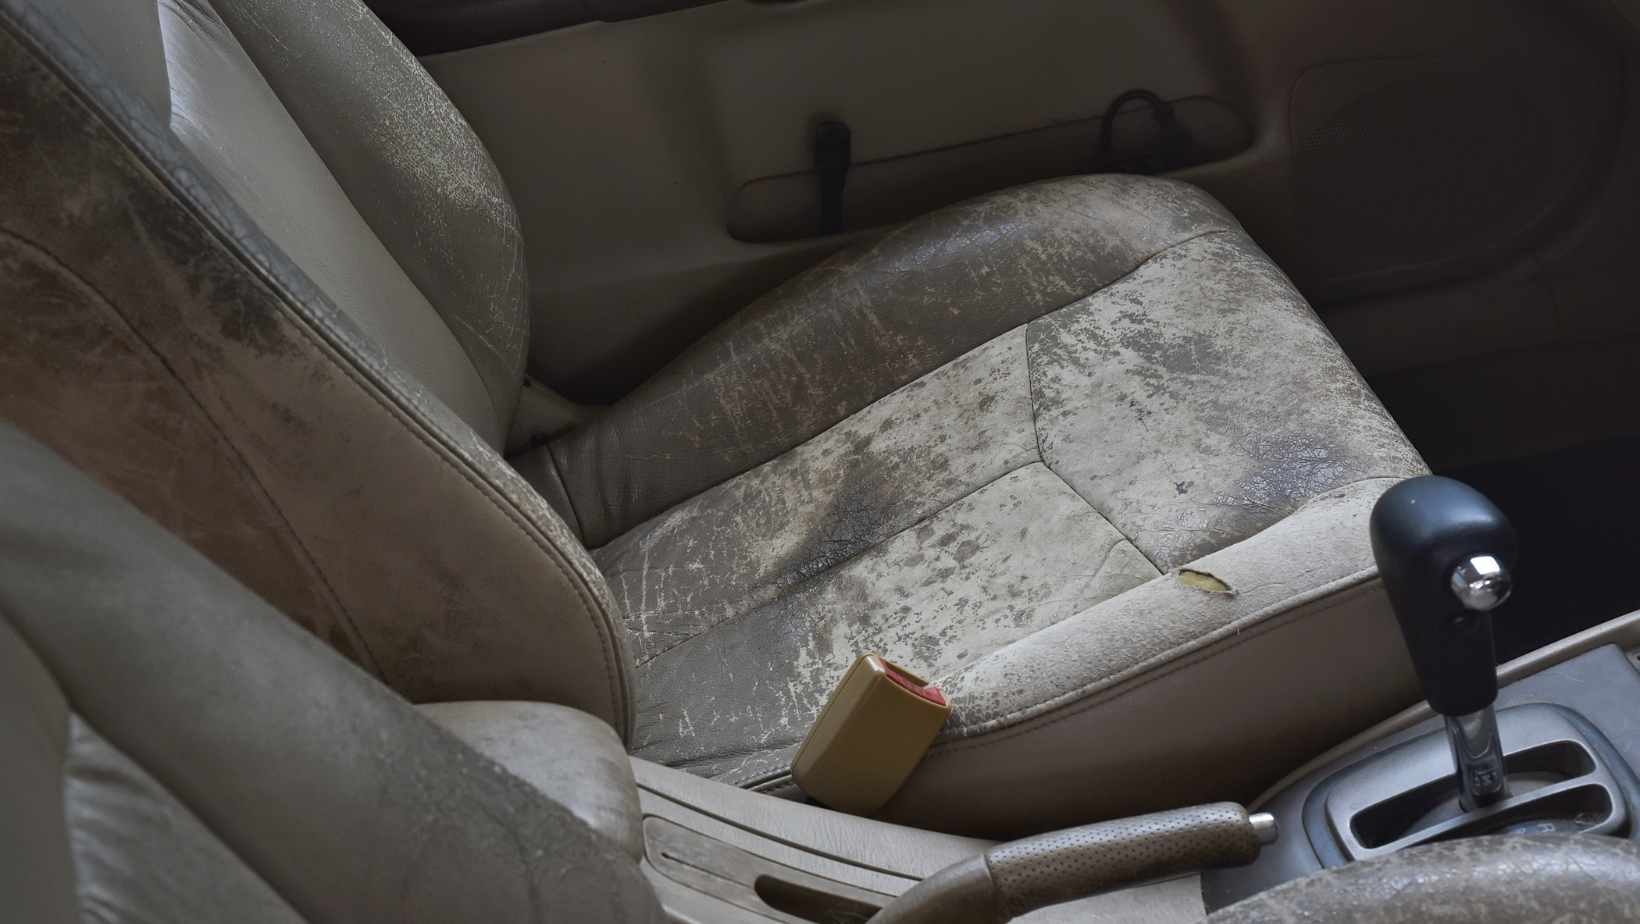
If you’re faced with a ripped leather car seat, don’t despair! It’s possible to repair it and restore its original beauty. In this article, I’ll guide you through the steps of how to repair a ripped leather car seat effectively.
Firstly, assess the extent of the damage. Is it a small tear or a larger rip? This will help determine the appropriate repair method. For minor tears, you can use a leather repair kit that contains adhesive and color-matching compounds. These kits often come with step-by-step instructions that make the process easier.
Before starting the actual repair, clean the area around the tear using a mild leather cleaner. This ensures that there is no dirt or debris interfering with the adhesive’s effectiveness. Once cleaned, follow the instructions provided in your leather repair kit to apply the adhesive and fill in any gaps caused by the tear.
How To Repair Ripped Leather Car Seat
When it comes to repairing a ripped leather car seat, one of the crucial steps is preparing the leather surface. This ensures that the repair process is smooth and effective. In this section, we’ll dive into three essential subtopics: cleaning the surface, applying leather filler, and sanding and smoothing the area.
Cleaning The Surface
Before you begin any repairs, it’s essential to thoroughly clean the ripped leather surface. This step not only removes dirt and grime but also prepares the area for better adhesion of the repair products. Here are some simple steps to follow:
- Start by gently vacuuming or using a soft brush to remove loose debris from the ripped area.
- Dampen a microfiber cloth with warm water and mild soap specifically formulated for delicate materials like leather.
- Gently wipe down the entire affected area, paying extra attention to removing any dirt or stains around the rip.
- Once you’ve cleaned away all visible dirt and stains, use a separate damp cloth to wipe off any soap residue.
- Allow the leather surface to air dry completely before moving on to the next step.
Applying Leather Filler
After cleaning, it’s time to apply a high-quality leather filler that will help reinforce and fill in any gaps caused by the rip. Follow these steps for optimal results:
- Choose a suitable leather filler product based on your car seat’s color and type of leather.
- Using a small spatula or putty knife, scoop out a small amount of filler onto a mixing board or disposable container.
- Mix in any necessary colorant or dye according to your car seat’s shade until you achieve an even color match.
- Apply a thin layer of filler directly onto and around the ripped area using gentle strokes with your spatula or putty knife.
- Smooth out excess filler using light pressure while ensuring that the rip is completely filled.
- Allow the filler to dry according to the manufacturer’s instructions before moving on to the next step.
Applying A Leather Repair Compound
When it comes to repairing ripped leather car seats, using a leather repair compound can be an effective solution. Here’s a step-by-step guide on how to apply the compound and restore your seat to its former glory:
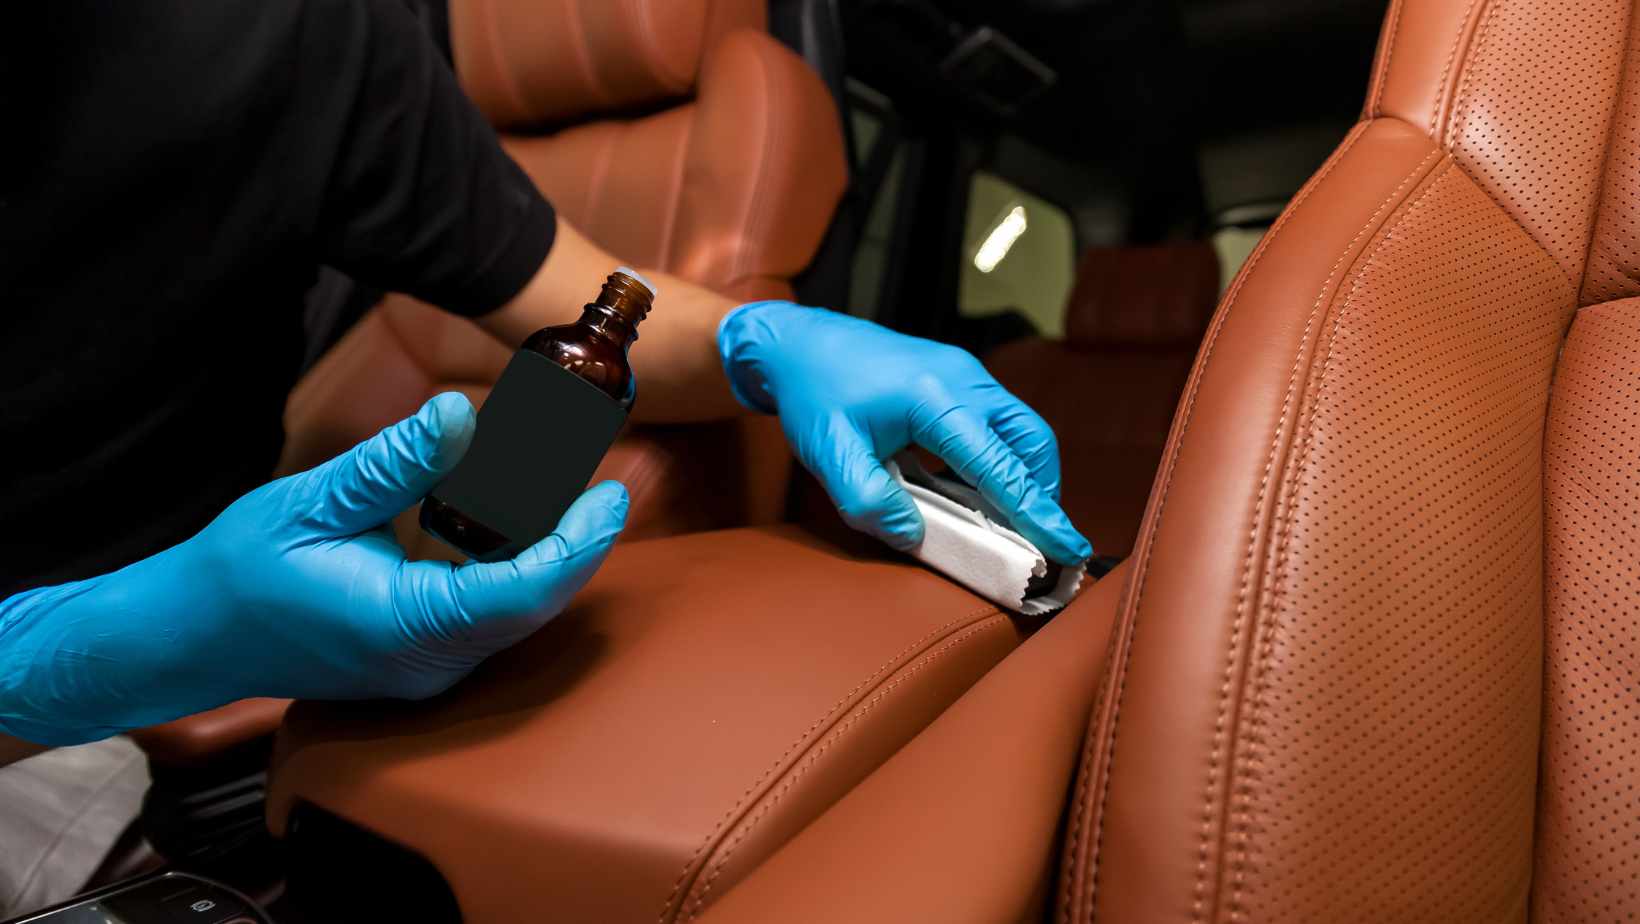
- Prepare the area: Start by cleaning the ripped area with a mild leather cleaner and a soft cloth. This will remove any dirt or debris that could interfere with the repair process.
- Trim loose threads: If there are any loose threads around the rip, carefully trim them off using sharp scissors. Be cautious not to cut into the surrounding leather.
- Apply filler: Take your leather repair compound and spread it evenly over the ripped area using a plastic spatula or putty knife. Make sure to fill in all the crevices and ensure a smooth surface.
- Blend colors: If necessary, mix different shades of dye from your repair kit to match the color of your car seat leather. Carefully apply small amounts of dye onto the repaired area, blending it in with the existing color as seamlessly as possible.
- Smooth out excess filler: Use a clean cloth or sponge dampened with water to gently smooth out any excess filler or dye around the repaired spot. This will help achieve a more natural finish.
- Let it dry: Allow sufficient drying time for the repair compound and dye to set properly according to the instructions provided with your repair kit.
- Condition and protect: Once everything is dry, apply a high-quality leather conditioner to keep your car seat moisturized and protected against future damage.
Remember, while applying a leather repair compound can be an effective way to fix minor rips in your car seat, it may not work for larger tears or extensive damage. In such cases, seeking professional assistance from an experienced upholstery specialist might be necessary.


