
If you’re wondering how to repair a torn leather car seat, you’ve come to the right place. Dealing with a tear in your car’s leather upholstery can be frustrating, but it doesn’t have to mean the end of its lifespan. With some basic tools and a little patience, you can fix those unsightly tears and restore your car seat back to its former glory.
The first step in repairing a torn leather car seat is assessing the damage. Take a close look at the tear and determine its size and severity. Small tears or scratches can often be fixed with simple DIY methods, while larger or more complicated damage may require professional assistance.
Once you’ve assessed the tear, gather the necessary materials for repair. Depending on the extent of the damage, this may include leather glue or adhesive, a patch of matching leather or vinyl, scissors to trim excess material, and sandpaper for smoothing rough edges. Following the instructions on your chosen adhesive product, apply it carefully to both sides of the tear and press them together firmly. For larger tears that require patching, cut out a piece of matching material slightly larger than the tear itself and adhere it securely with glue.
How To Repair Torn Leather Car Seat
So whether it’s an annoying scratch or a significant tear in your car’s leather seats, don’t despair! With some effort and know-how, you can successfully repair them yourself and extend their lifespan for years to come. Identifying the extent of the damage to a torn leather car seat is an essential first step in repairing it. By thoroughly examining the seat, you can determine the severity of the tear and plan your repair approach accordingly. Here’s how to go about assessing the damage:
- Inspect the tear: Begin by closely examining the torn area of the leather car seat. Look for any loose or hanging threads, as well as any underlying padding or foam that may be exposed. Take note of the size and shape of the tear, as this will help you decide on the appropriate repair method.
- Check for additional damage: While inspecting the tear, keep an eye out for any other damages to the seat. Look for scratches, cracks, or discoloration around the torn area. Identifying these additional issues will help you address them during your repair process.
- Assess structural integrity: It’s crucial to assess whether the tear has compromised the structural integrity of the car seat. Gently tug on either side of the tear to see if there is excessive stretching or weakening in surrounding areas. This will give you an indication if more extensive repairs are needed.
- Determine repair options: Based on your assessment, you can now consider different repair options for fixing a torn leather car seat. If it’s a small tear with minimal damage, using a leather patch kit or adhesive may be sufficient to mend it effectively. For larger tears or significant structural damage, seeking professional assistance from an upholstery expert might be necessary.
Remember that repairing a torn leather car seat requires patience and attention to detail. Take your time during this initial phase to accurately identify and understand all aspects of the damage before proceeding with any repairs.
Prepare the necessary materials to repair a torn leather car seat.
To successfully repair a torn leather car seat, it’s important to gather all the necessary materials beforehand. Here’s a list of items you’ll need:
- Leather Repair Kit: Purchase a high-quality leather repair kit that includes various colors of leather dye, adhesive, filler, and tools like spatulas and applicators. Make sure the kit is specifically designed for repairing automotive leather.
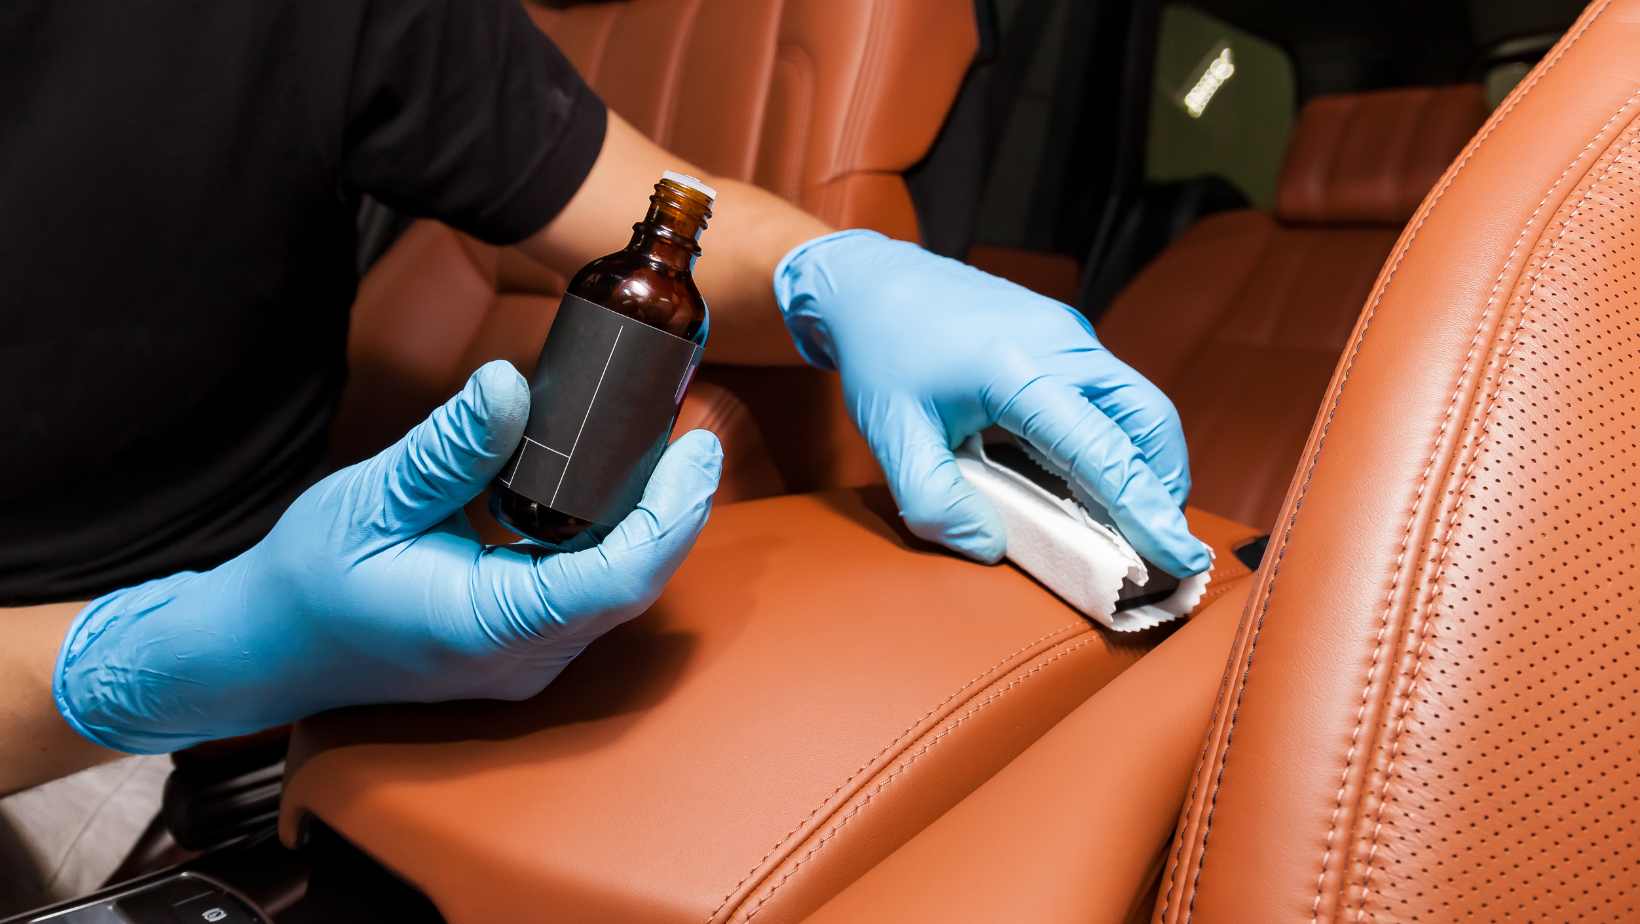
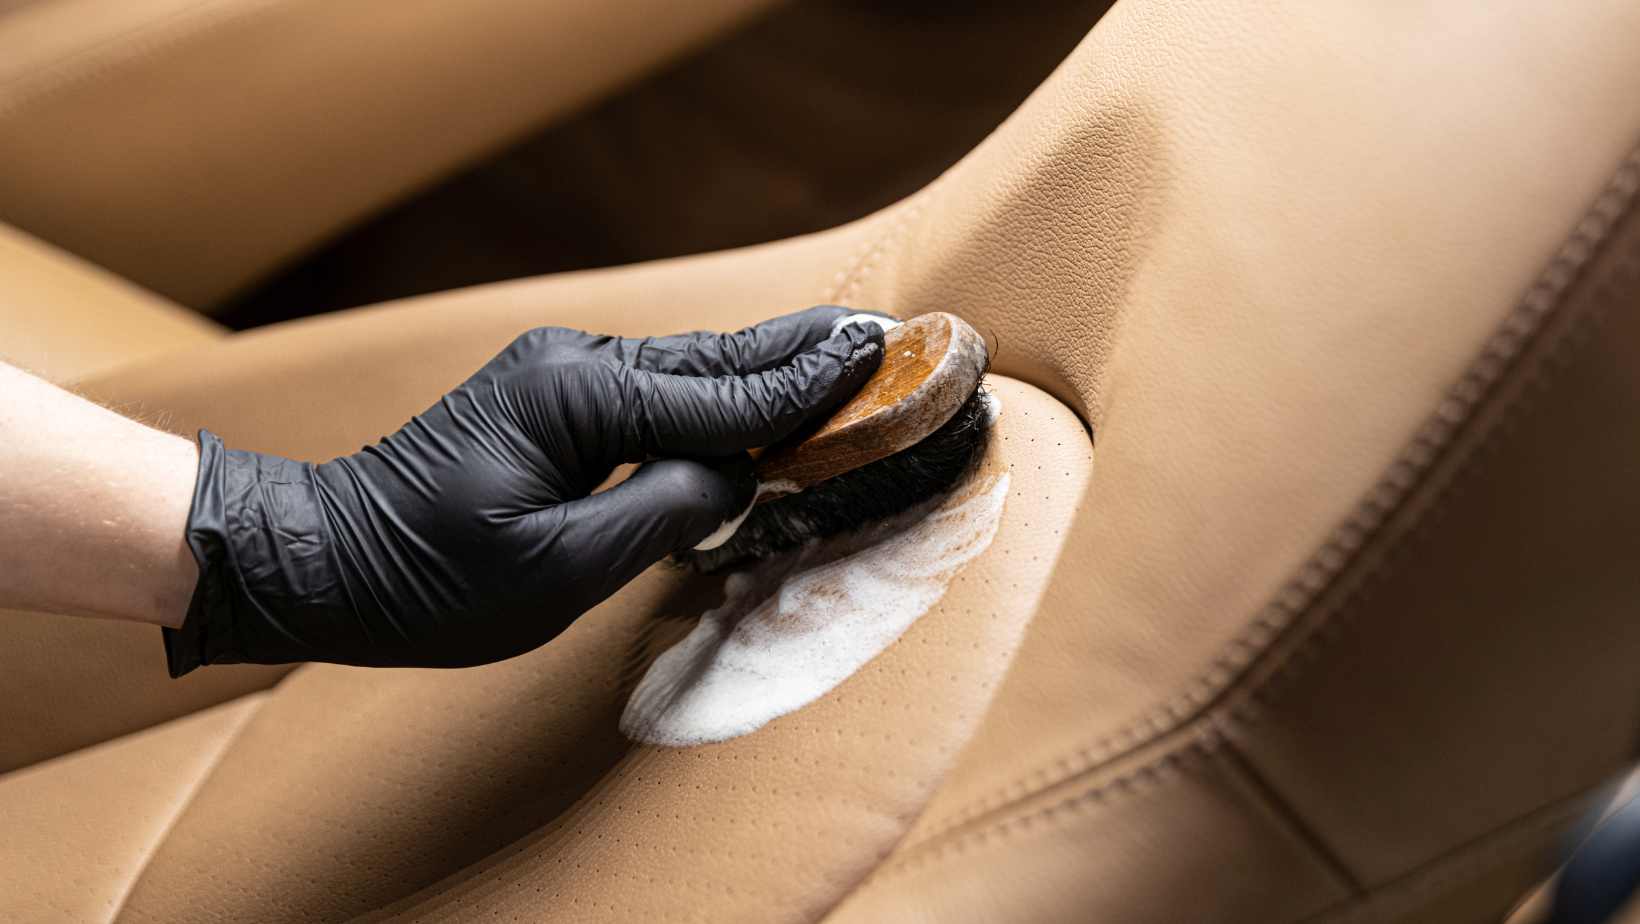
- Clean Cloth or Sponge: Before starting the repair process, ensure that the torn area is free from dirt, dust, and debris. Use a clean cloth or sponge with mild soap and water to gently clean the surface around the tear.
- Sandpaper: You may need sandpaper of varying grits (such as 320-grit and 600-grit) to smooth out any rough edges around the torn area. This will create an even surface for applying adhesive and filler.
- Leather Conditioner: After completing the repair, it’s essential to condition and protect your newly repaired seat. Get a good quality leather conditioner to restore moisture and prevent future cracking or damage.
Remember to carefully read and follow the instructions provided with each material you use for repairing your torn leather car seat. Each kit may have specific guidelines for application techniques and curing times.


