Leather Repair Patch for Car Seat
Is your car seat in need of some TLC? If you’re dealing with unsightly tears or damage to the leather, a leather repair patch could be just what you need. A leather repair patch for car seats is a convenient and cost-effective solution for fixing minor damages without having to replace the entire seat.
With a leather repair patch, you can easily mend small punctures, scratches, or tears on your car seat’s leather upholstery. These patches are designed to seamlessly blend in with the original material, ensuring a smooth and professional-looking finish. Whether it’s caused by everyday wear and tear or an unfortunate accident, using a repair patch can restore the appearance and functionality of your car seat.
Preparing the Car Seat for Patching
When it comes to fixing a damaged car seat, using a leather repair patch can be an effective solution. Before you begin the patching process, it’s important to properly prepare the car seat. This will ensure that the patch adheres well and provides a seamless repair.
Here are some steps to follow when preparing your car seat for patching:
- CLEAN THE SURFACE: Start by thoroughly cleaning the area around the damaged spot. Use a mild leather cleaner or soap and water to remove any dirt, grime, or debris. Gently scrub the surface with a soft cloth or sponge, being careful not to damage the surrounding leather.
- DRY THOROUGHLY: After cleaning, allow the car seat to dry completely before applying the patch. Moisture can interfere with adhesive bonding and compromise the effectiveness of the repair. Give it ample time to air dry or use a clean towel to speed up drying.
- TRIM LOOSE THREADS OR EDGES: Take a close look at any loose threads or frayed edges near the damaged area. Carefully trim them using sharp scissors or a utility knife. Removing these loose threads will prevent them from getting caught in the adhesive and affecting the final result.
- SAND THE SURFACE (OPTIONAL): If you’re dealing with rough edges or uneven surfaces, lightly sanding them can help create a smoother base for your repair patch. Use fine-grit sandpaper and gently buff away any imperfections until you achieve a more even texture.
- TEST ADHESIVE ON A SMALL AREA: Before applying the patch directly on your car seat, it’s always wise to test its adhesive properties on a small inconspicuous area first (e.g., undercarriage of seat). This step ensures that there won’t be any adverse reactions between your specific type of leather and the adhesive used in the patch.
By following these steps, you’ll be well on your way to preparing your car seat for a successful patch repair. Remember to read and follow the instructions provided with your leather repair patch kit for best results.
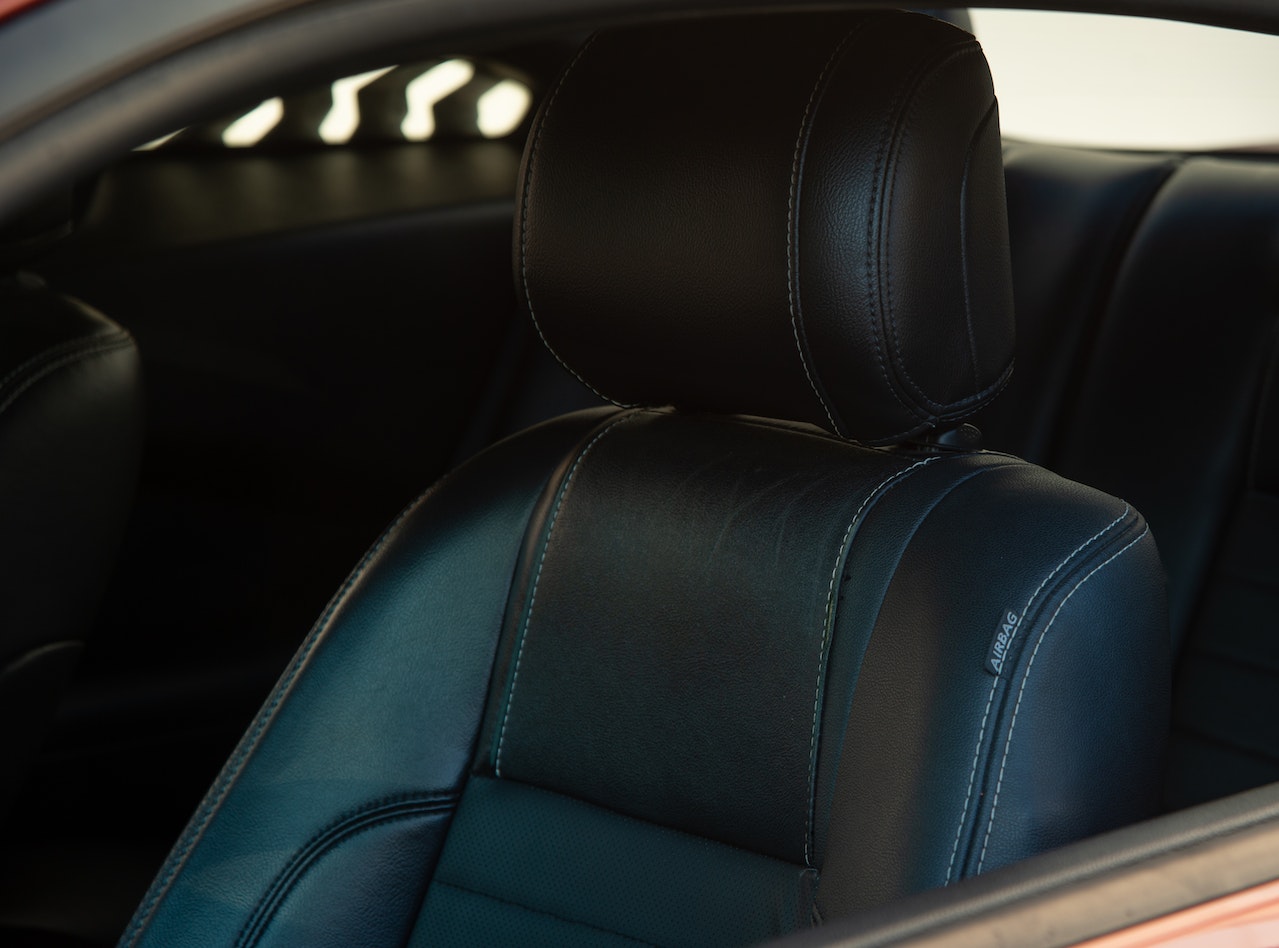
Protecting and Maintaining the Repaired Car Seat
As we move forward in this article, let’s delve deeper into the actual process of applying the patch and achieving a seamless repair. Stay tuned! Protecting and maintaining the repaired car seat is crucial to ensure its longevity and continued aesthetic appeal. Here are some key tips to keep in mind:
- Regular Cleaning: It’s important to clean your car seat regularly, even after it has been repaired with a leather repair patch. Use a mild leather cleaner that is specifically designed for automotive use. Avoid harsh chemicals or abrasive cleaners as they can damage the repaired area.
- Conditioning the Leather: Applying a leather conditioner periodically helps to keep the repaired car seat soft, supple, and moisturized. Choose a conditioner that is suitable for automotive leather and apply it according to the manufacturer’s instructions.
- Protect from Sunlight: Prolonged exposure to direct sunlight can cause fading and cracking of the repaired leather patch on your car seat. Whenever possible, park your vehicle in shaded areas or use sunshades to protect the interior from harmful UV rays.
- Avoid Sharp Objects: Be mindful of sharp objects like keys or pens that could potentially scratch or puncture the repaired area of your car seat. Take care when entering or exiting your vehicle to prevent accidental damage.
- Prevent Spills and Stains: While accidents happen, try to avoid spills on your car seats as much as possible by setting rules for passengers regarding food and drinks inside the vehicle. If a spill occurs, clean it up immediately using blotting motions rather than rubbing it into the leather.
- Regular Inspections: Periodically inspect your repaired car seat for any signs of wear or damage. Catching issues early allows you to address them promptly before they worsen.
By following these simple steps, you can prolong the life of your repaired car seat and maintain its appearance for years to come.


