
Putty for Car Repair
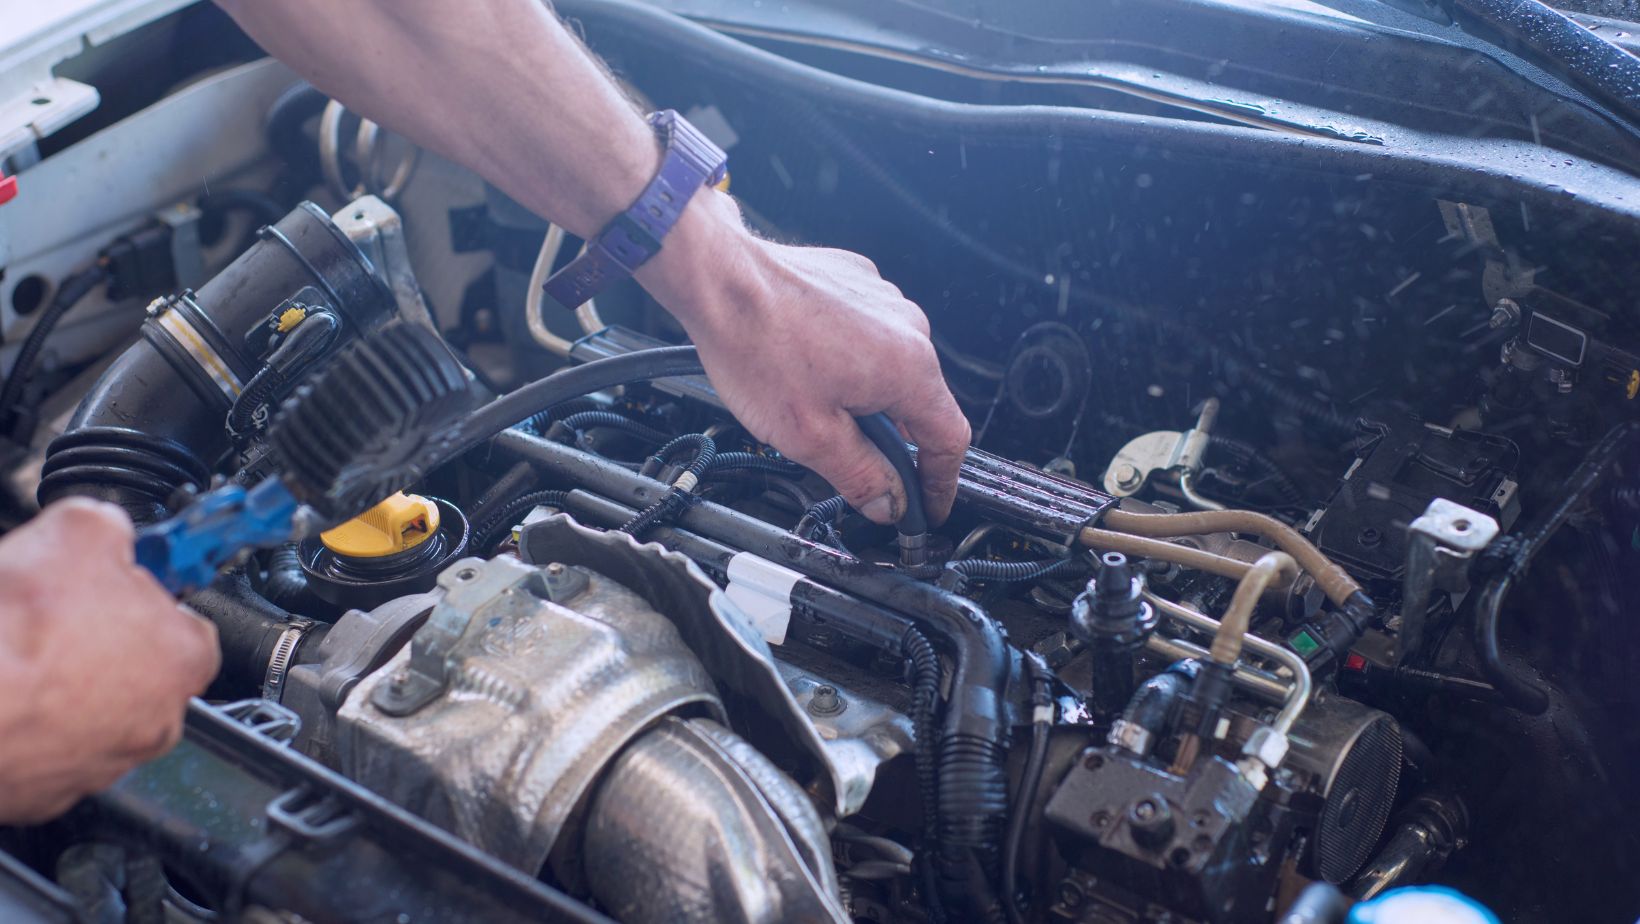
In the world of DIY car repair, nothing beats the versatility and convenience of putty. It’s a go-to solution for patching up dents, fixing cracks, and even restoring old models to their former glory. But despite its many benefits, there are pitfalls that can turn your repair job into a disaster if you’re not careful.
I’ve seen it time and again: common mistakes made while using putty for car repair that could easily have been avoided with some know-how and forethought. Today, I’m going to share what I’ve learned over years of experience so you can sidestep these traps.
Whether you’re a beginner just dipping your toes in the waters of car maintenance or an experienced mechanic looking for ways to improve your technique, avoiding these common missteps is key. The right knowledge will help ensure your efforts aren’t wasted and your vehicle gets the top-notch care it deserves.
Understanding the Role of Putty in Car Repair
When we talk about car repair, it’s impossible not to mention the integral role putty plays. It’s like a magic wand for mechanics, providing an effective solution to fill gaps, dents or scratches on your vehicle. Used correctly, putty can restore the original shape and smoothness of your car body.
It may sound simple enough but working with putty isn’t as easy as slapping some on and calling it a day. There are certain considerations that need to be taken into account. The first thing you need to understand is that there are different types of putties available in the market – each designed for specific tasks. Epoxy putty, for instance, is ideal for filling larger dents while polyester filler putty works best for minor scratches or small dents.
Despite its benefits though, I’ve seen many people making common mistakes when using putty for car repairs which could potentially lead to more damage down the road. One such blunder is applying too much product at once. Layering thick amounts of putty won’t speed up your repair process; instead it might result in cracks when drying out or difficulties during sanding.
Another misstep? Neglecting prep work before application. Cleaning the surface thoroughly from dust, grease or rust can ensure better adhesion between the metal part and your applied filler.
Finally remember: patience is key here! Rushing through steps or not allowing adequate time for the product to dry can compromise its effectiveness significantly.
So there you have it – a quick dive into understanding how crucial role putty plays in car repairs and common mistakes made along the way that can mar this handy tool’s efficacy.
Choosing the Right Putty for Your Vehicle
I’m no stranger to the world of car repairs; I’ve seen my fair share of common mistakes when it comes to using putty. Before you dive headfirst into your vehicle’s repair, let me walk you through a few key points on choosing the right putty for your automobile.
First off, there’s an array of different types of putties available – each designed for a specific purpose. You’ll find epoxy putties, polyester filler putties, metal-filled epoxy putties and even plastic repair epoxies. It’s essential to know what material you’re working with on your vehicle. Plastic repair epoxies work great on bumpers and other plastic parts while metal-filled epoxy putties are perfect for areas where strength is paramount.
Next up, consider the temperature range in which the putty will function optimally. Some puttys can withstand extreme temperatures without losing their bonding properties, making them ideal for engine or exhaust system repairs.
Let’s talk about cure time now. How fast do you need this job done? If speed is of essence then a quick-set formula might be your best bet. But keep in mind that these often offer less working time before they start hardening.
Common Mistakes When Applying Car Repair Putty
Car repair putty can be a lifesaver when dealing with minor car body issues. But, it’s not always as simple as slapping on some putty and calling it a day. There are common mistakes folks make during application that can lead to less than satisfactory results.
Firstly, many people overlook the importance of properly preparing the surface area before applying car repair putty. It’s not enough to just clean the area; you also need to sand down any rust or paint until you reach bare metal. Skipping this step means your putty won’t adhere well, creating an unstable base for further work.
Another misstep I’ve often noticed is using too much or too little putty in one go. Layering on too much at once makes it hard for the material to dry evenly and completely. On flip side, applying too little won’t give you adequate coverage over dents or scratches. Aim for thin layers applied gradually for best results.
Ignoring manufacturer instructions is yet another pitfall that can derail your repair job. Every product has its unique set of guidelines regarding mixing ratios, curing times, and so forth – don’t think they’re all the same! Ignoring these specifics might seem like no big deal but could spell disaster for your fix-up project.


