If you’re facing the frustrating issue of damaged car interior plastic, don’t worry, I’ve got you covered. In this article, I’ll provide you with some helpful tips and techniques to repair car interior plastic, allowing you to restore your vehicle’s aesthetics without breaking the bank.
Before we dive into the solutions, it’s essential to understand that repairing car interior plastic can vary depending on the type and extent of damage. From scratches and cracks to fading or peeling, each problem requires a specific approach for effective repair.
Repair Car Interior Plastic
Fading and Discoloration
One common issue that car owners often face with their interior plastic is fading and discoloration. Over time, prolonged exposure to sunlight and heat can cause the plastic surfaces to lose their original color and become dull. This can significantly impact the overall aesthetic appeal of the car’s interior.
To prevent or minimize fading, it’s crucial to park your vehicle in shaded areas whenever possible or use sunshades to block direct sunlight. Additionally, applying a UV protectant specifically designed for car interiors can provide an extra layer of defense against sun damage.
Scratches and Scuffs
Another frequent problem with car interior plastic is the appearance of scratches and scuffs. These can occur due to regular wear and tear, contact with sharp objects, or improper cleaning techniques. Even small scratches can be quite noticeable, detracting from the pristine look of your vehicle’s cabin.
To address this issue, you can try using specialized plastic polishes or scratch removers that are formulated to restore the appearance of damaged plastic surfaces. It’s important to carefully follow the instructions provided by the manufacturer while applying these products to avoid any further damage.
In case of minor scratches, you may also consider using toothpaste as a makeshift solution. Gently rubbing a small amount of non-gel toothpaste onto the affected area with a soft cloth can help reduce the visibility of superficial scratches.
Preparing the Surface for Repair
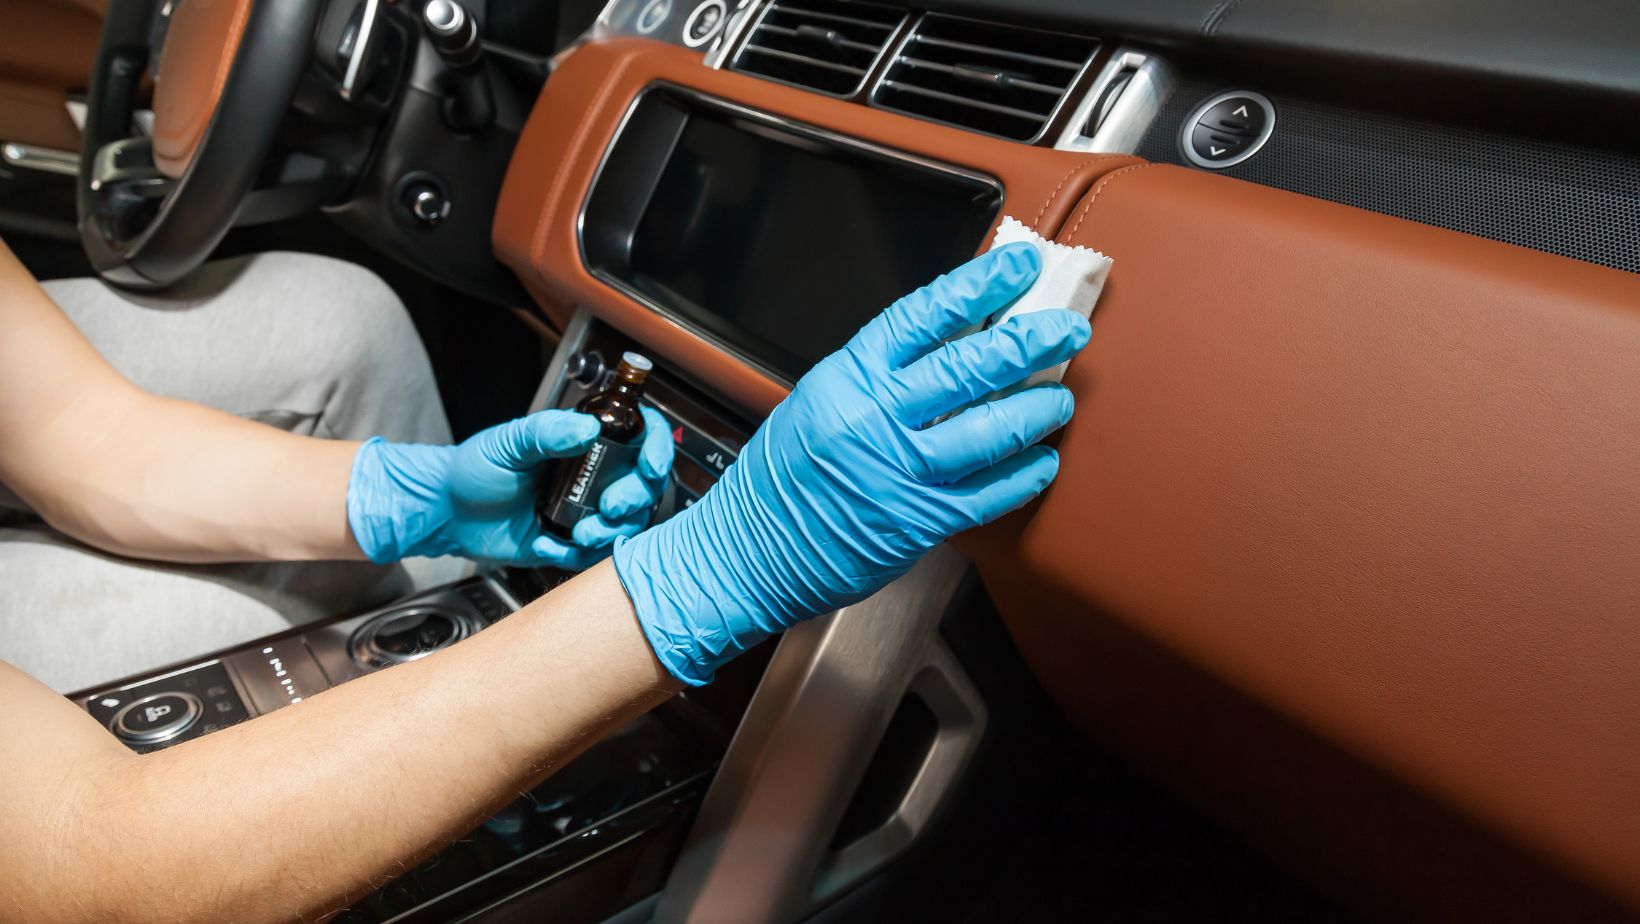
When it comes to repairing car interior plastic, proper surface preparation is key to achieving a successful and long-lasting result. Before diving into the repair process, it’s important to take the necessary steps to prepare the surface. Here are a few guidelines to follow:
- Clean the area: Begin by thoroughly cleaning the damaged area using a mild detergent and warm water solution. This will help remove any dirt, grime, or grease that may be present on the surface. Make sure to dry it completely before moving on to the next step.
- Sanding: Next, lightly sand the damaged plastic using fine-grit sandpaper. This step helps create a rough texture on the surface, allowing better adhesion of the repair materials later on. Be cautious not to apply too much pressure or sand too aggressively, as this could further damage the plastic.
- Remove loose particles: After sanding, use a soft cloth or brush to remove any loose particles or dust from the sanded area. Ensuring a clean and debris-free surface is crucial for achieving seamless repairs.
- Mask off surrounding areas: To protect unaffected parts of your car’s interior during repair work, consider using masking tape or painter’s tape to cover and isolate those areas from accidental contact with repair materials.
- Apply adhesion promoter (optional): Depending on the type of repair material you plan to use, applying an adhesion promoter might be beneficial in improving bonding strength between the plastic substrate and repair compound.
By following these steps and taking care during each stage of preparation, you’ll pave the way for a successful car interior plastic repair job that restores both functionality and aesthetics.
Remember that each specific case may require slightly different approaches based on factors such as severity of damage, type of plastic used in your car’s interior parts, and chosen repair techniques/products. It’s always advisable to consult professional advice if you’re unsure about how to proceed with your particular repair project.
In the next section, we’ll explore different methods for repairing car interior plastic and discuss their pros and cons. Stay tuned!

