
When it comes to plastic car bumper repair, there are a few important things to consider. Whether you’ve encountered a minor scratch or a more significant dent, knowing how to address these issues can save you time and money. In this article, I’ll provide you with some valuable insights on plastic car bumper repair techniques that can help restore your vehicle’s appearance.
Plastic car bumpers have become increasingly popular due to their durability and lightweight nature. However, they are susceptible to scratches, scuffs, and even cracks from everyday use or accidents. Luckily, there are several methods available for repairing these damages.
Assessing the Extent of the Damage
When it comes to plastic car bumper repair, accurately assessing the extent of the damage is crucial. Before diving into any repairs, it’s important to thoroughly examine the bumper and determine the severity of the issues at hand. Here are some key steps to help you assess the damage:
- Visual Inspection: Start by visually inspecting the bumper for any visible signs of damage. Look out for cracks, dents, scratches, or any other noticeable marks on the surface. Take note of their location and size as this information will be useful in planning your repair strategy.
- Probe for Hidden Damage: Sometimes, there may be hidden damage beneath the surface that isn’t immediately visible. Gently press on different areas of the bumper to check for any soft spots or areas that feel unstable. These can indicate underlying structural damage that needs attention.
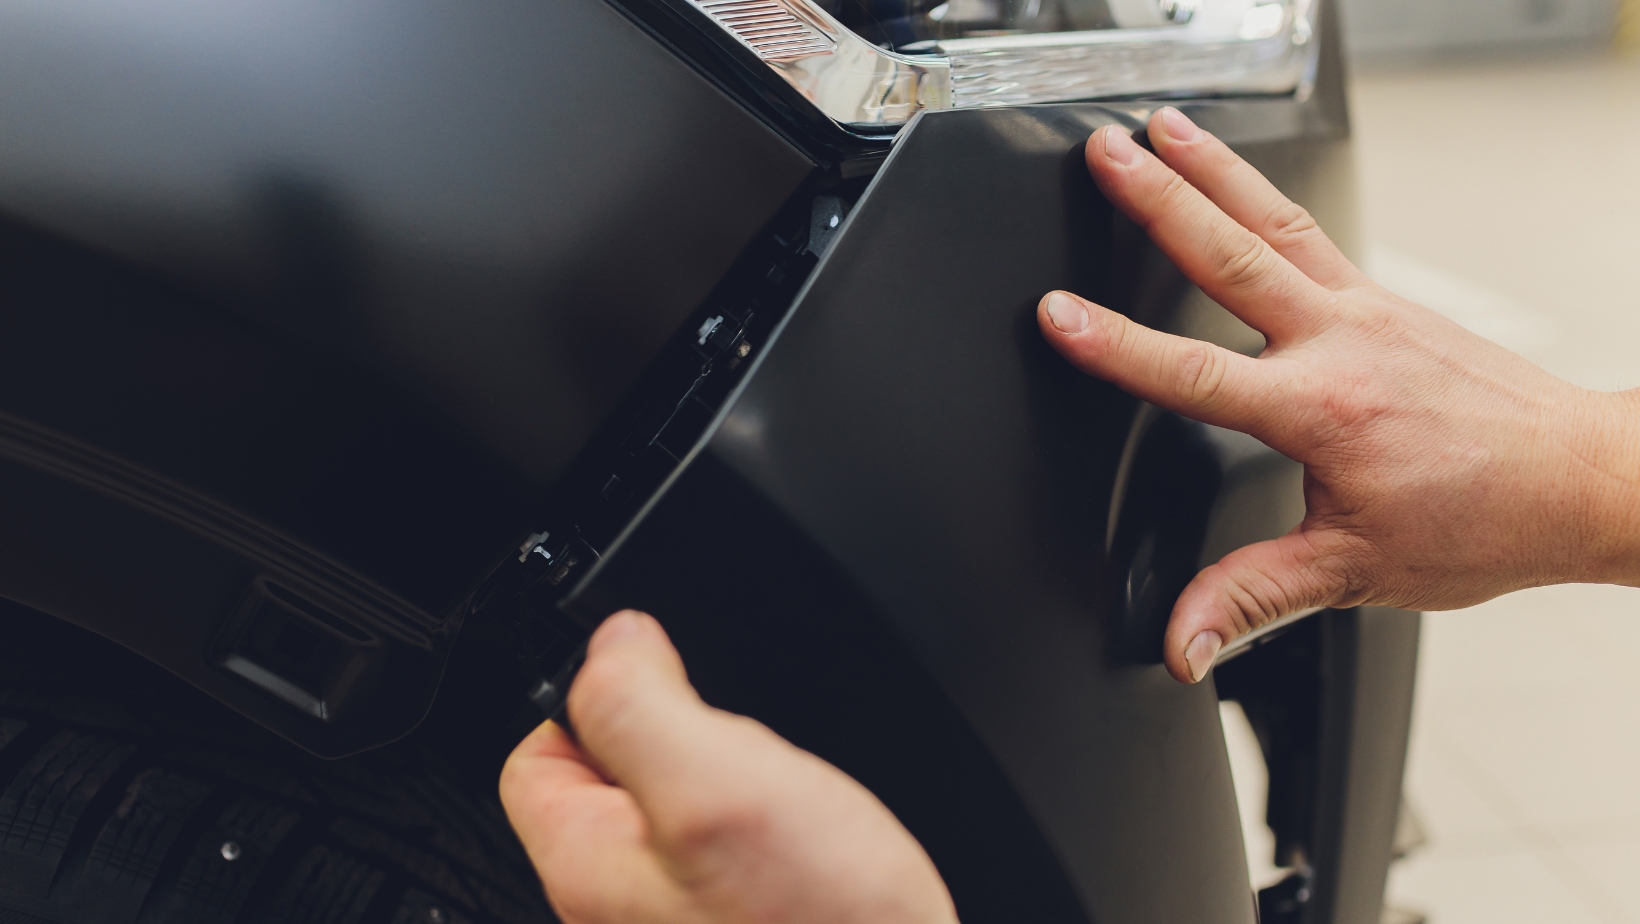
- Check Attachment Points: Examine how well the bumper is attached to your vehicle’s frame or support brackets. Loose or misaligned attachment points can affect both aesthetics and functionality. Ensure that all bolts and clips are secure and properly aligned.
- Assess Paint Condition: Evaluate the condition of the paint on your bumper, as it plays a significant role in its overall appearance and protection against corrosion. Look for chipping, peeling, or fading paint around damaged areas.
- Consider Functional Impairments: Beyond aesthetics, consider if there are any functional impairments resulting from the damage sustained by your car’s bumper. For example, if sensors or parking assistance systems have been affected, they may require professional recalibration or replacement.
Assessing the extent of the damage is just the first step in getting your plastic car bumper back to its optimal condition. In the next section, we’ll explore different repair options suited for various types of damages and discuss their pros and cons.
Plastic Car Bumper Repair
Step 1: Assess the Damage Before diving into the repair process, take some time to thoroughly assess the damage on your plastic car bumper. Look for any cracks, scratches, or dents that need attention. This will help you determine the best course of action and prepare accordingly.
Step 2: Clean and Prep the Bumper To ensure proper adhesion of any repair materials, it’s crucial to clean and prep the damaged area. Start by washing the bumper with soap and water to remove dirt, grime, and debris. Once dry, use an automotive cleaner or rubbing alcohol to further clean the surface.
Step 3: Sanding Next up is sanding. Use a fine-grit sandpaper (around 240-320 grit) to gently sand down the damaged area. The goal here is to create a smooth surface for better adhesion later on. Be careful not to over-sand or damage surrounding areas.
Step 4: Apply Filler Material For small cracks or dents, apply a plastic filler material using a putty knife or applicator tool. Smooth out any excess filler and let it dry according to manufacturer instructions. For larger repairs involving significant damage or missing sections of plastic, consider using an adhesive patch instead.
Step 5: Shape and Blend Once the filler material has dried completely, use a finer-grit sandpaper (around 400-600 grit) to shape and blend it with the rest of the bumper surface. This step requires patience as you gradually smooth out any unevenness until everything looks seamless.
Step 6: Prime the Bumper Before applying paint, it’s essential to prime the repaired area. Use an automotive plastic primer specifically designed for bumpers. Follow the manufacturer instructions for application and drying time.
Step 7: Paint the Bumper Now comes the fun part – painting! Choose a high-quality automotive paint that matches your car’s color. Apply several thin coats of paint, allowing each coat to dry before adding the next one. This will ensure an even and professional-looking finish.
Step 8: Clear Coat Application To protect the newly painted bumper and give it a glossy appearance, apply a clear coat. Make sure to follow the manufacturer instructions regarding drying time between coats.
Repairing a plastic car bumper may seem daunting at first, but by following this step-by-step guide, you can tackle it with confidence. Remember to take your time, pay attention to detail, and invest in quality materials for long-lasting results. With proper care and maintenance, your bumper will be as good as new again!


