Car AC Condenser Repair
As a car enthusiast and experienced blogger, I’ve always been fascinated by the intricacies of automotive repair. One critical component that often requires attention is the car AC condenser. In this article, I’ll delve into the world of car AC condenser repair, providing you with valuable insights and tips to keep your vehicle’s cooling system running smoothly. Whether you’re a DIY enthusiast or simply looking to understand the process better, you’ve come to the right place.
When it comes to car AC condenser repair, it’s essential to understand the importance of this component. The AC condenser plays a vital role in the cooling process, as it helps dissipate heat from the refrigerant, allowing the air conditioning system to function effectively. However, like any other part of your vehicle, the condenser can experience issues over time. Whether it’s due to leaks, clogs, or damage from road debris, addressing these problems promptly is crucial to ensure optimal performance and prevent further damage.
Now that we’ve established the significance of the car AC condenser and the potential issues it can face, it’s time to explore the repair process. From diagnosing common problems to determining whether repair or replacement is necessary, I’ll guide you through the steps involved in fixing a faulty condenser. By understanding the basics of car AC condenser repair, you’ll be better equipped to make informed decisions and keep your vehicle’s cooling system in top shape. So, let’s dive in and unravel the secrets of this essential automotive repair.
Steps to Repair a Car AC Condenser
Inspect for Damage
When it comes to repairing a car AC condenser, the first step is to inspect it for any damage. This is crucial because identifying the problem accurately will determine the right course of action. Here’s how you can inspect your car AC condenser for damage:
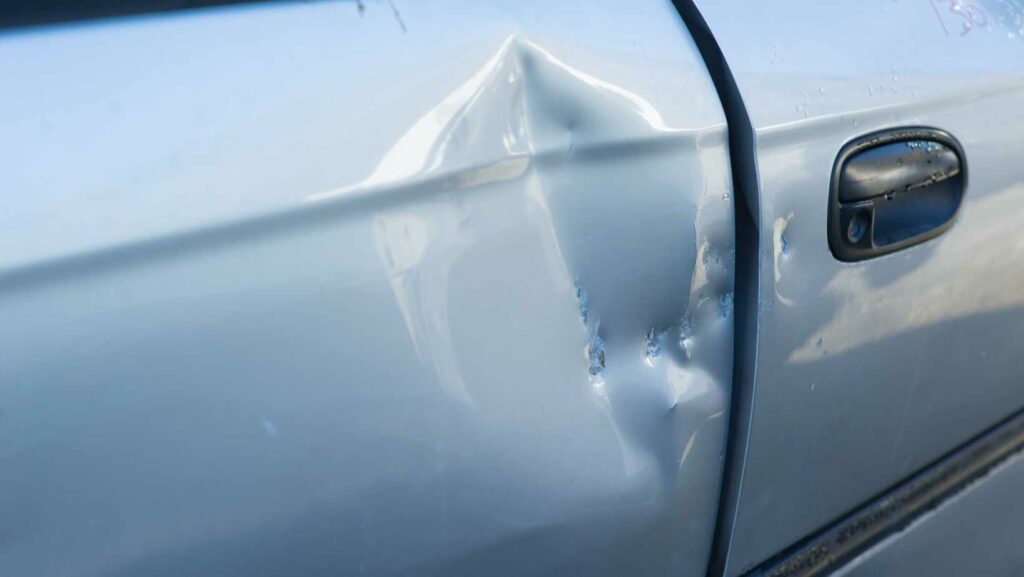
- Visual Inspection: Start by visually inspecting the condenser for any signs of physical damage such as bent fins, cracks, or leaks. A damaged condenser may have bent or crushed fins, which can restrict airflow and affect cooling efficiency. Look for any visible signs of refrigerant leaks, as this can indicate a damaged condenser.
- Pressure Test: Perform a pressure test to check if the condenser is holding pressure properly. Connect a pressure gauge to the high and low-pressure ports and compare the readings with the manufacturer’s specifications. If the pressure is outside the recommended range, it could be a sign of a faulty condenser.

Cleaning the Condenser
Once you have identified any damage to the condenser, the next step is to clean it. Cleaning the condenser is essential to remove any dirt, debris, or contaminants that may be obstructing airflow and reducing the efficiency of the cooling system. Here’s what you need to do:
- Remove Debris: Start by removing any visible debris such as leaves, dirt, or bugs from the condenser fins. You can use a soft brush or compressed air to gently clean the fins. Be careful not to damage or bend the fins during this process.
- Use a Condenser Cleaner: Apply a condenser cleaner to thoroughly clean the condenser. Follow the instructions on the cleaner and ensure that it is compatible with your specific condenser type. Spray the cleaner on the condenser fins and allow it to penetrate for a few minutes. Then, rinse it off with water, making sure to remove all traces of the cleaner.
Replacing Damaged Parts
If the damage to the condenser is beyond repair or if cleaning does not resolve the issue, it may be necessary to replace some parts. Here’s what you need to do:
- Identify the Damaged Parts: Carefully inspect the condenser to identify the specific parts that need to be replaced. This could include the condenser fins, tubes, or other components that are damaged or worn out.
- Purchase Replacement Parts: Once you have identified the damaged parts, purchase the appropriate replacement parts from a reputable supplier. Make sure to get the exact specifications required for your car’s make and model.
- Replace the Damaged Parts: Follow the manufacturer’s instructions or consult a professional mechanic to properly replace the damaged parts. This may involve removing the old parts, installing the new ones, and ensuring a secure fit.
Remember, repairing a car AC condenser can be a complex task, and it’s always advisable to seek professional help if you’re unsure or uncomfortable with the process. Taking the necessary steps to repair your car’s AC condenser will help ensure optimal cooling performance and extend the lifespan of your vehicle’s cooling system.


