
When it comes to repairing vinyl armchairs, having the right tools and materials is essential. As an experienced blogger in the field, I’ve had my fair share of armchair repairs, and I can confidently say that having the proper equipment can make all the difference. In this article, I’ll walk you through the essential tools and materials you’ll need to successfully repair vinyl armchairs, ensuring that your furniture looks as good as new in no time.
Repairing vinyl armchairs requires a specific set of tools that are designed to tackle the unique challenges that come with this material. From my years of experience, I’ve found that having a vinyl repair kit is crucial. These kits typically include items like vinyl adhesive, patches, and a heat transfer tool. Additionally, you’ll need a few other common tools such as scissors, sandpaper, and a heat gun. With these tools in your arsenal, you’ll be well-equipped to handle any vinyl armchair repair project that comes your way.
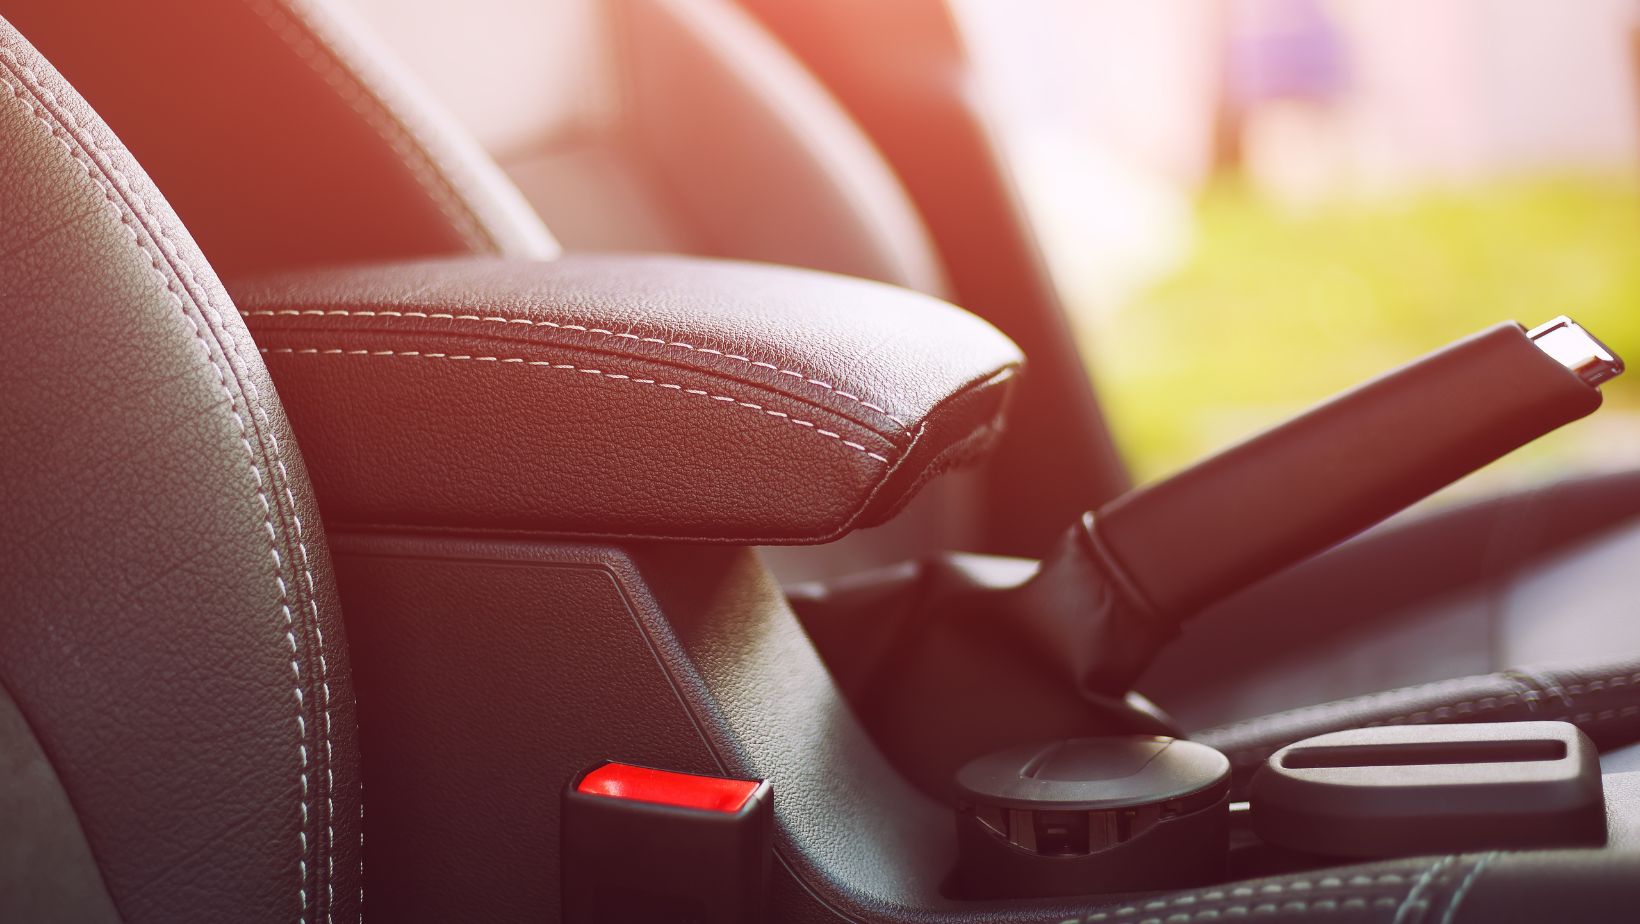
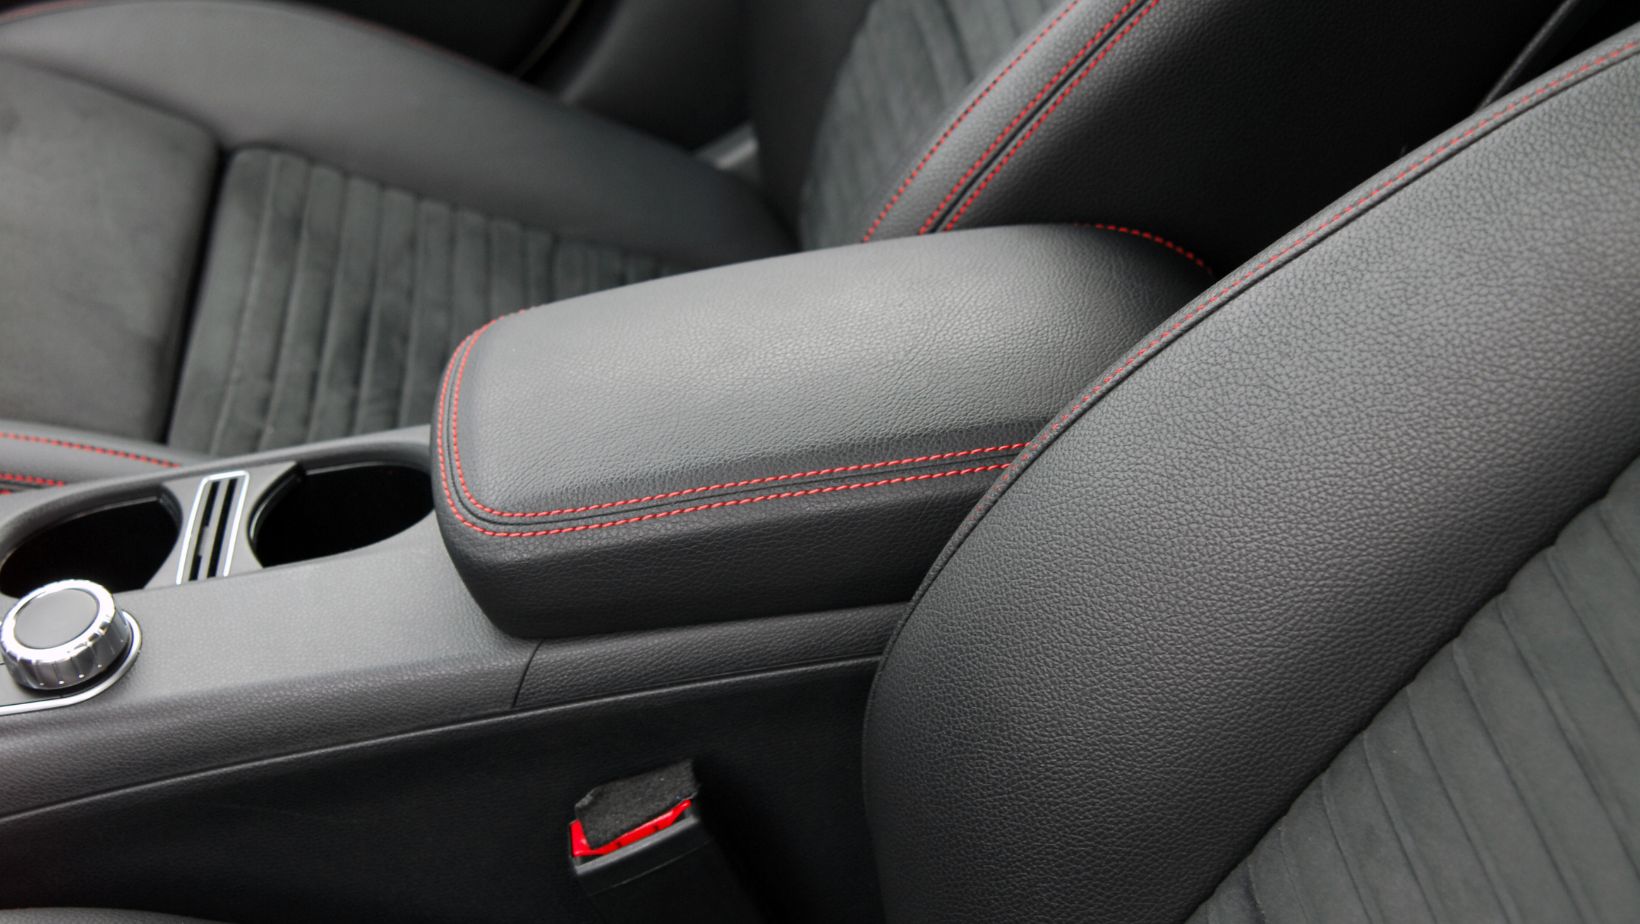
How to Repair Vinyl Armrest in Car
When it comes to repairing vinyl armchairs, having the right tools and materials is essential. The process may seem daunting at first, but with the proper equipment, you can easily fix any tears or holes in your vinyl upholstery. Here are the tools and materials that you’ll need:
- Vinyl Repair Kit: This is the backbone of any vinyl armchair repair project. Make sure to invest in a high-quality repair kit that includes vinyl adhesive, patches, and a heat transfer tool. These tools will help you effectively patch up any damaged areas.
- Scissors: A pair of sharp scissors is a must-have for trimming the patches to the desired size and shape. Make sure they are in good condition to ensure clean cuts without fraying the edges.
- Sandpaper: Sandpaper is essential for roughening up the surface around the damaged area. This creates a better bond between the adhesive and the vinyl fabric, ensuring a long-lasting repair.
- Heat Gun: A heat gun is vital for activating the adhesive and allowing it to properly bond with the vinyl fabric. It’s important to use it cautiously, as excessive heat can damage the vinyl. Follow the instructions carefully to avoid any mishaps.
- Vinyl Fabric: To successfully repair tears or holes in your vinyl armchair, you’ll need a piece of vinyl fabric that matches the color and texture of your armchair. This can be found at your local craft store or online.
- Vinyl Cleaner, Cotton Swabs, and Rubbing Alcohol: Before starting the repair process, it’s crucial to clean the damaged area thoroughly. Use a vinyl cleaner, cotton swabs, and rubbing alcohol to remove any dirt or grime from the surface.
Cleaning the Vinyl Arm
Before starting the repair process, it’s crucial to clean the vinyl armchair thoroughly. Cleaning the surface will ensure that the adhesive and patch adhere properly, leading to a more successful repair. Follow the steps below to clean the vinyl armchair effectively:
- Gather the necessary materials: For this step, you’ll need vinyl cleaner, cotton swabs, and rubbing alcohol. Having these materials ready will make the cleaning process efficient.
- Prepare the vinyl cleaner: Read the instructions on the vinyl cleaner bottle and prepare the solution as directed. Some cleaners require dilution, so make sure to follow the recommended proportions for optimum results.
- Apply the vinyl cleaner: Dip a cotton swab into the vinyl cleaner solution and gently rub it on the surface of the armchair. Focus on the areas that require repair and remove any dirt, dust, or grime. Take care not to scrub too harshly, as it may further damage the vinyl.
- Use rubbing alcohol: To ensure a clean and grease-free surface, dampen a clean cotton swab with rubbing alcohol. Wipe it over the vinyl armchair, paying attention to any adhesive residue or sticky substances. The alcohol will help remove any remaining debris, allowing for better adhesion of the patch.
- Let it dry: After cleaning the armchair, give it some time to air dry completely. Avoid using a hairdryer or any other heat source, as it may cause the vinyl to warp or shrink.
Conclusion
Repairing a vinyl armchair requires proper preparation, careful application of a vinyl repair kit, and allowing the repair to cure properly. By following the instructions provided with the kit, you can successfully repair the damaged area and restore the armchair’s appearance.
After cleaning the repair area with soapy water and rubbing alcohol, apply the adhesive and use patches or pieces of vinyl to cover the damage. If the kit includes a heat source, activate the adhesive. Once the repaired area is dry, clean and condition it to blend in with the rest of the armchair.


