
 When it comes to car repairs, unexpected expenses can often catch us off guard. One common issue that car owners may encounter is a freon leak. Freon is the refrigerant used in air conditioning systems to cool the air inside a vehicle. If you suspect a freon leak in your car, you might be wondering about the cost of repairing it.
Freon Leak Car Repair Cost
When it comes to identifying a freon leak in your car’s air conditioning system, there are several common signs you should be aware of. These indicators can help you diagnose the issue and seek the necessary repairs before it escalates into a more serious problem. Here are some telltale signs that may suggest a freon leak:
- Weak or Warm Air: If you notice that the air coming from your car’s AC vents is not as cold or powerful as it used to be, it could be an indication of a freon leak. A decrease in cooling performance is often one of the earliest signs that something is amiss with your AC system.
- Hissing Sound: Pay attention to any unusual hissing sounds coming from your air conditioning unit when it’s turned on. This could be a sign of a refrigerant leak, with freon escaping from the system under pressure. The hissing sound typically indicates that there is an active leak somewhere in the AC components.
- Frequent Cycling On and Off: Another symptom to watch out for is if your car’s AC seems to cycle on and off more frequently than usual. This rapid cycling can occur when the refrigerant levels drop due to leakage, causing the compressor to work harder to maintain cool air output.
- Moisture or Oil Stains: Examine the fittings, hoses, and components of your air conditioning system for any signs of moisture accumulation or oily residue around them. These stains can indicate that refrigerant has been leaking out and leaving behind traces as it escapes.
- Unpleasant Odor: A foul smell emanating from your car’s vents while running the AC might also suggest a freon leak issue. When refrigerant leaks, it can mix with other substances within the system, resulting in an unpleasant odor permeating through the cabin.
Detecting a Freon Leak in Your Car
How to Check for a Freon Leak in Your Car
If you suspect that your car’s air conditioning system is not functioning optimally, it could be due to a freon leak. Detecting a freon leak early on can save you from costly repairs down the road. But how exactly can you check for a freon leak in your car?
One way to detect a freon leak is by paying attention to the cooling performance of your air conditioning system. If you notice that the cool air coming out of the vents is not as cold as it used to be, or if it takes longer than usual for your car’s interior to reach a comfortable temperature, there’s a chance that there might be a freon leak.
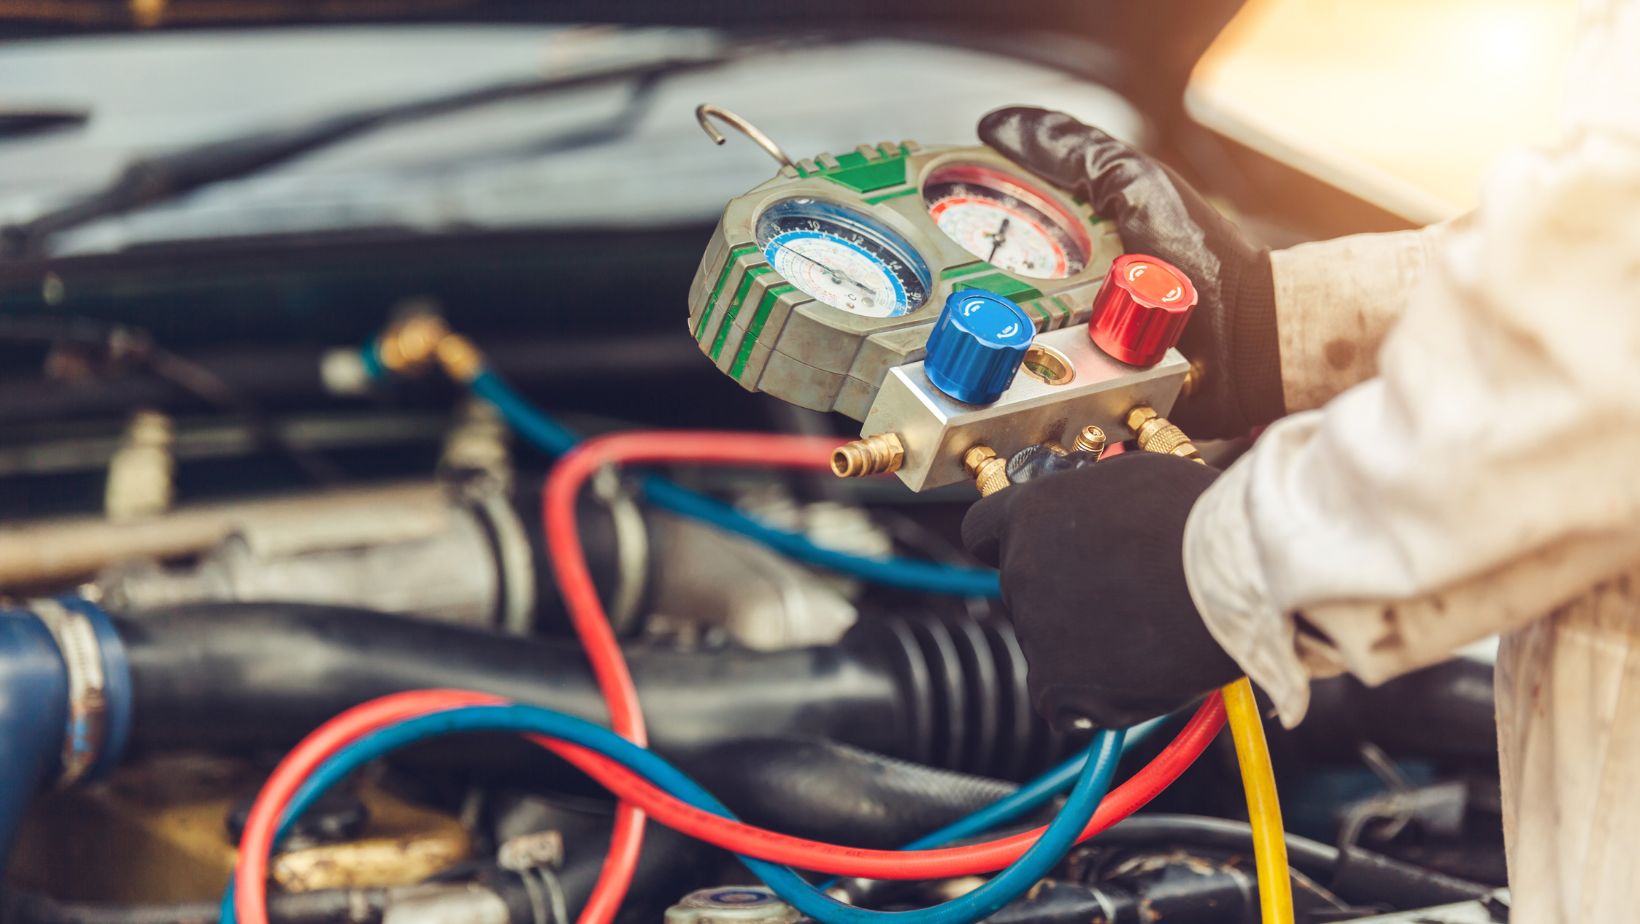
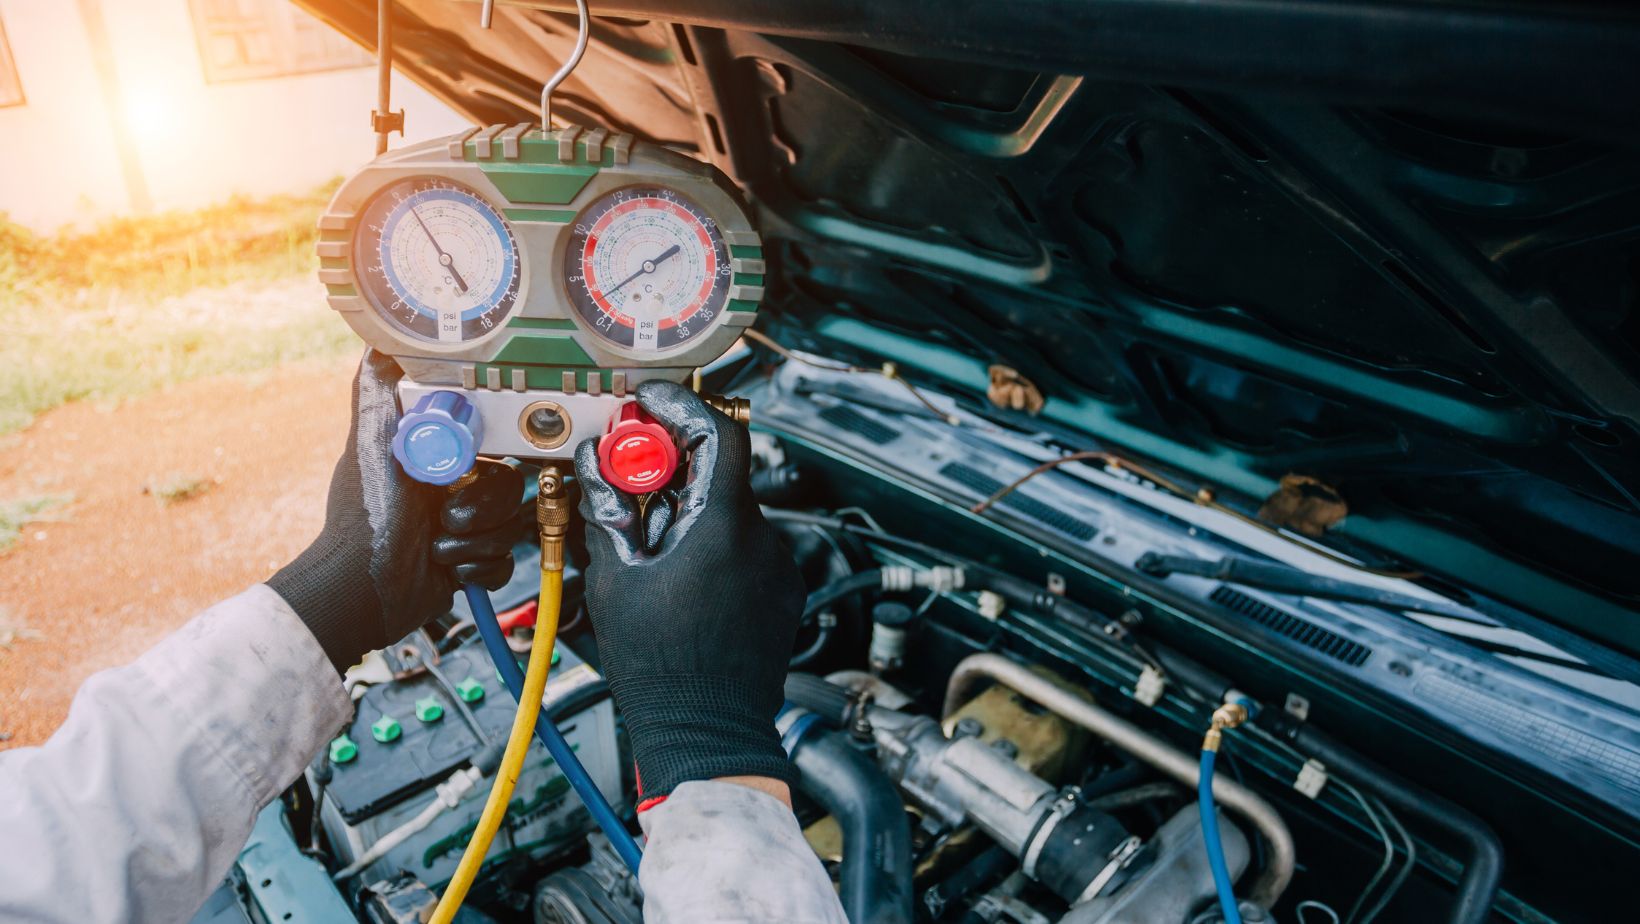
Tools Needed to Detect a Freon Leak
To effectively detect and diagnose a freon leak in your car, you’ll need some essential tools:
- UV Dye: A UV dye can help make invisible leaks visible by adding fluorescent coloring to the refrigerant.
- UV Light: This special light allows you to spot any traces of UV dye present in areas where leaks might occur.
- Manifold Gauge Set: This tool helps measure pressure levels within your AC system and provides valuable information about its functionality.
Steps to Follow When Detecting a Freon Leak
When detecting a freon leak in your car’s air conditioning system, it’s important to follow specific steps for an accurate diagnosis:
- Safety First: Before starting any work on your car’s AC system, make sure the engine is off, and take necessary safety precautions such as wearing gloves and eye protection.
- Visual Inspection: Begin by visually inspecting the AC components under the hood for any signs of oil stains or wet spots, indicating a potential freon leak.
- Use UV Dye: Add UV dye to your AC system according to the manufacturer’s instructions. Run the air conditioning on its coldest setting for about 10 minutes so that the dye can circulate throughout the system.
- Inspect with UV Light: Shine a UV light around the various components and connections of your AC system to detect any fluorescent traces of dye, which may indicate a leak.
- Check Pressure Levels: Connect a manifold gauge set to measure pressure levels in your AC system and compare them with recommended values specified by your vehicle’s manufacturer.


