How to Repair a Large Hole in a Car Body
Repairing a large hole in a car body may seem like a daunting task, but with the right knowledge and techniques, it can be accomplished successfully. In this article, I’ll guide you through the step-by-step process of repairing a large hole in your car’s body, restoring its appearance and structural integrity.
Firstly, you’ll need to gather the necessary tools and materials for the job. This typically includes body filler, fiberglass mesh or cloth, sandpaper of various grits, an applicator or spreader tool, and automotive paint that matches your vehicle’s color. With these items on hand, you’re ready to begin the repair process.
Identifying the Damage
When it comes to repairing a large hole in a car body, the first step is to accurately identify the extent of the damage. This will help you determine the appropriate repair method and ensure a successful outcome. Here are some key steps to follow when identifying the damage:
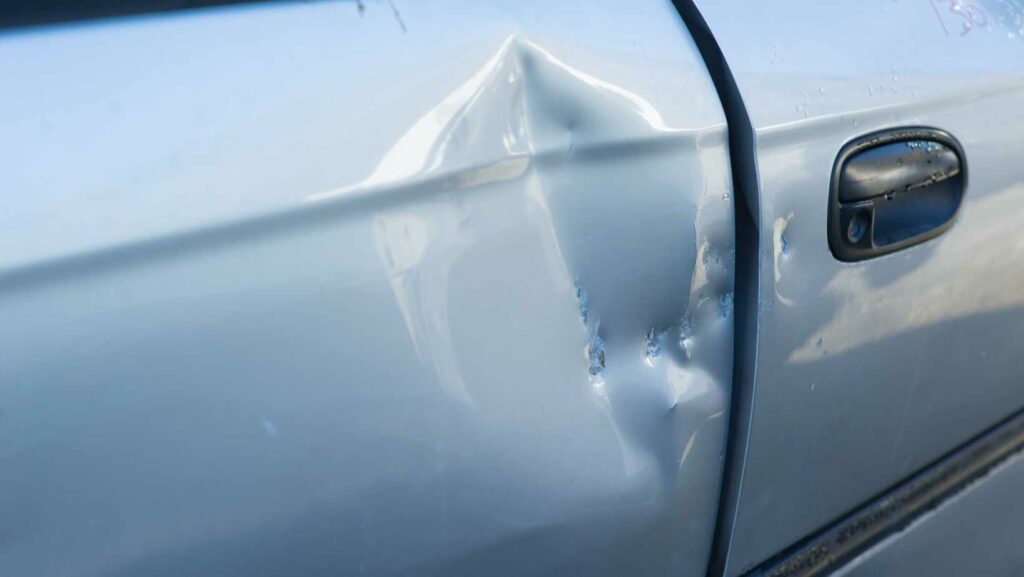
- Visual Inspection: Begin by visually examining the affected area closely. Look for any visible signs of damage, such as dents, cracks, or holes. Take note of the size and shape of the hole, as well as any surrounding damage that may have occurred.
- Probe Test: To further assess the severity of the hole, gently probe around its edges using a small tool like a screwdriver or pick. Be careful not to cause additional damage while doing this test. If you find that the surrounding metal is weak or crumbling, it could indicate more extensive repairs are needed.
- Check for Structural Integrity: Determine if there has been any structural compromise due to the hole. Examine nearby panels and components for signs of misalignment or distortion, which could affect overall safety and performance.
- Consider Accessibility: Assess how easily accessible the damaged area is for repair work. Depending on its location within your car’s body structure, you may need to remove other components or parts before beginning repairs.
- Documentation: It’s essential to document your findings through photographs or notes during this process. This information will be helpful later on when seeking advice from professionals or purchasing necessary materials for repair.
Remember that identifying and assessing a large hole in your car body requires careful attention and consideration of various factors such as size, shape, accessibility, and structural integrity.
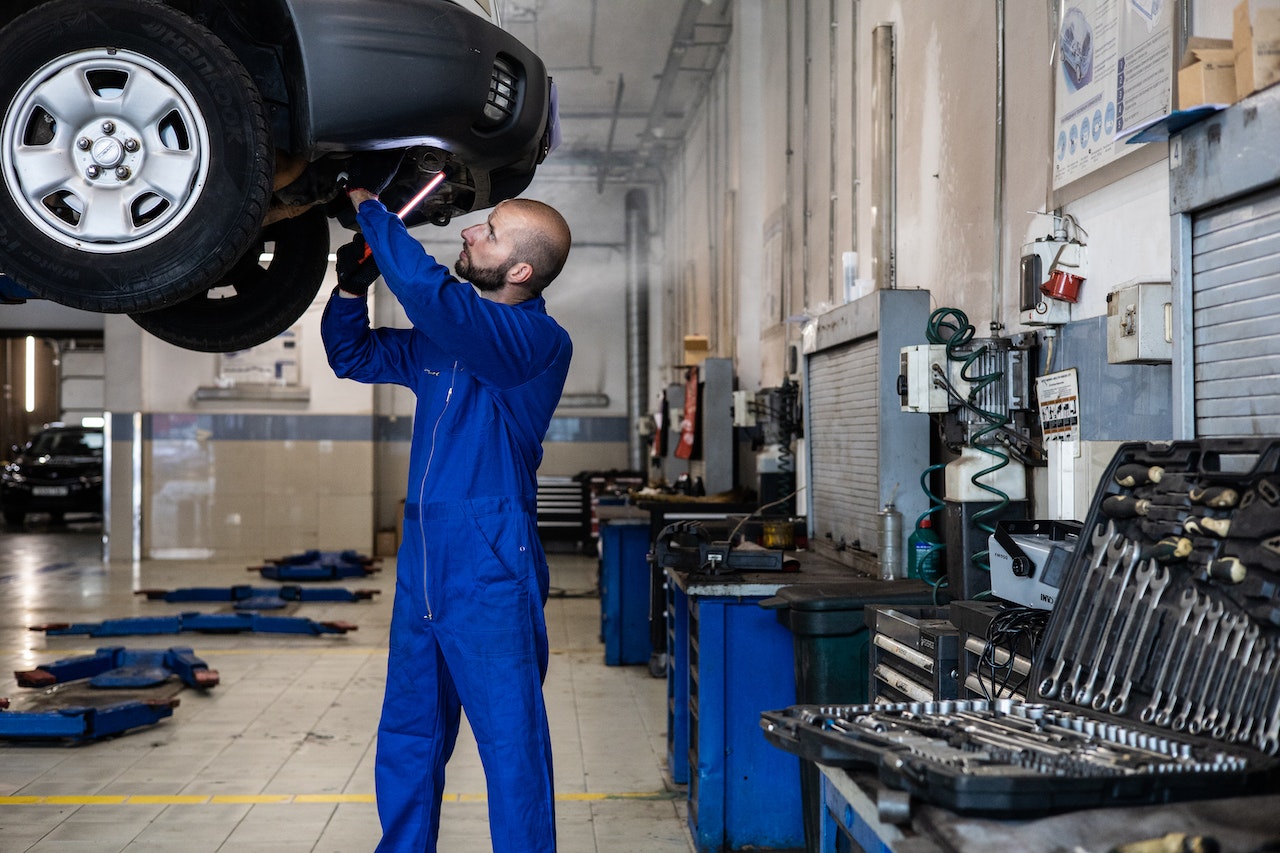
Gathering the Necessary Tools and Materials
By taking these initial steps diligently, you’ll be better equipped to proceed with confidence towards repairing your vehicle effectively Repairing a large hole in a car body can seem like a daunting task, but with the right tools and materials, it’s definitely achievable. In this section, I’ll walk you through gathering everything you need to tackle this repair job confidently.
First and foremost, let’s start by creating a checklist of the necessary tools and materials:
- Safety gear: Before diving into any repair work, prioritize your safety. Make sure to wear protective gloves, safety glasses, and a dust mask to shield yourself from potential hazards.
- Body filler: A quality body filler is essential for filling in the hole and restoring the car’s shape. Opt for a lightweight filler that is easy to sand down for smooth results.
- Sandpaper: You’ll need sandpaper of various grits (ranging from coarse to fine) to smoothen out the patched area and blend it seamlessly with the surrounding surface.
- Body filler applicator: To apply the body filler evenly and precisely, have a flexible plastic or metal spreader on hand.
- Fiberglass cloth or mesh: If the hole is particularly large or located in an area prone to stress, reinforcing it with fiberglass cloth or mesh will provide added strength.
- Rust converter: If there is any rust around or within the hole, use a rust converter to neutralize it before starting repairs.
- Primer: Applying primer after filling and sanding ensures proper adhesion of paint later on while protecting against corrosion.
- Paint matching your car’s color: Lastly, don’t forget about matching paint! Choose automotive-grade paint that matches your vehicle’s color code for seamless blending.
Once you’ve gathered all these tools and materials, you’re well-prepared to take on repairing that large hole in your car body effectively! Remember to follow proper safety precautions throughout the process and consult professional help if needed.

