

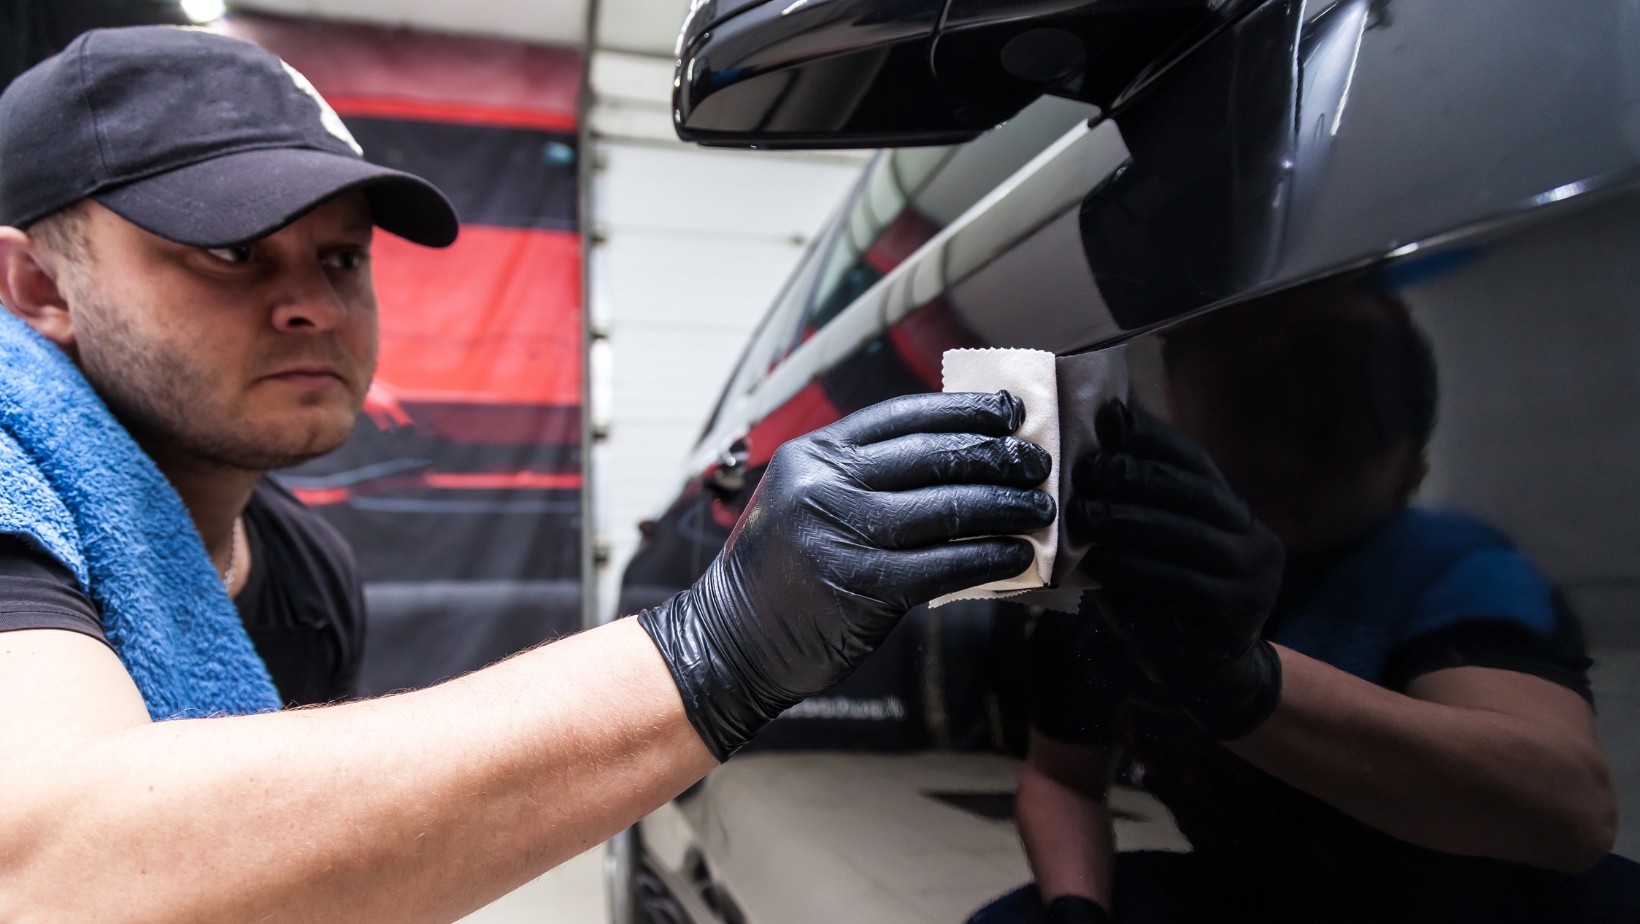
When it comes to maintaining our vehicles, we often focus on the engine, tires, and other major components. However, one area that is often overlooked but plays a crucial role in keeping our cars protected from the elements is the car door weather stripping. The weather stripping acts as a seal between the car door and the frame, preventing water, dust, and noise from entering the cabin. Over time, this rubber strip can wear out or become damaged, compromising its effectiveness.
If you’ve noticed water leaks inside your car during rain showers or excessive wind noise while driving at high speeds, it’s likely that your car door weather stripping needs repair. Fortunately, fixing this issue is relatively simple and can be done without professional help in most cases.
Common Signs of Damaged Car Door Weather Stripping
Inspecting the Weather Stripping for Wear and Tear
When it comes to car door weather stripping repair, it’s important to be able to recognize the signs of damage. One of the first things you should do is inspect the weather stripping for any visible wear and tear. Look closely at the rubber sealing around your car door and check for any cracks, tears, or gaps in the material. These issues can occur over time due to exposure to harsh weather conditions, frequent use of the doors, or simply aging.
Identifying Signs of Damaged Car Door Weather Stripping
Damaged car door weather stripping can manifest in various ways. Here are some common signs that indicate your weather stripping may need repair:
- Drafts or Air Leaks: If you notice air drafts entering your vehicle while driving, especially around the edges of your car doors, it could be a sign that your weather stripping is compromised.
- Water Leakage: When rainwater starts seeping into your vehicle through closed doors during a downpour or after washing your car, it’s a clear indication that there might be issues with the weather stripping.
- Road Noise Increase: Faulty or worn-out weather stripping can also contribute to an increase in road noise inside the cabin. If you notice a sudden increase in external noise while driving, particularly when on highways or rough roads, it could be due to damaged weather stripping.
- Difficulty Closing Doors: Another sign of damaged weather stripping is difficulty closing your car doors properly. If you have to exert extra force or slam them shut more than usual, it may indicate that there are gaps or misalignment caused by worn-out seals.
Car Door Weather Stripping Repair
Introduction: When it comes to car door weather stripping repair, removing the old weather stripping is often the first step in the process. In this step-by-step guide, I’ll walk you through how to remove old weather stripping from your car door effectively. By following these instructions, you’ll be well on your way to replacing it with new and improved weather stripping.
Step 1: Gather the necessary tools Before diving into the removal process, gather all the tools you’ll need for a smooth operation. Here are a few essential items:
- Flathead screwdriver
- Pliers
- Utility knife or razor blade
Having these tools handy will make it easier to remove the old weather stripping without causing any damage to your car door.
Step 2: Locate and assess the weather stripping Take a close look at your car door’s weather stripping and identify its location along the edges of the door frame. Carefully inspect its condition and determine if there are any specific areas that require repair or replacement.
Step 3: Begin removing the old weather stripping To start removing the old weather stripping, gently pry it away from one corner of your car door using a flathead screwdriver. Be cautious not to scratch or dent your vehicle during this process. Once you’ve created enough space between the stripping and door frame, use pliers to grip onto it firmly.
Step 4: Pull off the weather stripping With a firm grip on one end of the strip, gradually pull it away from the door frame with controlled force. Take your time during this step to ensure that no residue or adhesive remains attached to either surface.
Step 5: Clean up any leftover residue After successfully removing all sections of old weather stripping, inspect both surfaces for any remaining adhesive or residue. Use a utility knife or razor blade to carefully scrape off any stubborn remnants until both the door frame and stripping are clean.
Step 6: Dispose of the old weather stripping Properly dispose of the old weather stripping in a suitable waste container. Be mindful of any local regulations regarding disposal or recycling to minimize your environmental impact.
Removing old weather stripping from your car door is an essential part of the repair process. By following this step-by-step guide, you’ll be able to remove it safely and effectively, setting the stage for a successful installation of new weather stripping.


