Repair Hole in Leather Car Seat
Repairing a hole in a leather car seat can be quite the challenge, but with the right supplies and techniques, it is definitely possible to restore its original condition. Whether you accidentally ripped your seat or came across a pre-existing hole when purchasing a used vehicle, taking the time to fix it will not only improve the appearance of your car’s interior but also prevent further damage. In this article, I’ll guide you through the essential supplies needed to effectively repair a hole in a leather car seat.
One of the key components for repairing a hole in a leather car seat is having an appropriate patch material. A leather patch that matches the color and texture of your seat is crucial for achieving seamless results. Additionally, you’ll need adhesive specifically designed for bonding leather surfaces together. This ensures that the patch stays securely in place without causing any damage or leaving behind visible residue.
In addition to patch material and adhesive, there are several other supplies that are essential for repairing holes in leather car seats. These include sandpaper for preparing the surface before applying the patch, scissors or utility knife for cutting out an appropriately sized piece of patch material, and a clean cloth for wiping away any excess adhesive. By gathering all these supplies before starting your repair project, you’ll be well-equipped to tackle even larger holes with confidence.
Remember, repairing a hole in a leather car seat requires patience and attention to detail. With the right supplies at hand and proper technique, you can successfully restore your seat’s integrity and enhance its overall aesthetic appeal. So let’s dive into each supply in detail and get ready to give your vehicle’s interior some much-needed TLC! Assessing the damage is an essential step when it comes to repairing a hole in your leather car seat. Before you can proceed with any repairs, it’s crucial to thoroughly evaluate the extent of the damage. Here are a few key points to consider during this assessment:
- Examine the size and location: Take a close look at the hole in your leather car seat and note its size and position. Is it a small puncture or a larger tear? Is it located on the seat cushion or backrest? Understanding these details will help determine the appropriate repair method.
- Check for underlying damage: Sometimes, a hole in a leather car seat can be more than just superficial. Inspect the surrounding area for any additional damage, such as weakened stitching or frayed edges. Identifying these issues early on will ensure that you address all necessary repairs.
- Assess the condition of the leather: Consider the overall condition of your leather car seat. Is it still supple and in good shape, or has it started to show signs of wear and tear? This evaluation will help determine if additional treatments like conditioning or restoration are required alongside patching up the hole.
- Evaluate accessibility for repair: Determine how accessible the damaged area is for repair work. Some holes may be easily reached from both sides, making them simpler to fix, while others may require removing parts of upholstery or disassembling certain components for proper access.
- Take note of any color variations: Leather seats often have unique dye colors and finishes that can vary over time due to exposure to sunlight, friction, or aging. Pay attention to any color variations around the damaged area as this might affect your repair approach, particularly if color matching is required.
By carefully assessing these aspects of your leather car seat’s damage, you’ll be better equipped to choose an appropriate repair method and gather all necessary supplies needed for fixing that pesky hole effectively.
Gather the Necessary Tools
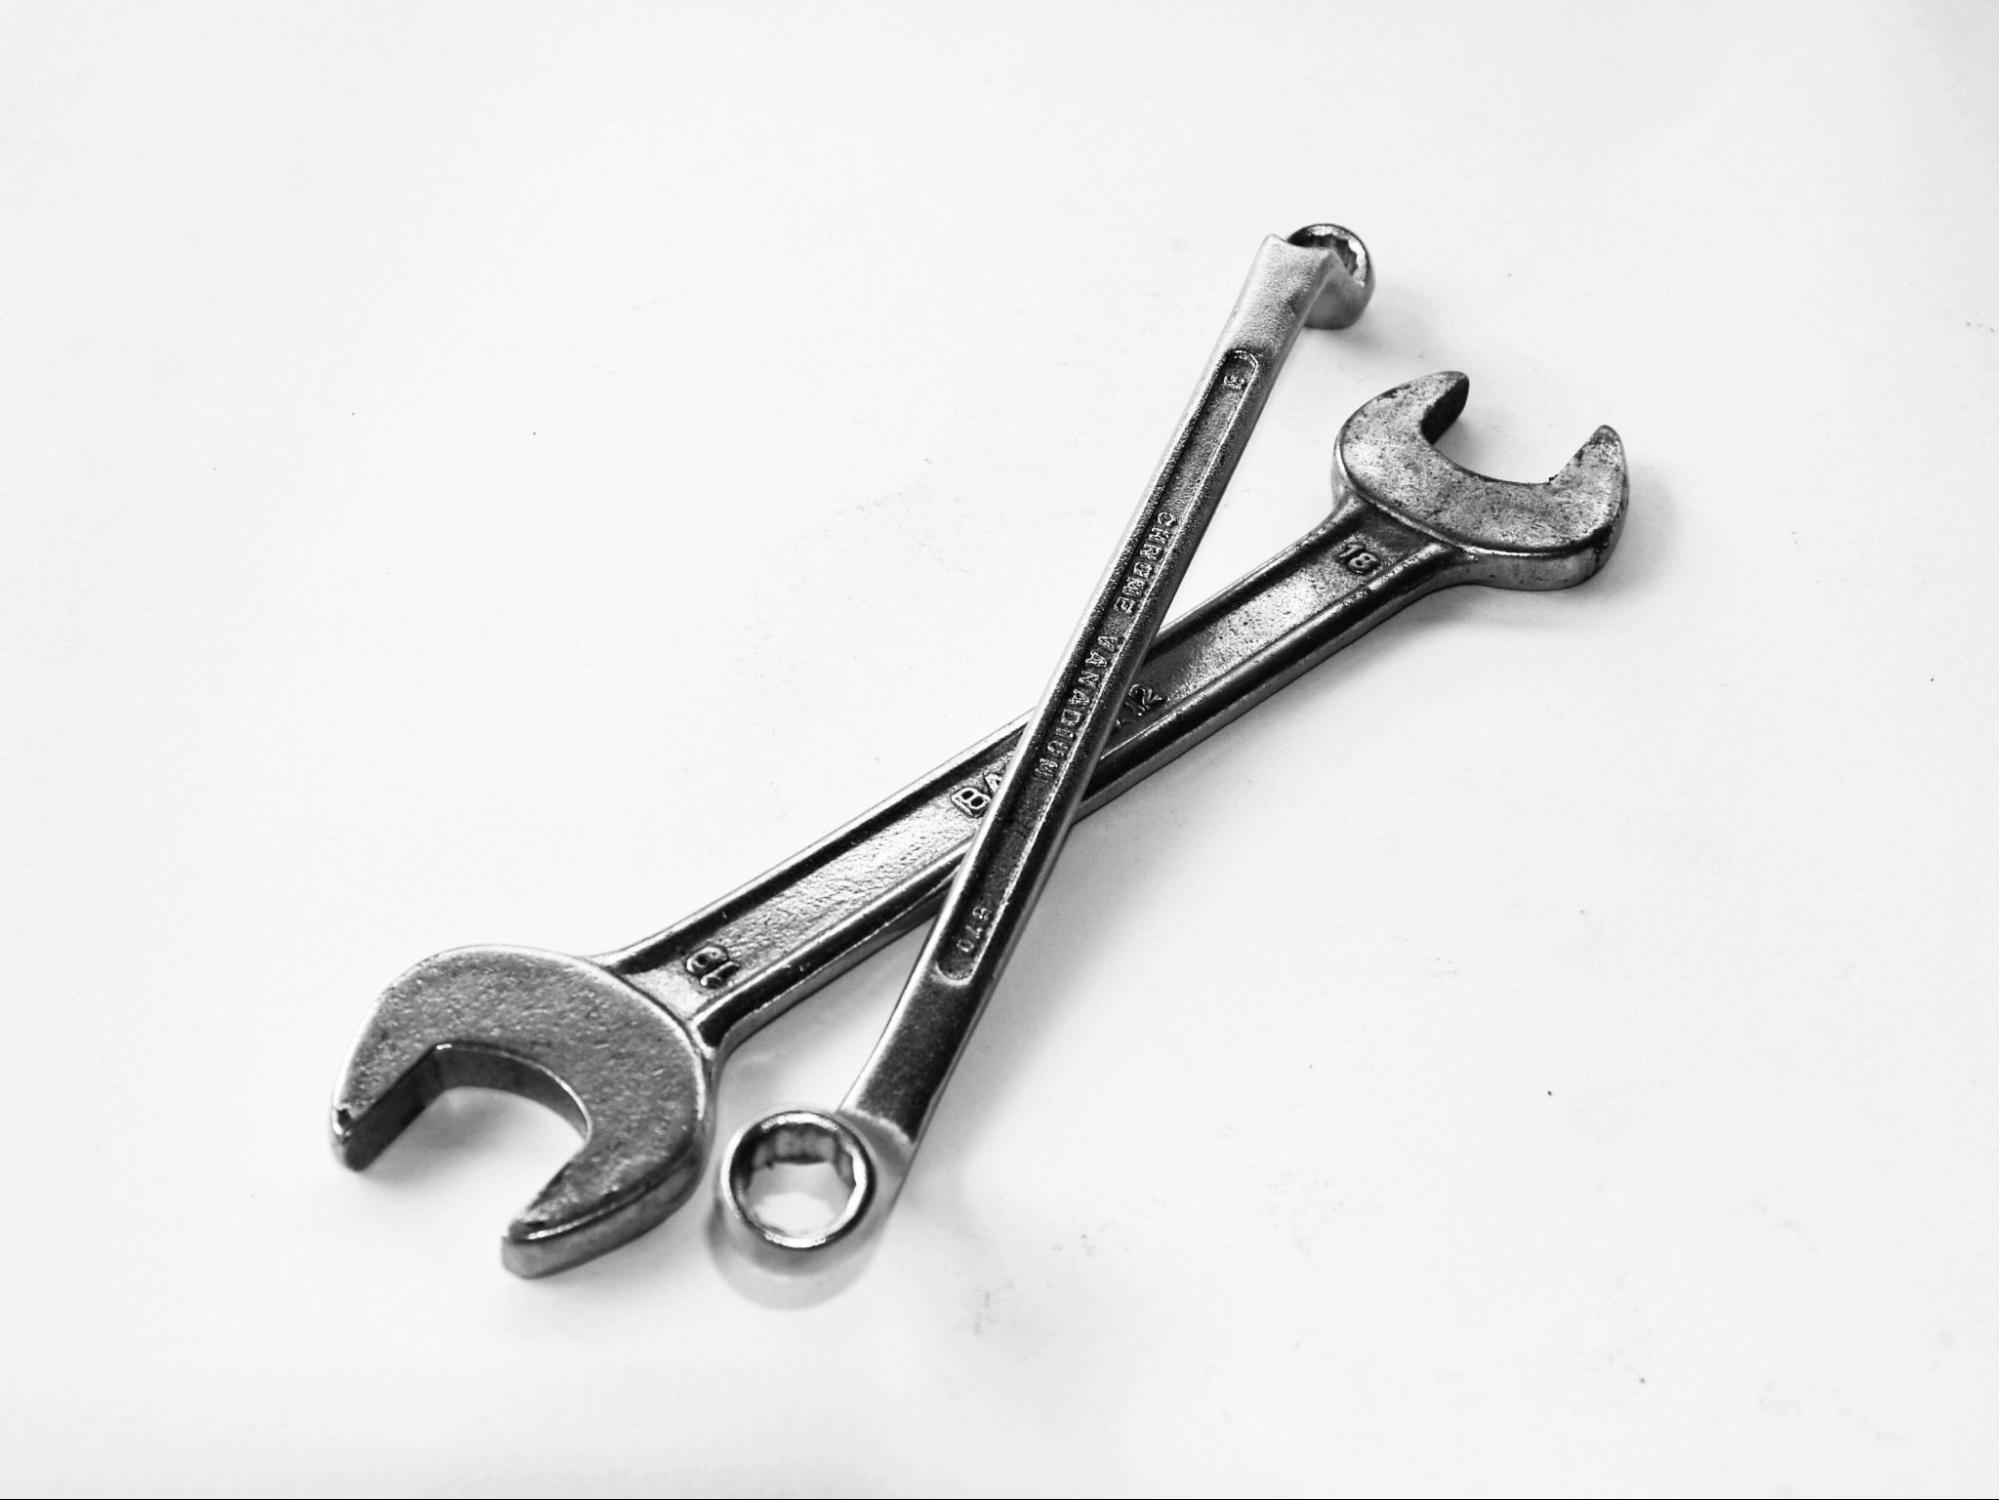
When it comes to repairing a hole in a leather car seat, having the right tools is essential. You don’t want to start the repair process only to realize that you’re missing something crucial. To avoid any unnecessary hiccups, let’s gather all the necessary tools before diving into the task at hand.
Here are the supplies you’ll need:
- Leather Repair Kit: This should include a variety of colored leather patches, adhesive, filler compound, and a spatula for application. Make sure to choose a kit that matches your car seat’s color as closely as possible.
- Cleaning Solution: Before applying any repairs, it’s important to clean the damaged area thoroughly. A mild leather cleaner or rubbing alcohol can help remove dirt and oils from the surface.
- Sandpaper: To prepare the hole for patching, you’ll need sandpaper with different grits (usually ranging from coarse to fine). The sandpaper will help smooth out rough edges and create an even surface for better adhesion.
- Heat Source: A heat source like a hairdryer or heat gun will be necessary to activate the adhesive in your repair kit and aid in blending the patch with the surrounding leather.
- Tweezers or Needle-nose Pliers: These tools come in handy when working with small patches or removing loose threads around the damaged area.
- Masking Tape: Use masking tape to secure larger tears or holes while you work on fixing them. It helps hold everything in place and prevents further damage during repair.
- Cloth or Sponge: Have a soft cloth or sponge on hand for applying cleaning solutions and wiping away excess glue during the repair process.

