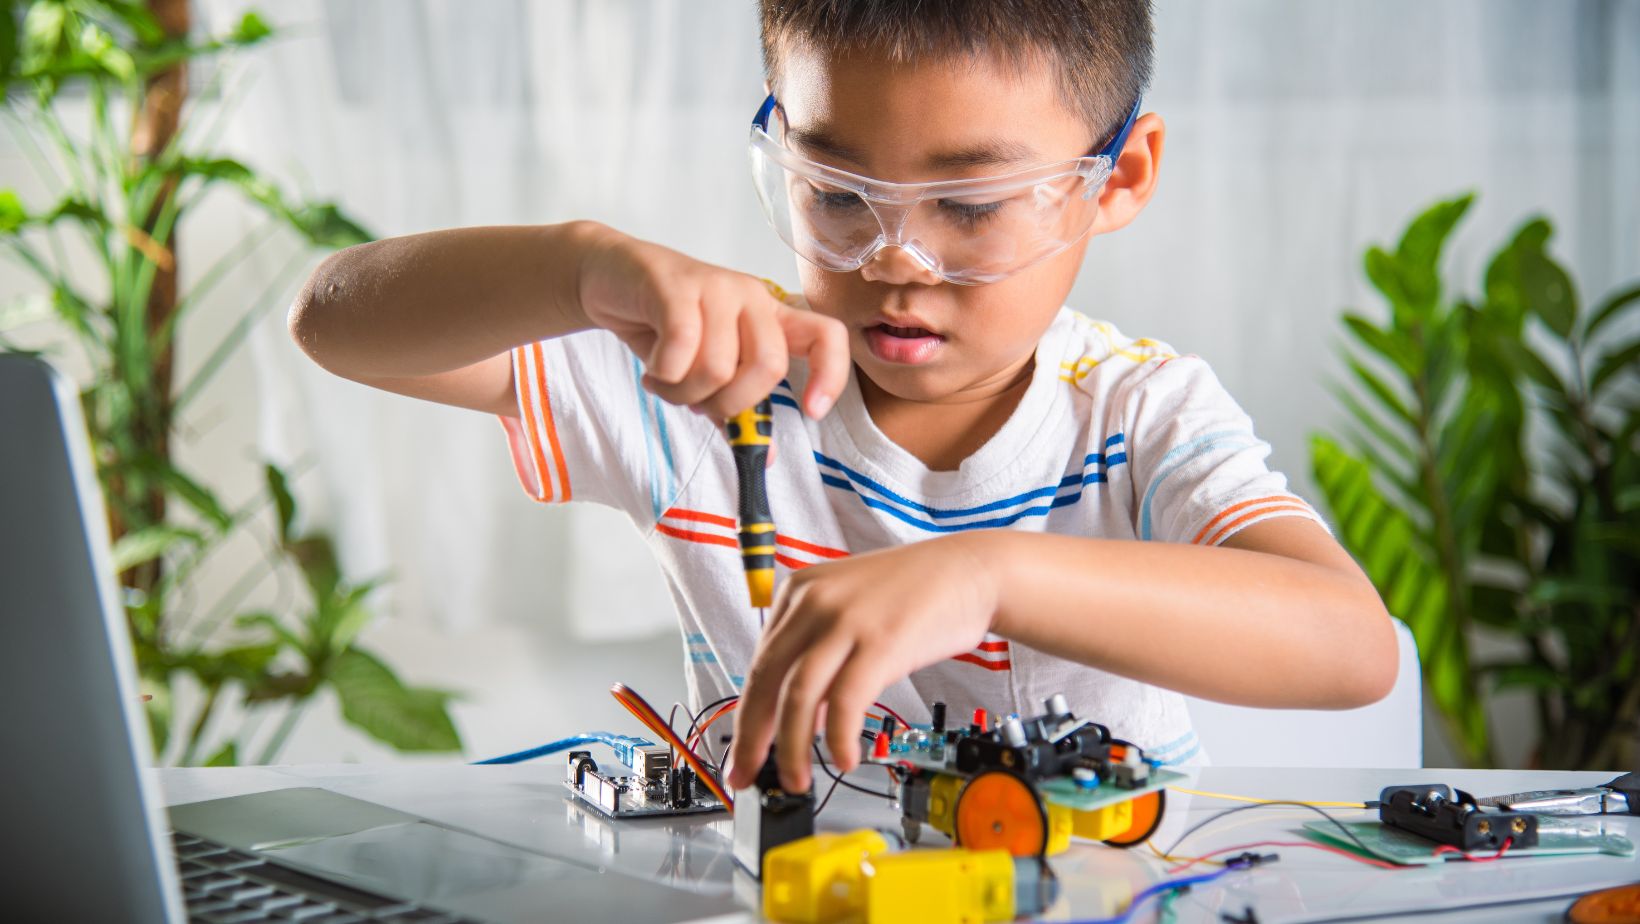
One of the most important things to keep in mind when repairing toy cars is having the right tools on hand. Whether it’s a set of screwdrivers, pliers, or even some super glue, having the necessary equipment can make all the difference in getting your toy car back up and running smoothly.
Toy Car Repair
Inspecting the Toy Car for Damage
When it comes to repairing a toy car, the first step is to thoroughly inspect the vehicle for any signs of damage. To do this, you’ll need a few essential tools:
- Flashlight: A flashlight will help you get a closer look at hard-to-reach areas and identify any hidden damages.
- Magnifying glass: This tool can be handy in examining small parts and components that may have cracks or other imperfections.
- Tweezers: Sometimes, tiny objects like screws or debris can get lodged in hard-to-reach places. Tweezers come in handy when removing these items without causing further damage.
- Microfiber cloth: Keeping your toy car clean is crucial during the inspection process. A microfiber cloth helps remove dust, dirt, and fingerprints without scratching delicate surfaces.
With these tools at hand, carefully examine each part of the toy car—body, wheels, axles—for any visible damage or wear and tear. Look out for cracked or broken pieces that may need replacement.
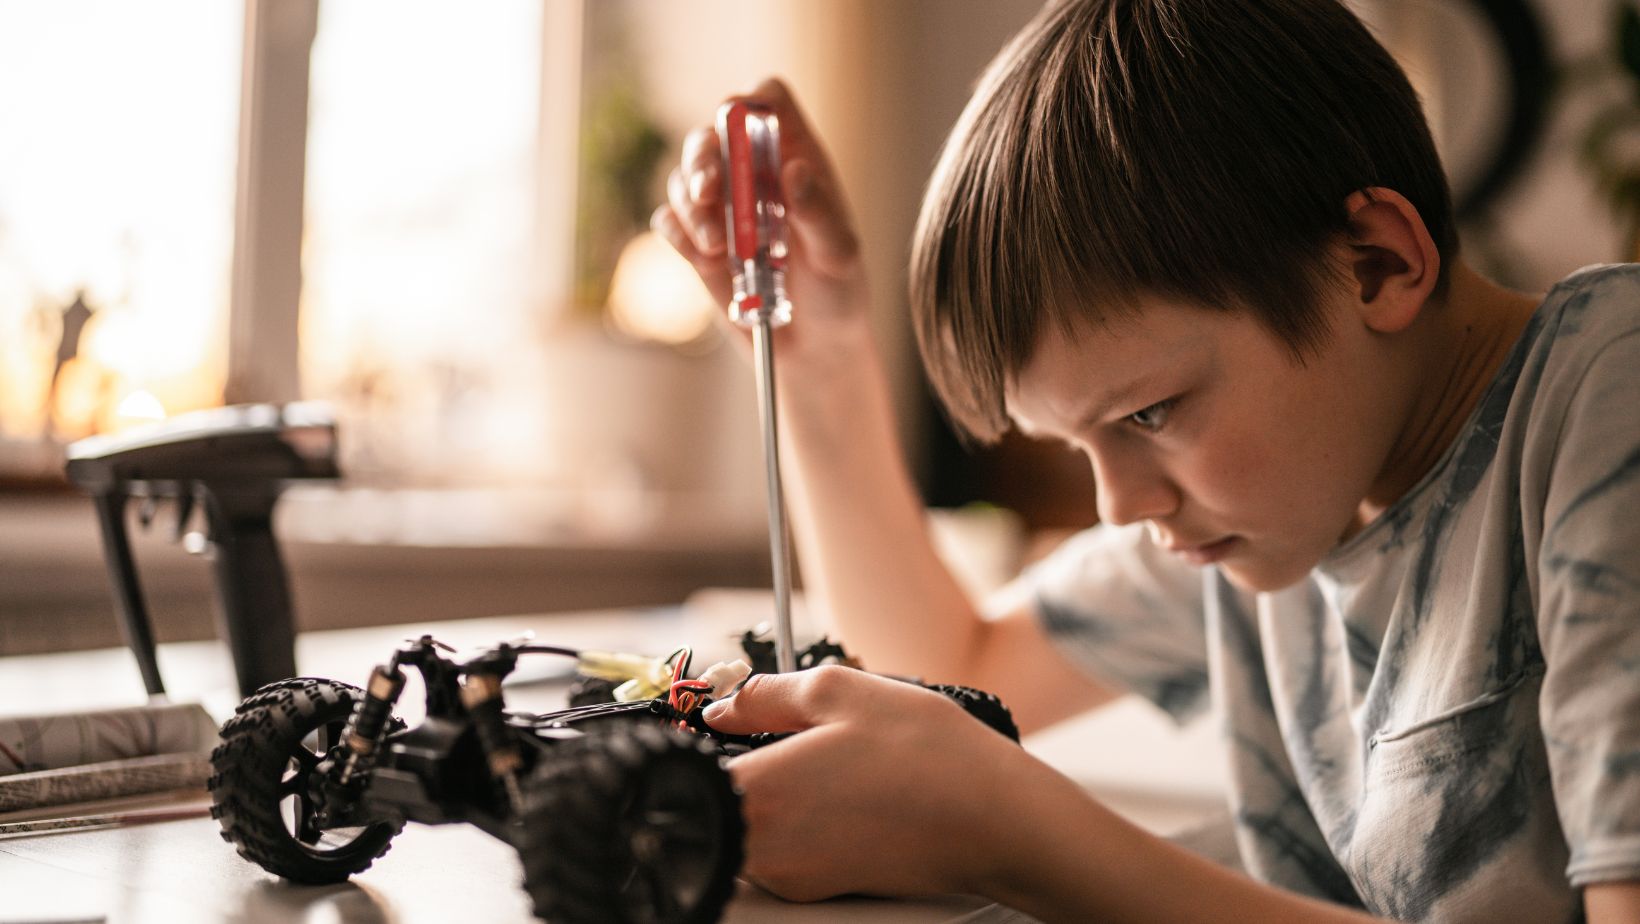
Step-by-step guide to repairing a toy car
Gathering the Necessary Tools
To start repairing a toy car, it’s important to gather the necessary tools beforehand. Here are some essential items you’ll need:
- Screwdriver set: A set of screwdrivers with various sizes and types will come in handy for removing screws from the toy car.
- Pliers: Pliers can be useful for gripping and pulling small parts or wires.
- Replacement parts: Depending on the specific issue with your toy car, you may need to have replacement parts ready, such as wheels, gears, or batteries.
- Adhesive materials: If there are any broken pieces that require gluing or bonding, make sure to have appropriate adhesive materials like glue or tape.
By having these tools prepared in advance, you’ll save time and frustration during the repair process.
Taking Apart the Toy Car
Once you have all your tools ready, it’s time to start taking apart the toy car. Follow these steps:
- Locate and remove screws: Use the appropriate screwdriver from your set to carefully remove any visible screws holding the body of the toy car together.
- Separate sections: Gently separate different sections of the toy car by prying them apart using a combination of careful force and leverage.
- Document disassembly (optional): If you’re unfamiliar with how all the components fit together, consider taking pictures or making notes as you disassemble the toy car. This will help ensure easier reassembly later.
Remember to be patient while dismantling your toy car and avoid applying excessive force that could further damage delicate components.
