There’s a magic to classic cars that modern machines, for all their power and precision, often lack. It’s a feeling. A connection to a time when driving was a more visceral, hands-on experience. A huge part of that character is the paint. Not a thin layer of clear-coated perfection, but a deep, rich, often imperfect single-stage finish that seems to have a soul of its own.
For modern cars, paint correction is a well-documented science. For your classic, it’s something far more delicate. It’s an art. It’s archaeology. And the single greatest fear, the nightmare of every detailer working on these old finishes, is the phrase “burning through.”
This isn’t about making it look new. This is about revealing the beautiful, original paint that’s been hiding under years of neglect, all while preserving every precious micron of that history. Let’s talk about how it’s done, after you’ve let the stress of the work week melt away by playing your favourite games on 22Bit. After all, a free mind is all it takes to tackle such a big task!
What Exactly is Single-Stage Paint?
To understand the process, you first have to understand the canvas you’re working with.
Modern cars are almost universally painted with a basecoat/clearcoat system. Think of it like a sandwich. The colour itself is the tasty filling (the basecoat). It’s then sealed and protected by a hard, transparent layer of clear urethane (the top piece of bread, the clearcoat). When we correct modern paint, we are almost exclusively working on that clear, protective top layer. We’re abrading it to remove defects, then polishing it to a high gloss.
Single-stage paint is different. It’s the old way. It’s simpler, but far more challenging to work on. There is no separate, clear layer. The colour and the protective elements are all mixed into one thick, glorious soup of pigment and resin. This is the paint used on virtually every car built before the mid-1980s.
This is where the danger of “burning through” comes in. Burning through means you’ve polished right through the paint layer, down to the primer or bare metal beneath. On a curved edge or a body line, where the paint is naturally thinner, this can happen terrifyingly fast. It’s the point of no return, a mistake that often mandates a full repaint. Our entire goal is to avoid this at all costs.
The Golden Rules
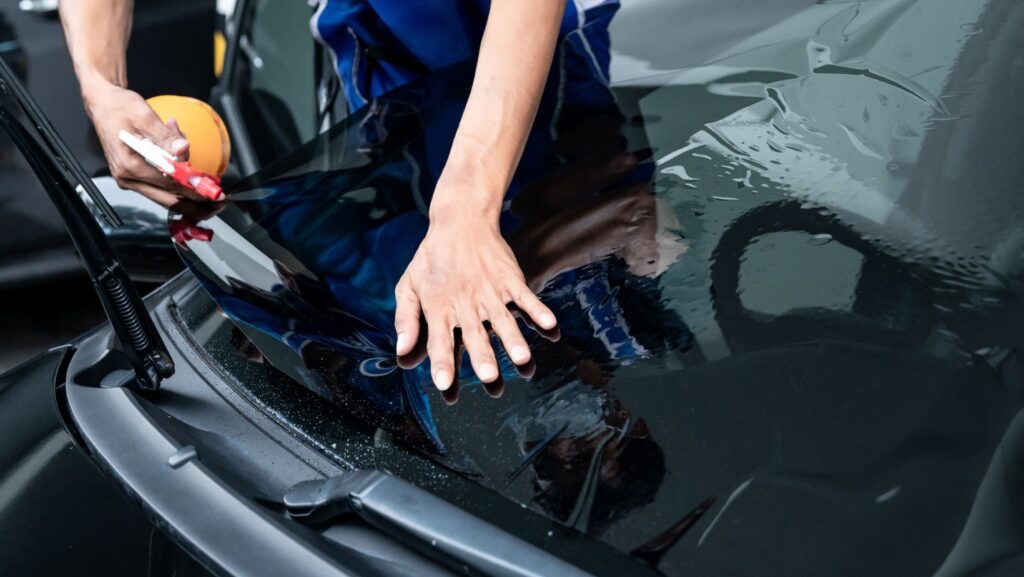
Step 1: The Critical Decontamination & Wash
You cannot skip this. You cannot rush this. Grind this into your mind: Any dirt or grit left on the surface will become sandpaper under your polisher.
Your goal is to remove every speck of abrasive contamination without adding any new scratches. This means a thorough two-bucket wash with high-quality mitts and shampoos. After washing, you must use an iron remover (a spray that dissolves embedded brake dust and rail dust) and a clay bar or synthetic clay mitt. The clay will pull out any bonded contaminants that the wash missed. You will feel and hear the difference when the surface is truly smooth and clean. This step alone can dramatically improve the look of the paint and is 100% safe if done with plenty of lubricant.
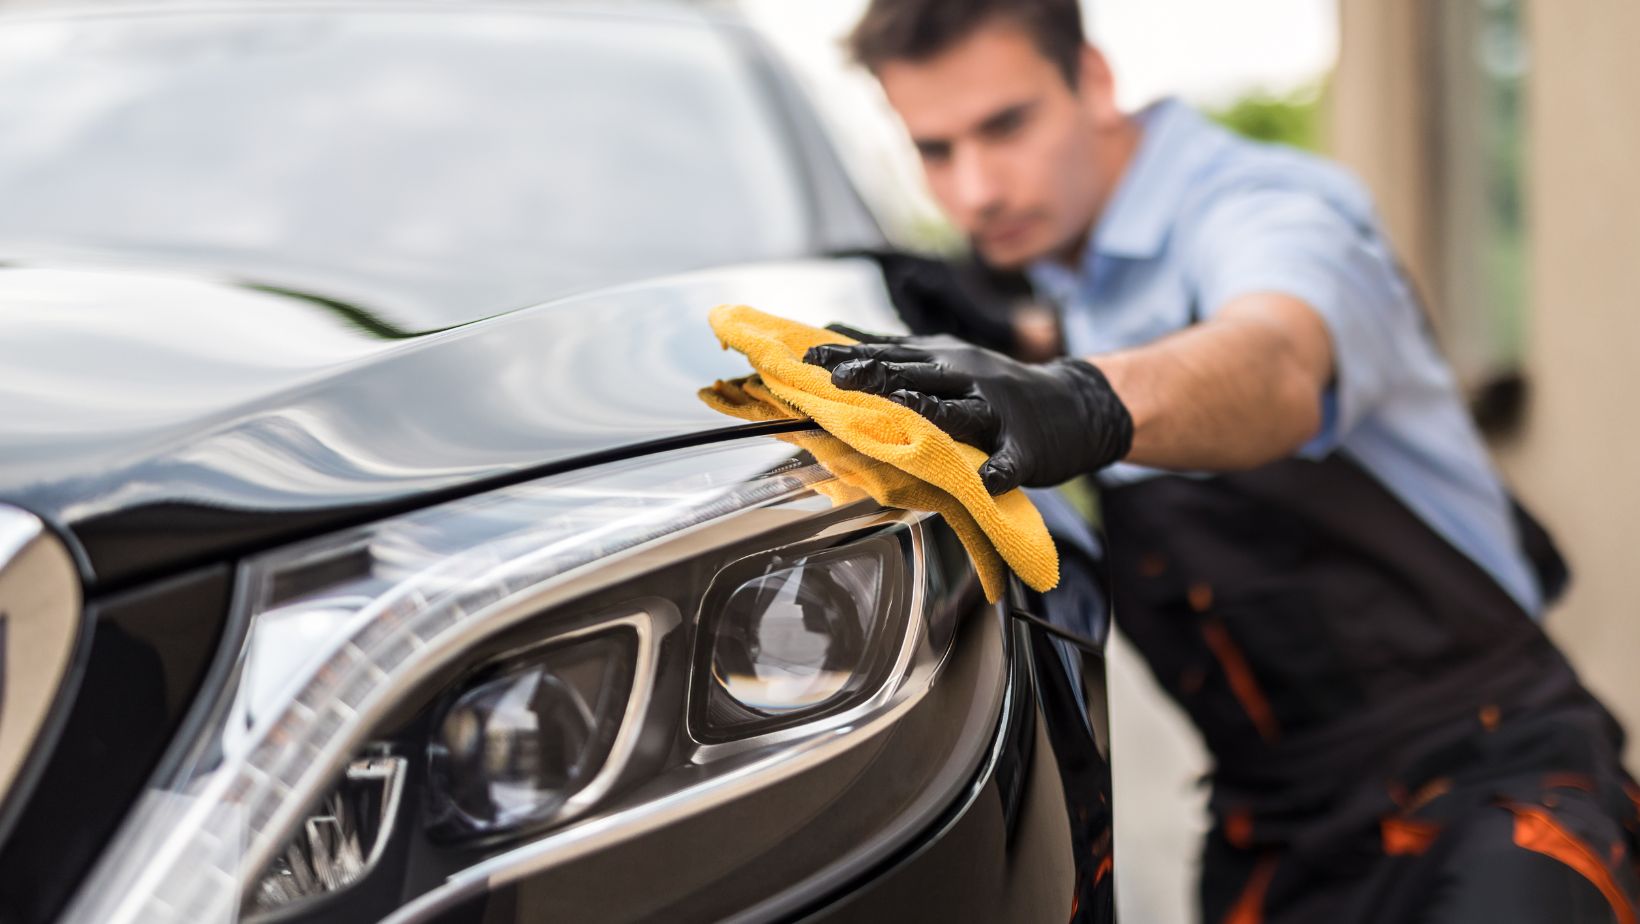
Step 2: The All-Important Test Spot
Do not just start polishing the hood. You must find an inconspicuous area—perhaps inside a door jamb, behind a wheel well, or on a lower rocker panel—to perform a test spot. This small 2×2 area is your laboratory. It tells you everything you need to know:
- How hard or soft the paint is.
- How much defect removal is possible.
- What combination of products and pads you need to use.
- Most importantly, it shows you how much paint you are removing with each step.
How to read your test spot: After you polish a section, wipe it clean. The area should look better, but you will likely see a hazy residue of spent polish and paint pigments on your towel. This is absolutely normal for single-stage. It’s proof that the paint is being abraded and that its oils and pigments are being worked. This residue, often called “pigment bleed,” is what you’re there to see. It’s a sign of life!
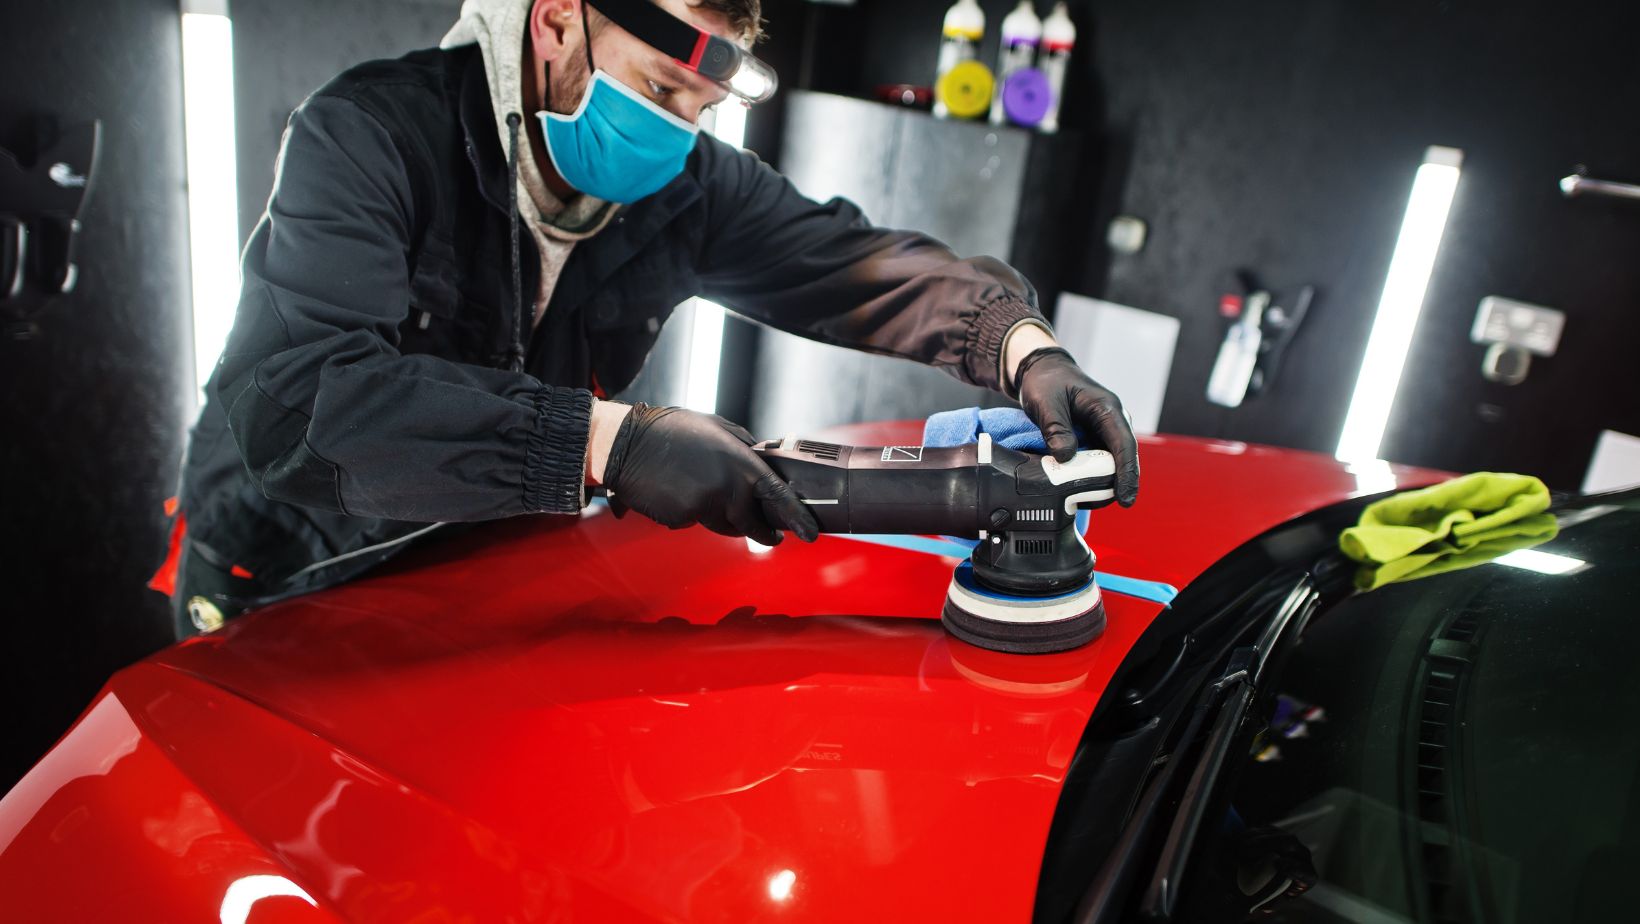
Step 3: The Delicate Dance of Cutting and Polishing
This is the heart of the operation. Forget the heavy-duty rotary polishers and coarse wool pads you see on YouTube restoring tractors. For the vast majority of single-stage jobs, you will use a dual-action (DA) polisher. This tool oscillates and rotates, making it vastly more forgiving and far less likely to generate the intense heat that can cook and burn through paint.
Your arsenal should consist of a variety of foam pads (from cutting to polishing to finishing) and a range of polishes and compounds. Remember the rule: least aggressive first.