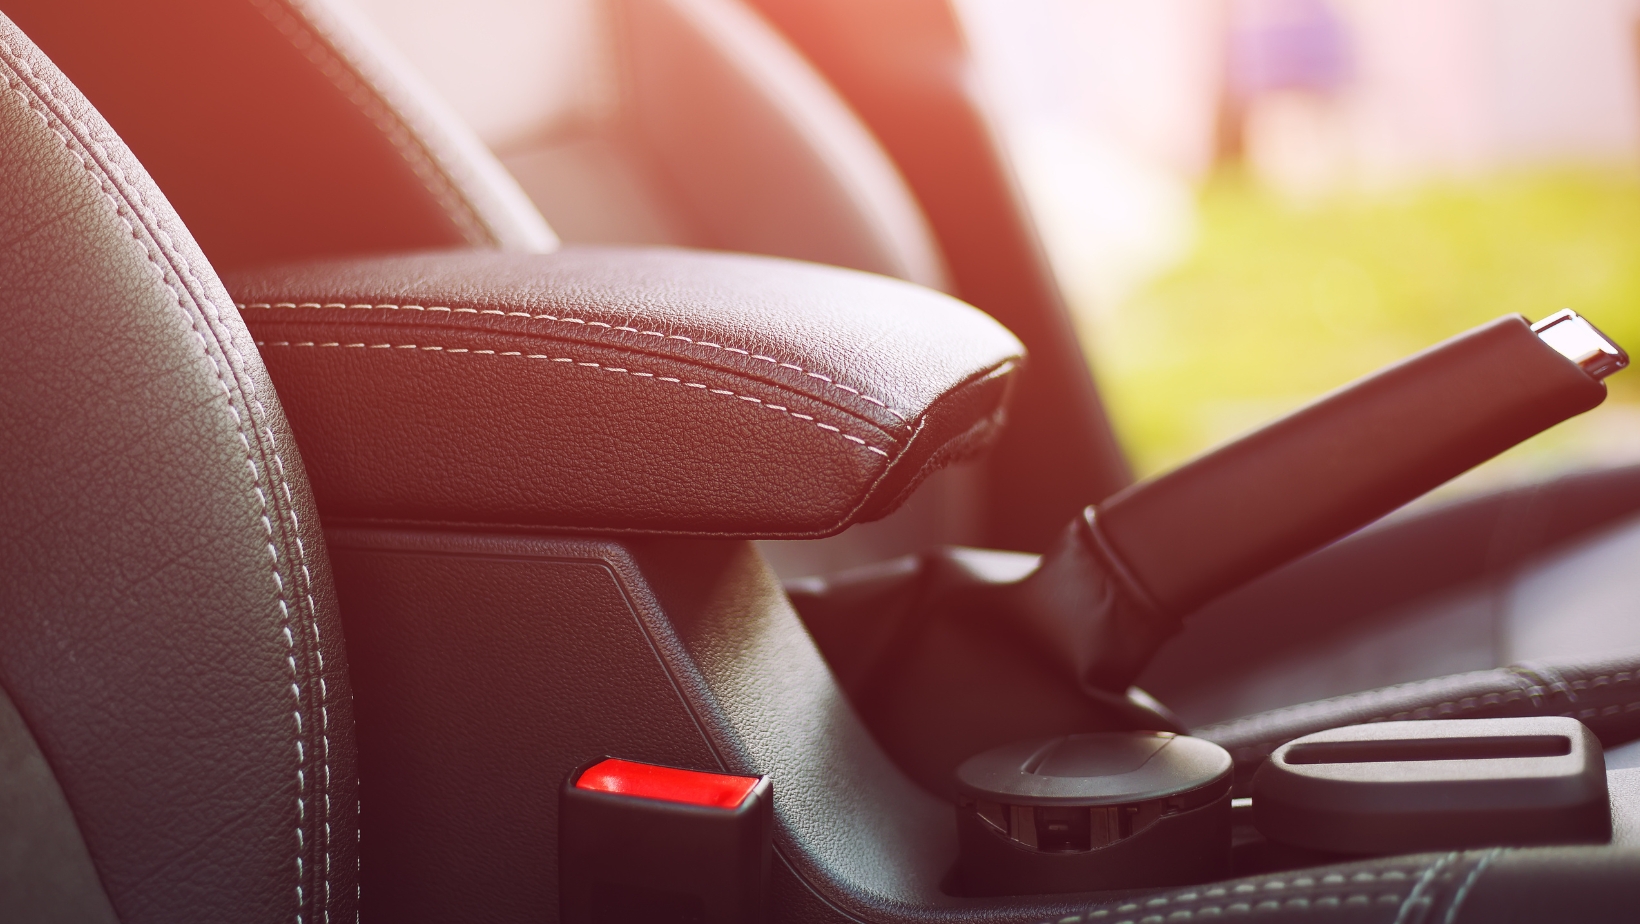
Having a damaged leather armrest in your car can be frustrating, but fortunately, repairing it is not as difficult as it may seem. In this article, I’ll guide you through the process of repairing a leather armrest in your car, ensuring that it looks good as new.
To begin with, gather the necessary materials for the repair. You’ll need a leather repair kit which typically includes a cleaner, filler compound, colorant, and finish. Additionally, gather some clean cloths or sponges for application and a hairdryer to speed up the drying process.
Start by cleaning the damaged area using the provided cleaner or mild soap and water. This will remove any dirt or oils that could affect adhesion. Once cleaned and dried thoroughly, apply the filler compound according to the instructions provided with your repair kit. Smooth out any lumps or unevenness using a spatula or putty knife.
After allowing sufficient time for the filler to dry completely, gently sand down any excess material until it’s level with the surrounding surface. Take care not to damage the surrounding leather during this step. Next, apply several thin layers of colorant that closely match your car’s interior upholstery. Allow each layer to dry before applying another.
How to Repair Leather Armrest in Car
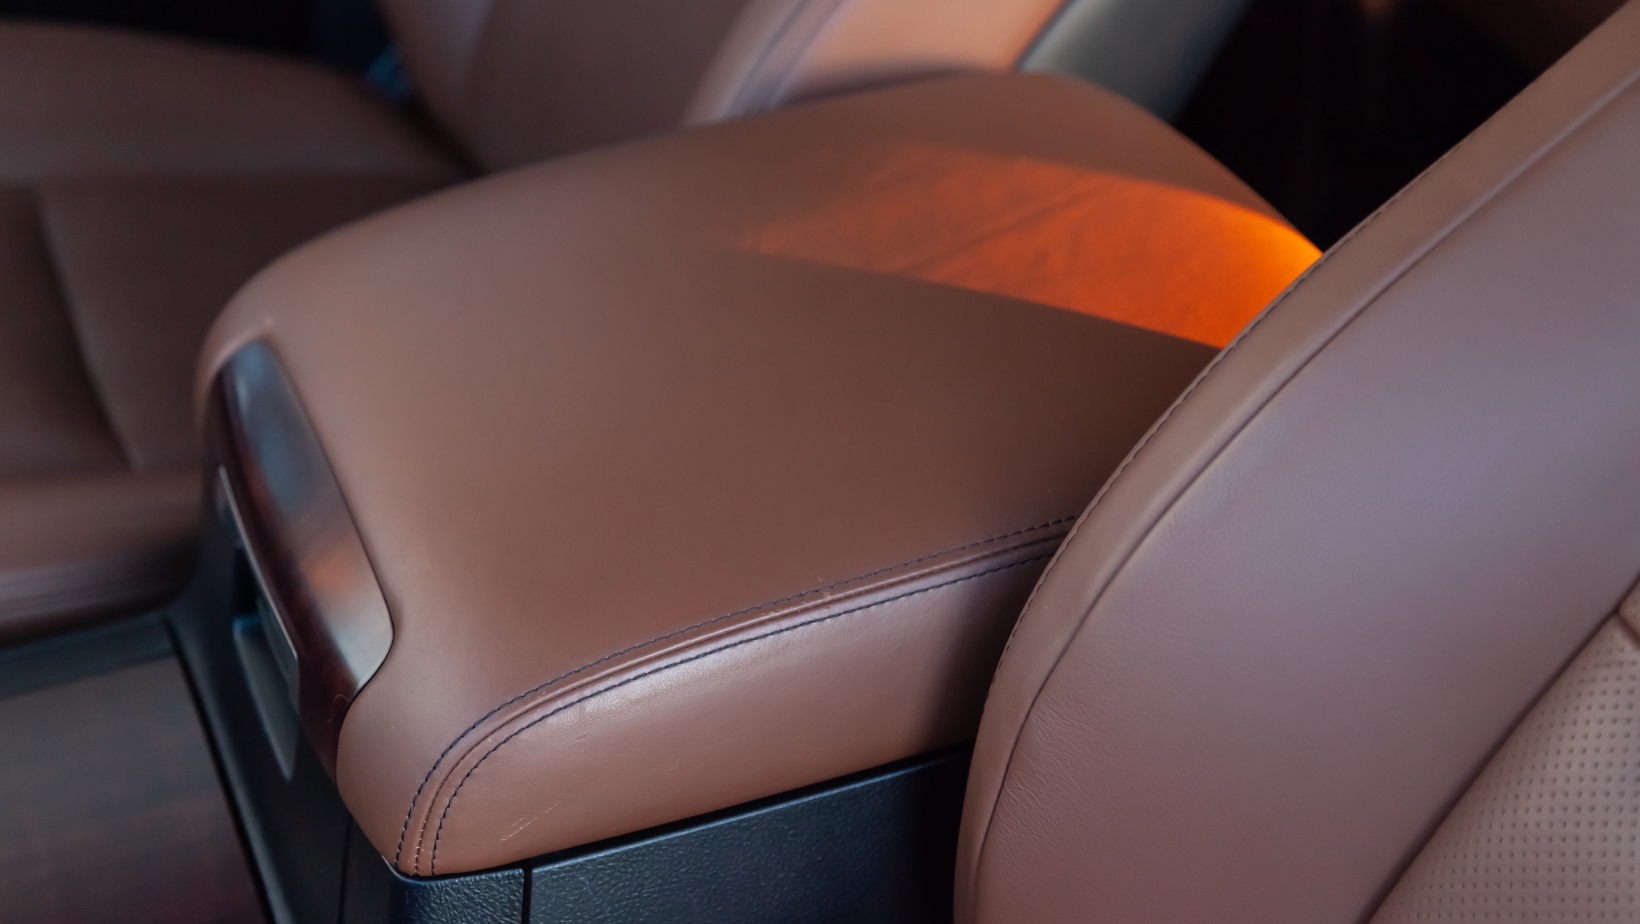
When it comes to repairing a leather armrest in your car, the first step is to thoroughly inspect the damage. This will help you understand the extent of the problem and determine the best course of action. Here’s how you can go about it:
- Assessing any Tears or Rips: Begin by carefully examining the armrest for any tears or rips in the leather. Look closely at all sides and corners to ensure no damage goes unnoticed. Take note of the size and location of each tear as this will influence your repair approach.
- Checking for Color Fading or Discoloration: Leather can fade over time, especially if exposed to sunlight or harsh cleaning agents. Inspect the armrest for any signs of color fading or discoloration. This will help you decide whether you need to restore just a specific area or treat the entire armrest.
- Examining Stains and Spills: Leather armrests are prone to spills and stains, which can be unsightly and challenging to remove. Carefully examine the surface for any visible stains caused by food, drinks, ink, or other substances. Identifying these stains will assist you in determining whether spot cleaning or more extensive treatment is necessary.
- Evaluating Structural Integrity: Apart from cosmetic issues, it’s essential to check if there are any structural problems with the armrest itself. Test its stability by pressing down on different areas and ensuring there are no loose parts or excessive movement.
- Noting Other Signs of Wear and Tear: Finally, take a comprehensive look at other signs of wear and tear such as creases, cracks, or peeling edges on your leather armrest. These indicators will give you a better understanding of what needs attention during your repair process.
By carefully inspecting all aspects mentioned above, you’ll have a clearer picture of what needs fixing before proceeding with the leather armrest repair. Remember, each car and damage scenario may be unique, so thorough assessment is crucial for successful restoration.
Gathering the Necessary Tools and Materials
When it comes to repairing a leather armrest in your car, having the right tools and materials is essential. By gathering everything you need beforehand, you’ll be able to tackle the task with confidence and efficiency. Here are some key items to include in your arsenal:
- Leather Repair Kit: Start by investing in a quality leather repair kit specifically designed for automotive use. These kits typically contain color-matched dyes, adhesive compounds, filler materials, and applicators that will help you achieve professional-looking results.
- Cleaning Supplies: Before attempting any repairs, it’s crucial to thoroughly clean the armrest surface. Gather mild soap or leather cleaner, a soft brush or cloth for gentle scrubbing, and a clean rag for drying.
- Sandpaper: Depending on the extent of damage to the armrest, sandpaper may be needed for smoothing rough edges or preparing the surface for repair products.
- Heat Gun or Hair Dryer: Heat can be an effective tool when working with leather repairs as it helps soften the material for better adhesion of dyes and fillers. A heat gun or hair dryer set on low heat can provide this necessary warmth.
- Leather Conditioner: Once you’ve completed the repair process, treat your newly restored armrest with a high-quality leather conditioner to nourish and protect the material against future wear and tear.
- Gloves: Protect your hands during the repair process by wearing latex or nitrile gloves. This will not only keep your skin safe from potentially harmful chemicals but also prevent oils from transferring onto the leather surface.
Remember that each car model may require specific tools or materials based on its unique design and specifications. Always consult your vehicle’s manual or seek professional advice if you’re unsure about which supplies are suitable for your particular make and model.
Now that we have gathered all these necessary tools and materials let’s move on to the next step of the repair process – preparing the armrest for restoration.

